Exakta Lens on a Modern Sony Camera

Table of Contents
Introduction #
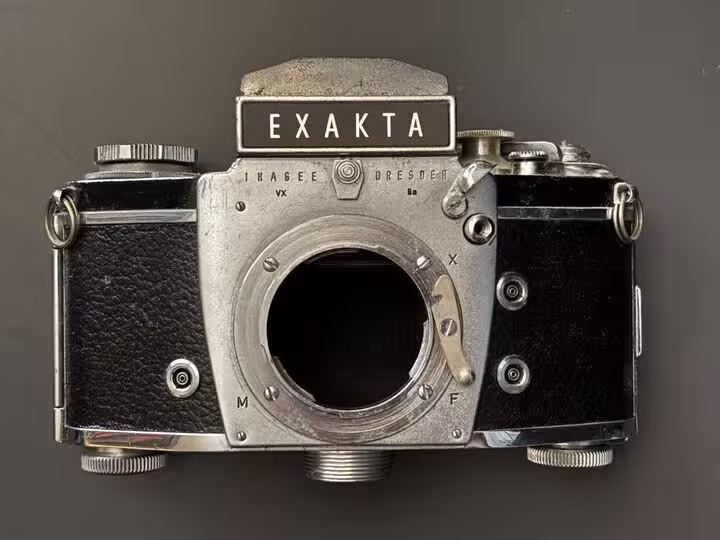
I had the crazy idea of attaching a vintage Exakta lens to my modern Sony a6400.
I first wanted to see how I could non-permanently yet securely attach something to the body of my camera. I figured there must be some sort of camera body cover, and sure enough I found a two pack on Amazon for $7. Sweet!
Before starting, I wanted to figure out spacing of the lens. I held the lens up to the camera without attaching it, and I found that the lens needed to be a centimeter or two away from the camera body. This meant I would need to make a spacer somehow.
With the camera body cover delivered, I got to work.
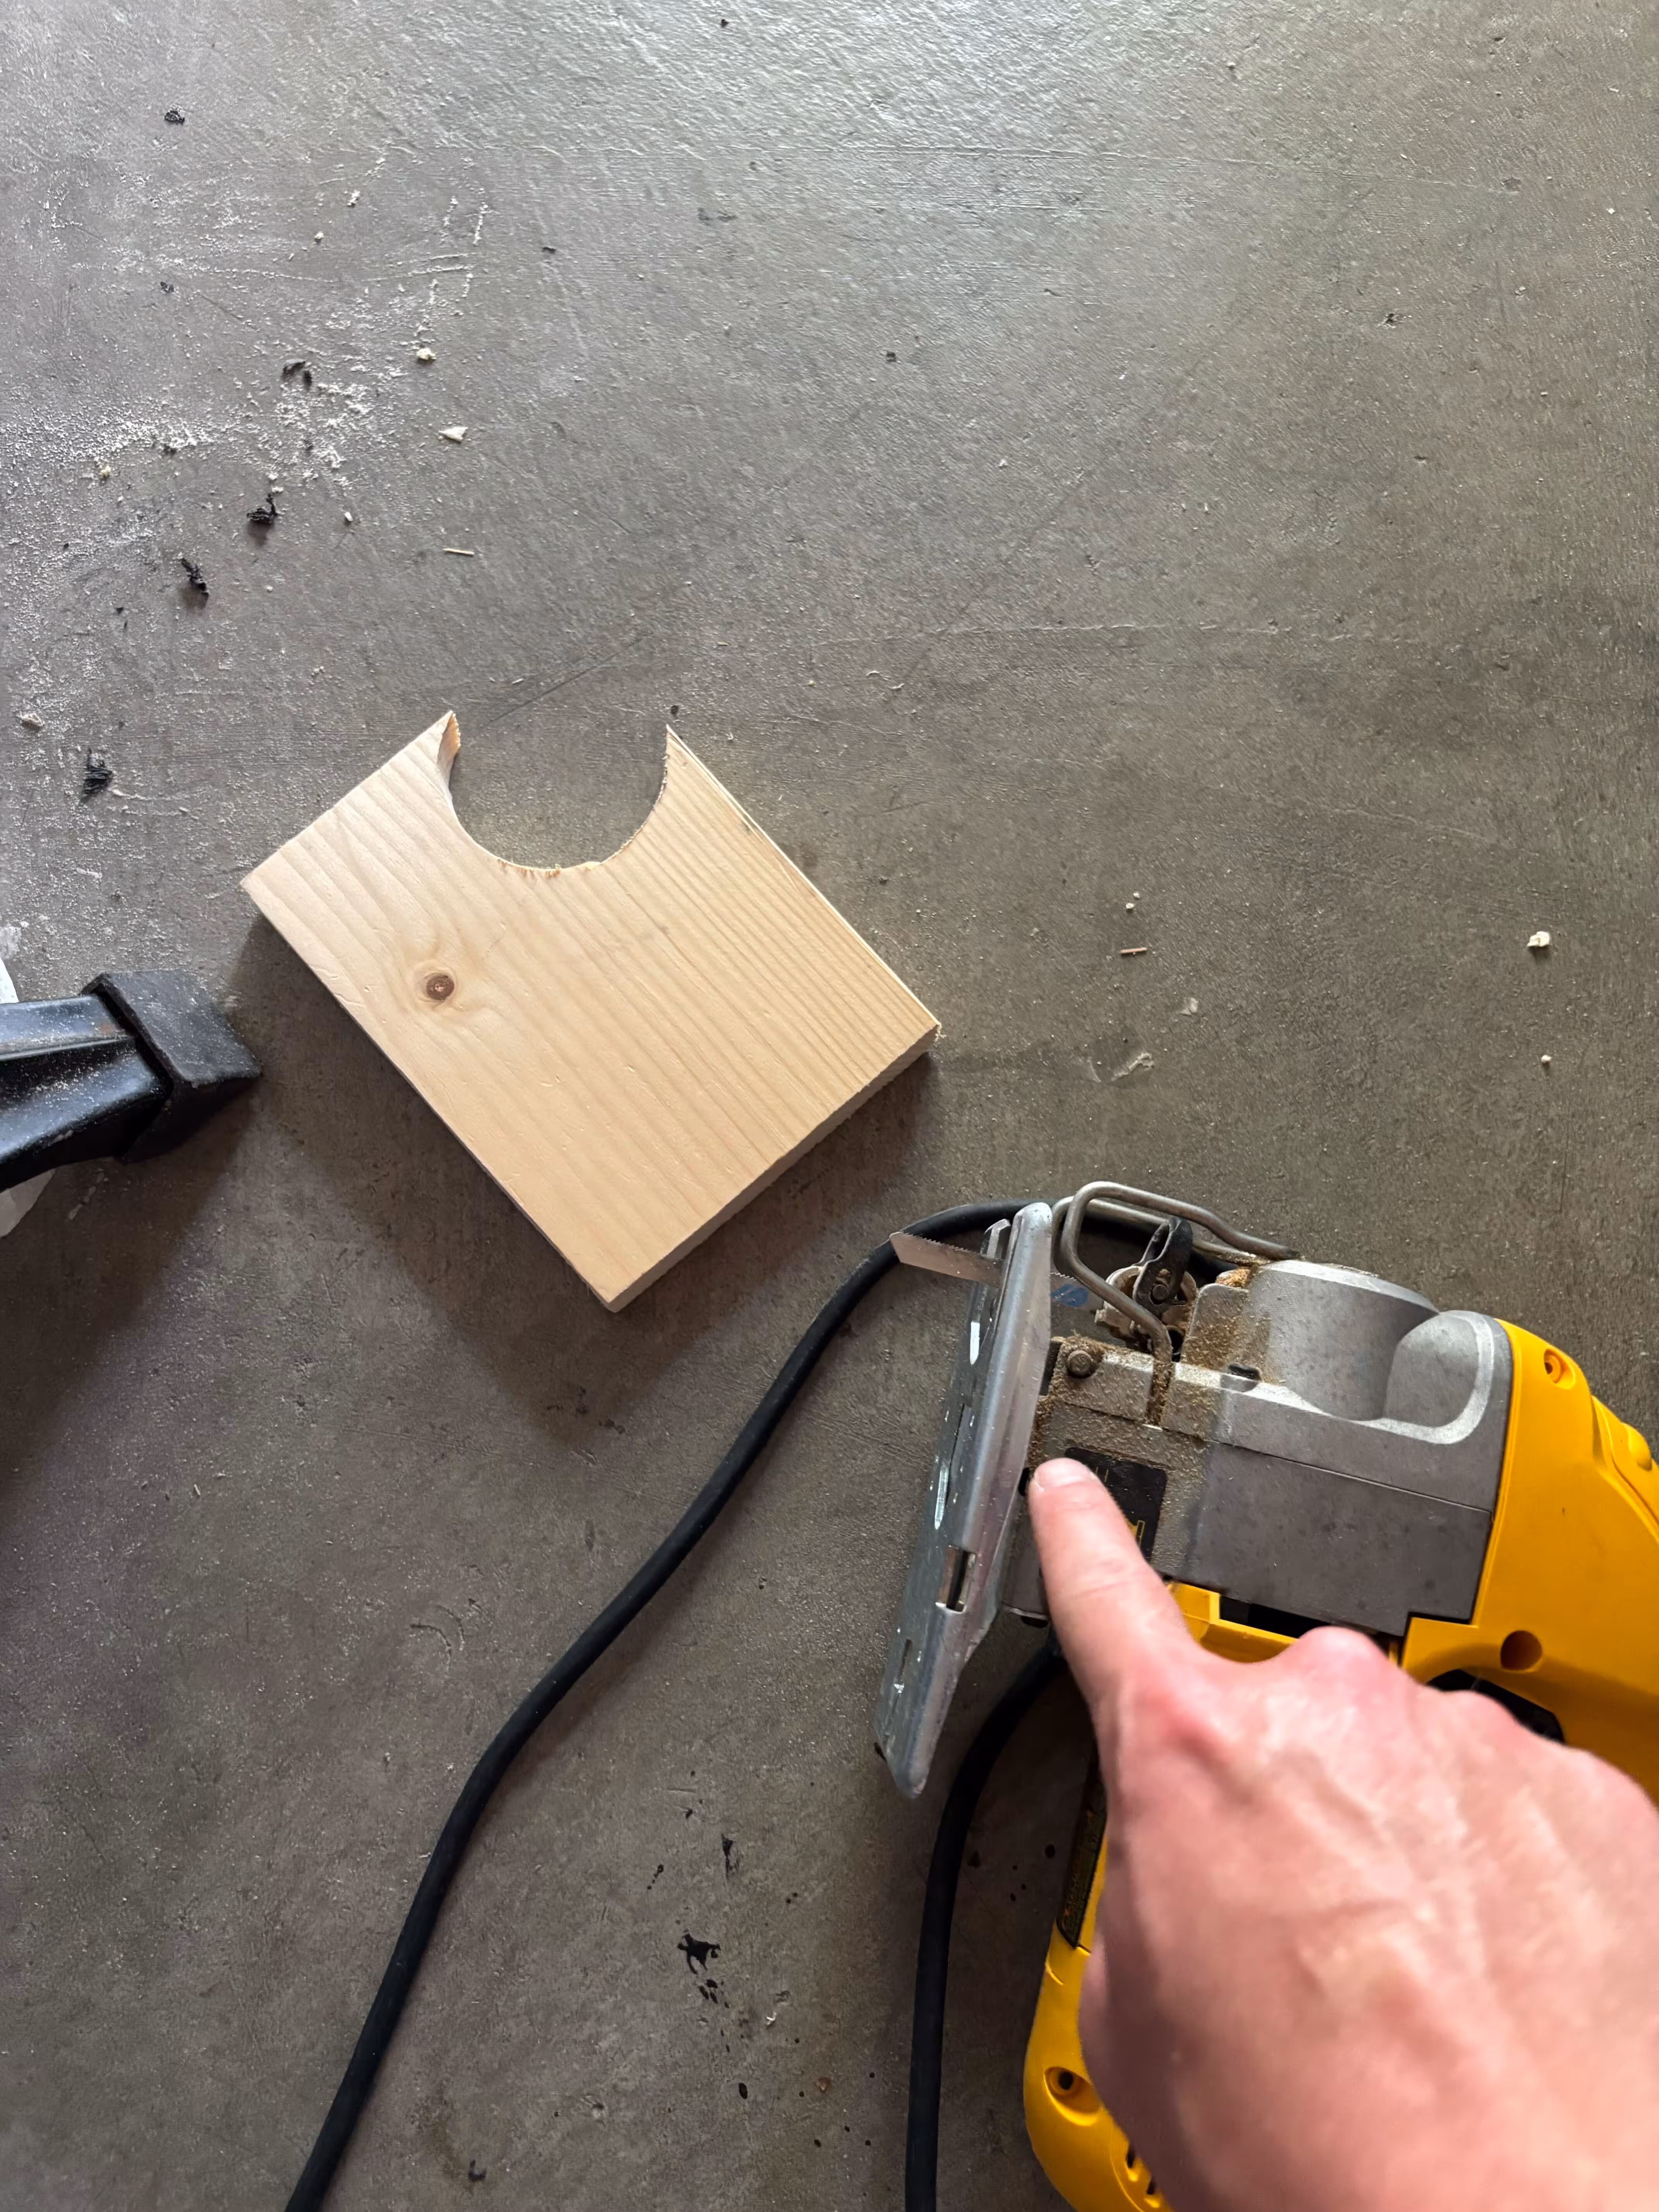
1. Cut a circle spacer out of wood #
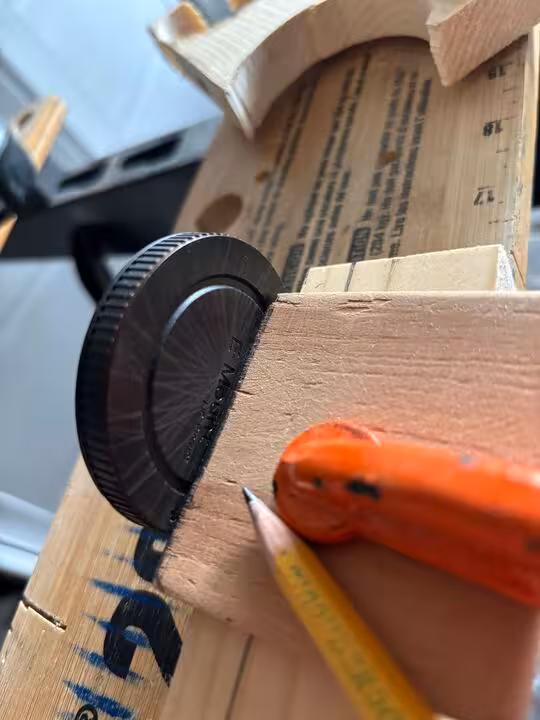
I used a jigsaw to cut a circle out some scrap pine wood to act as a spacer.
The circle was drawn using the camera body cover as a template.
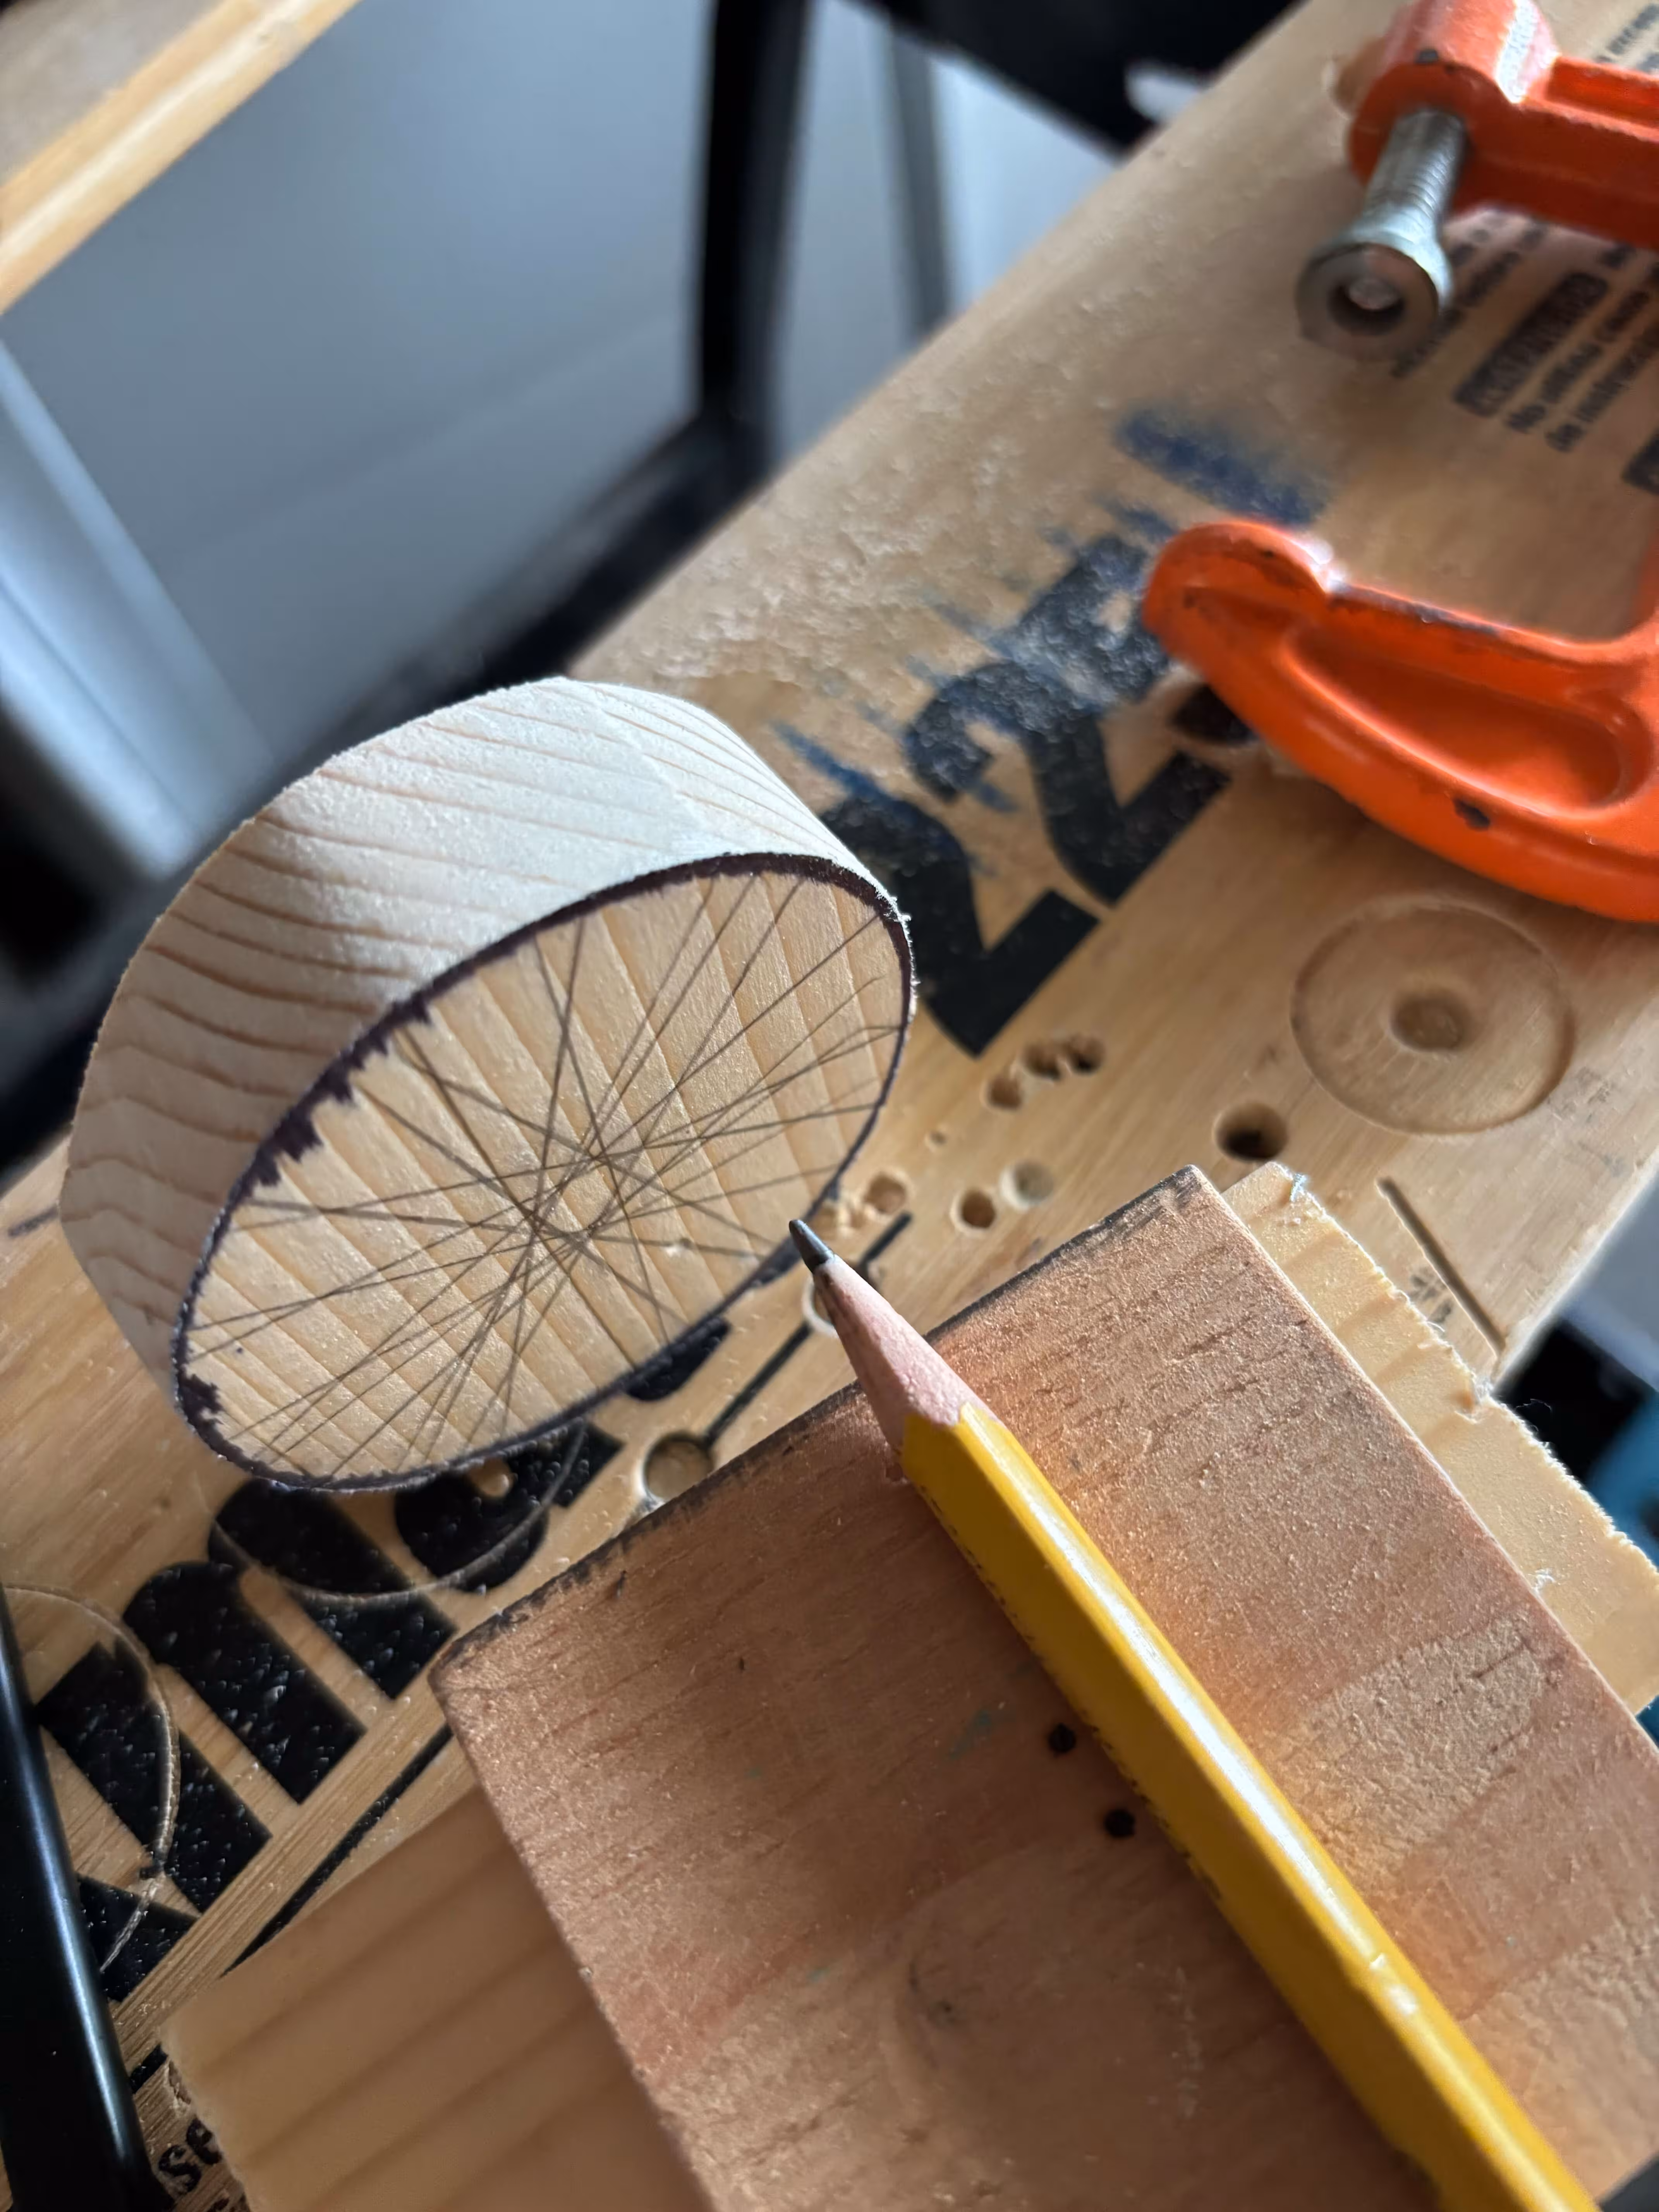
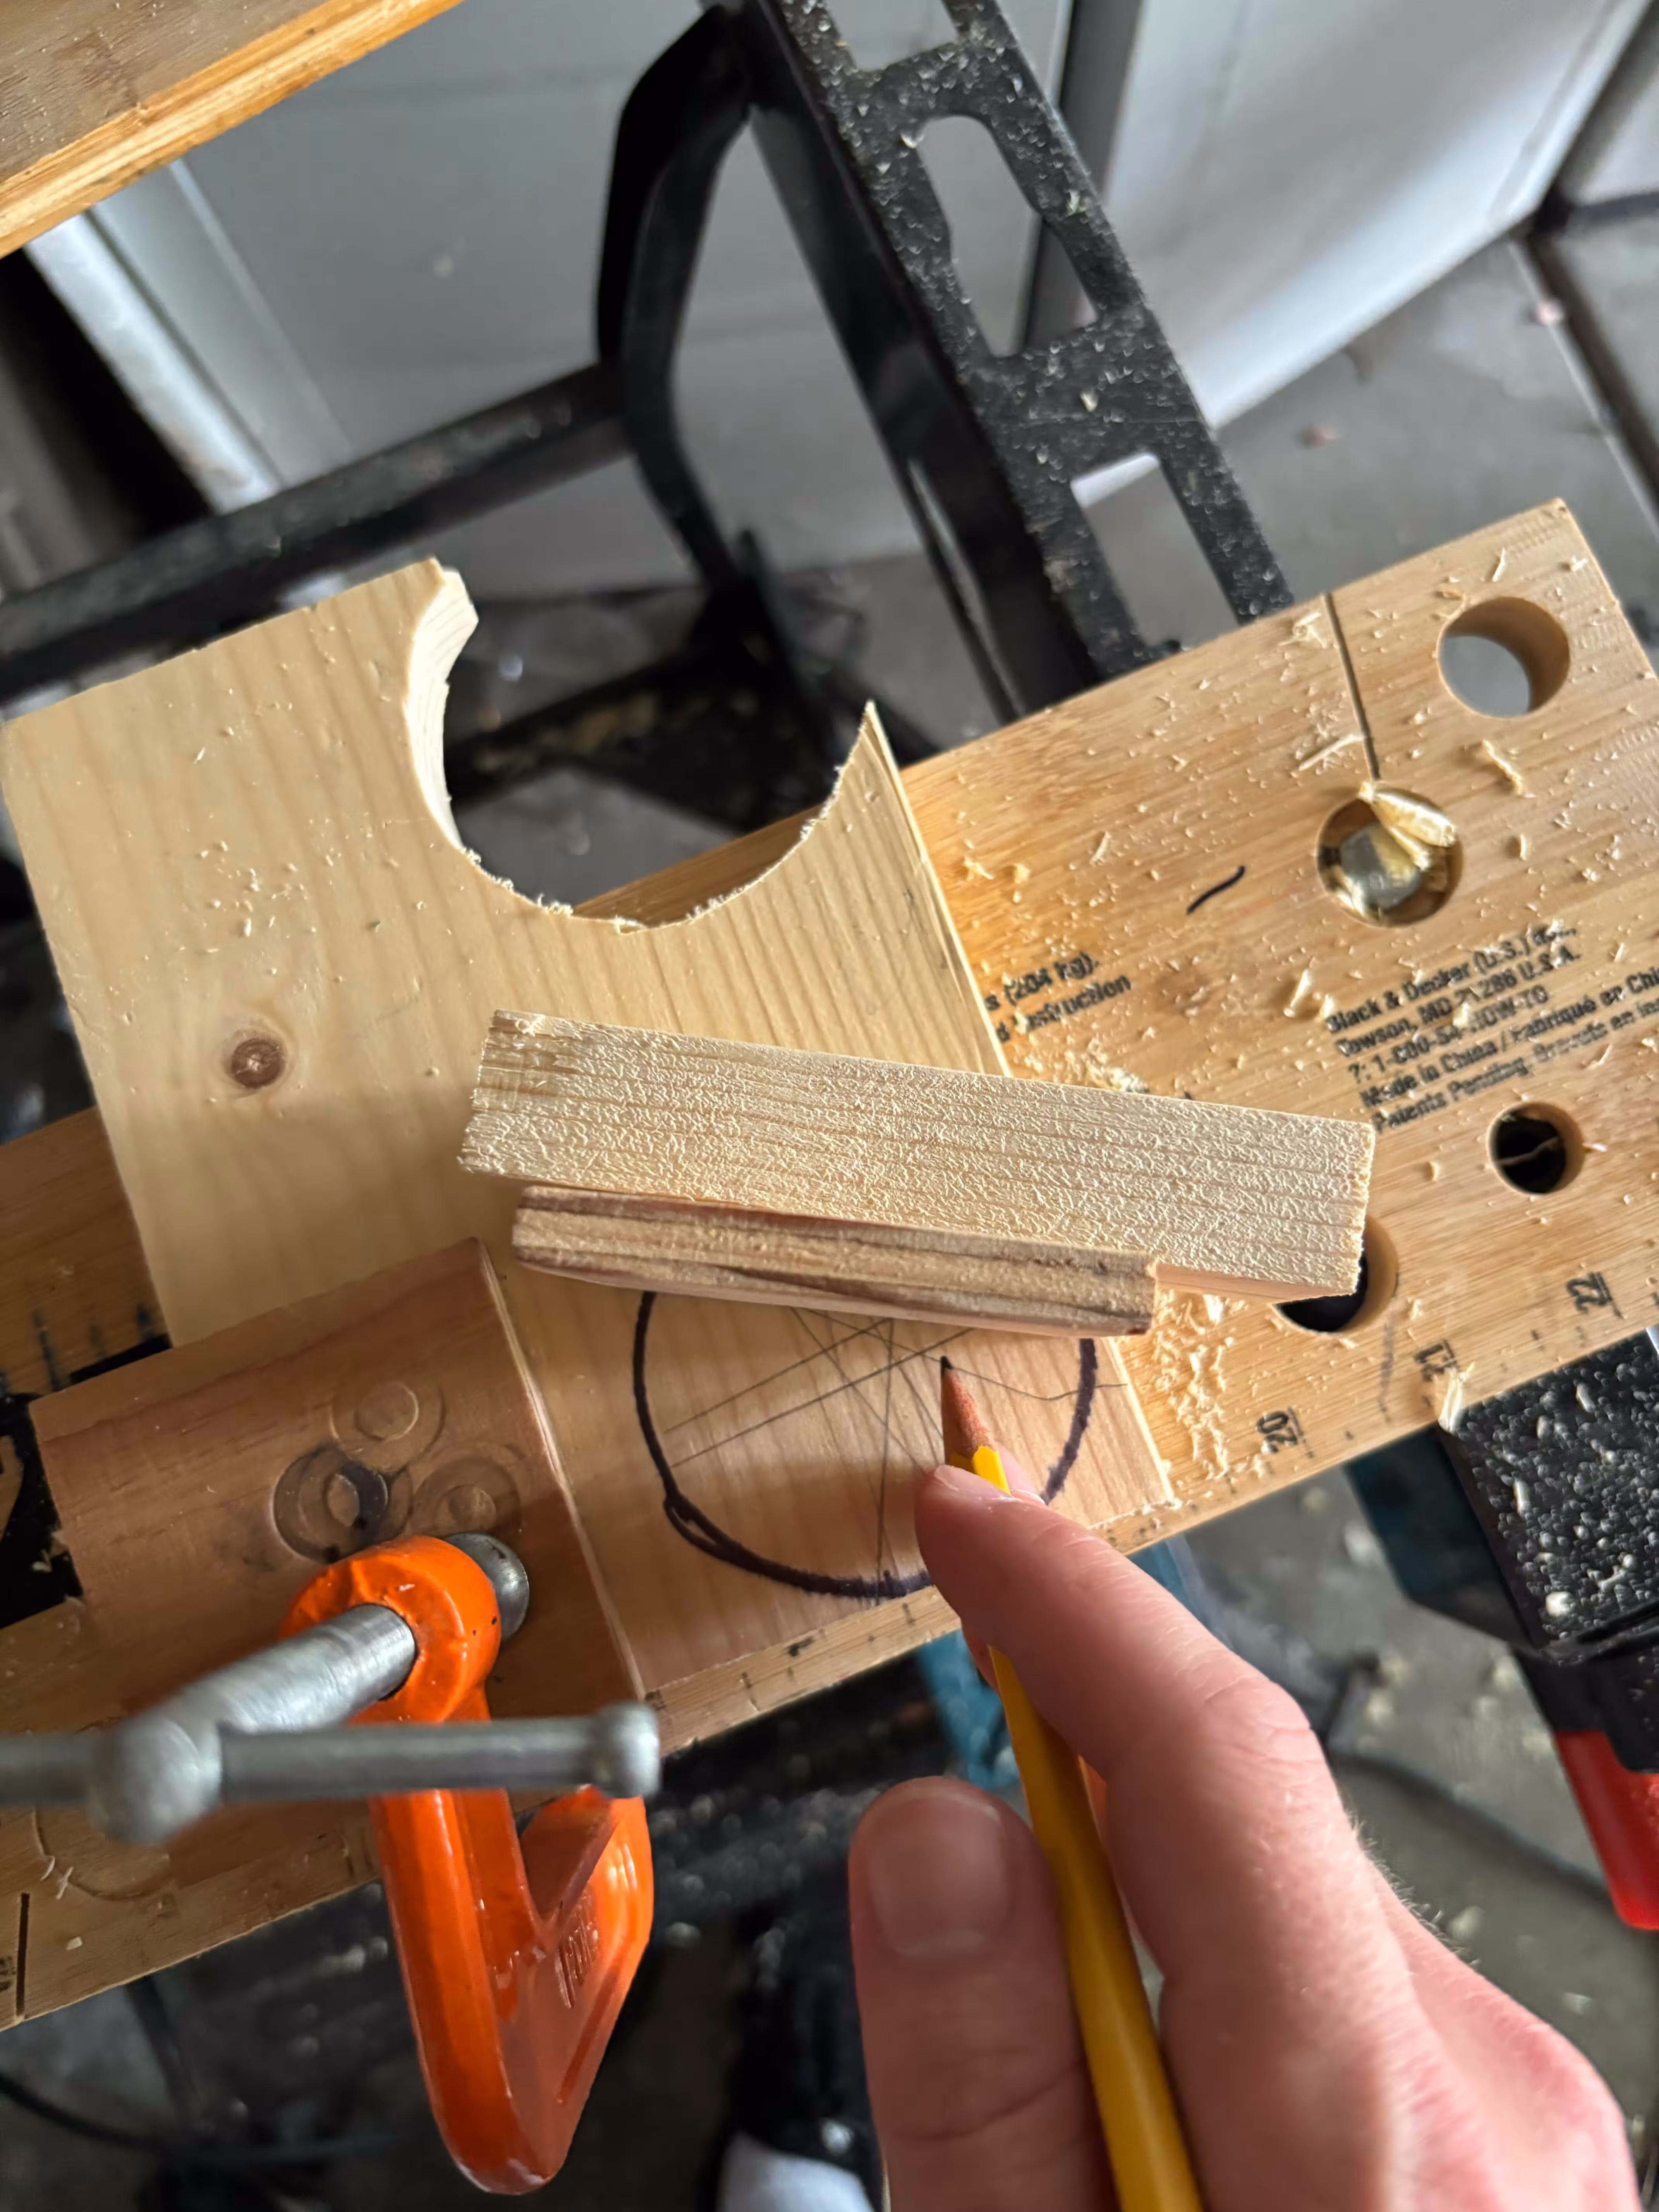
2. Find the center #
I found the center of the circle by drawing many lines.
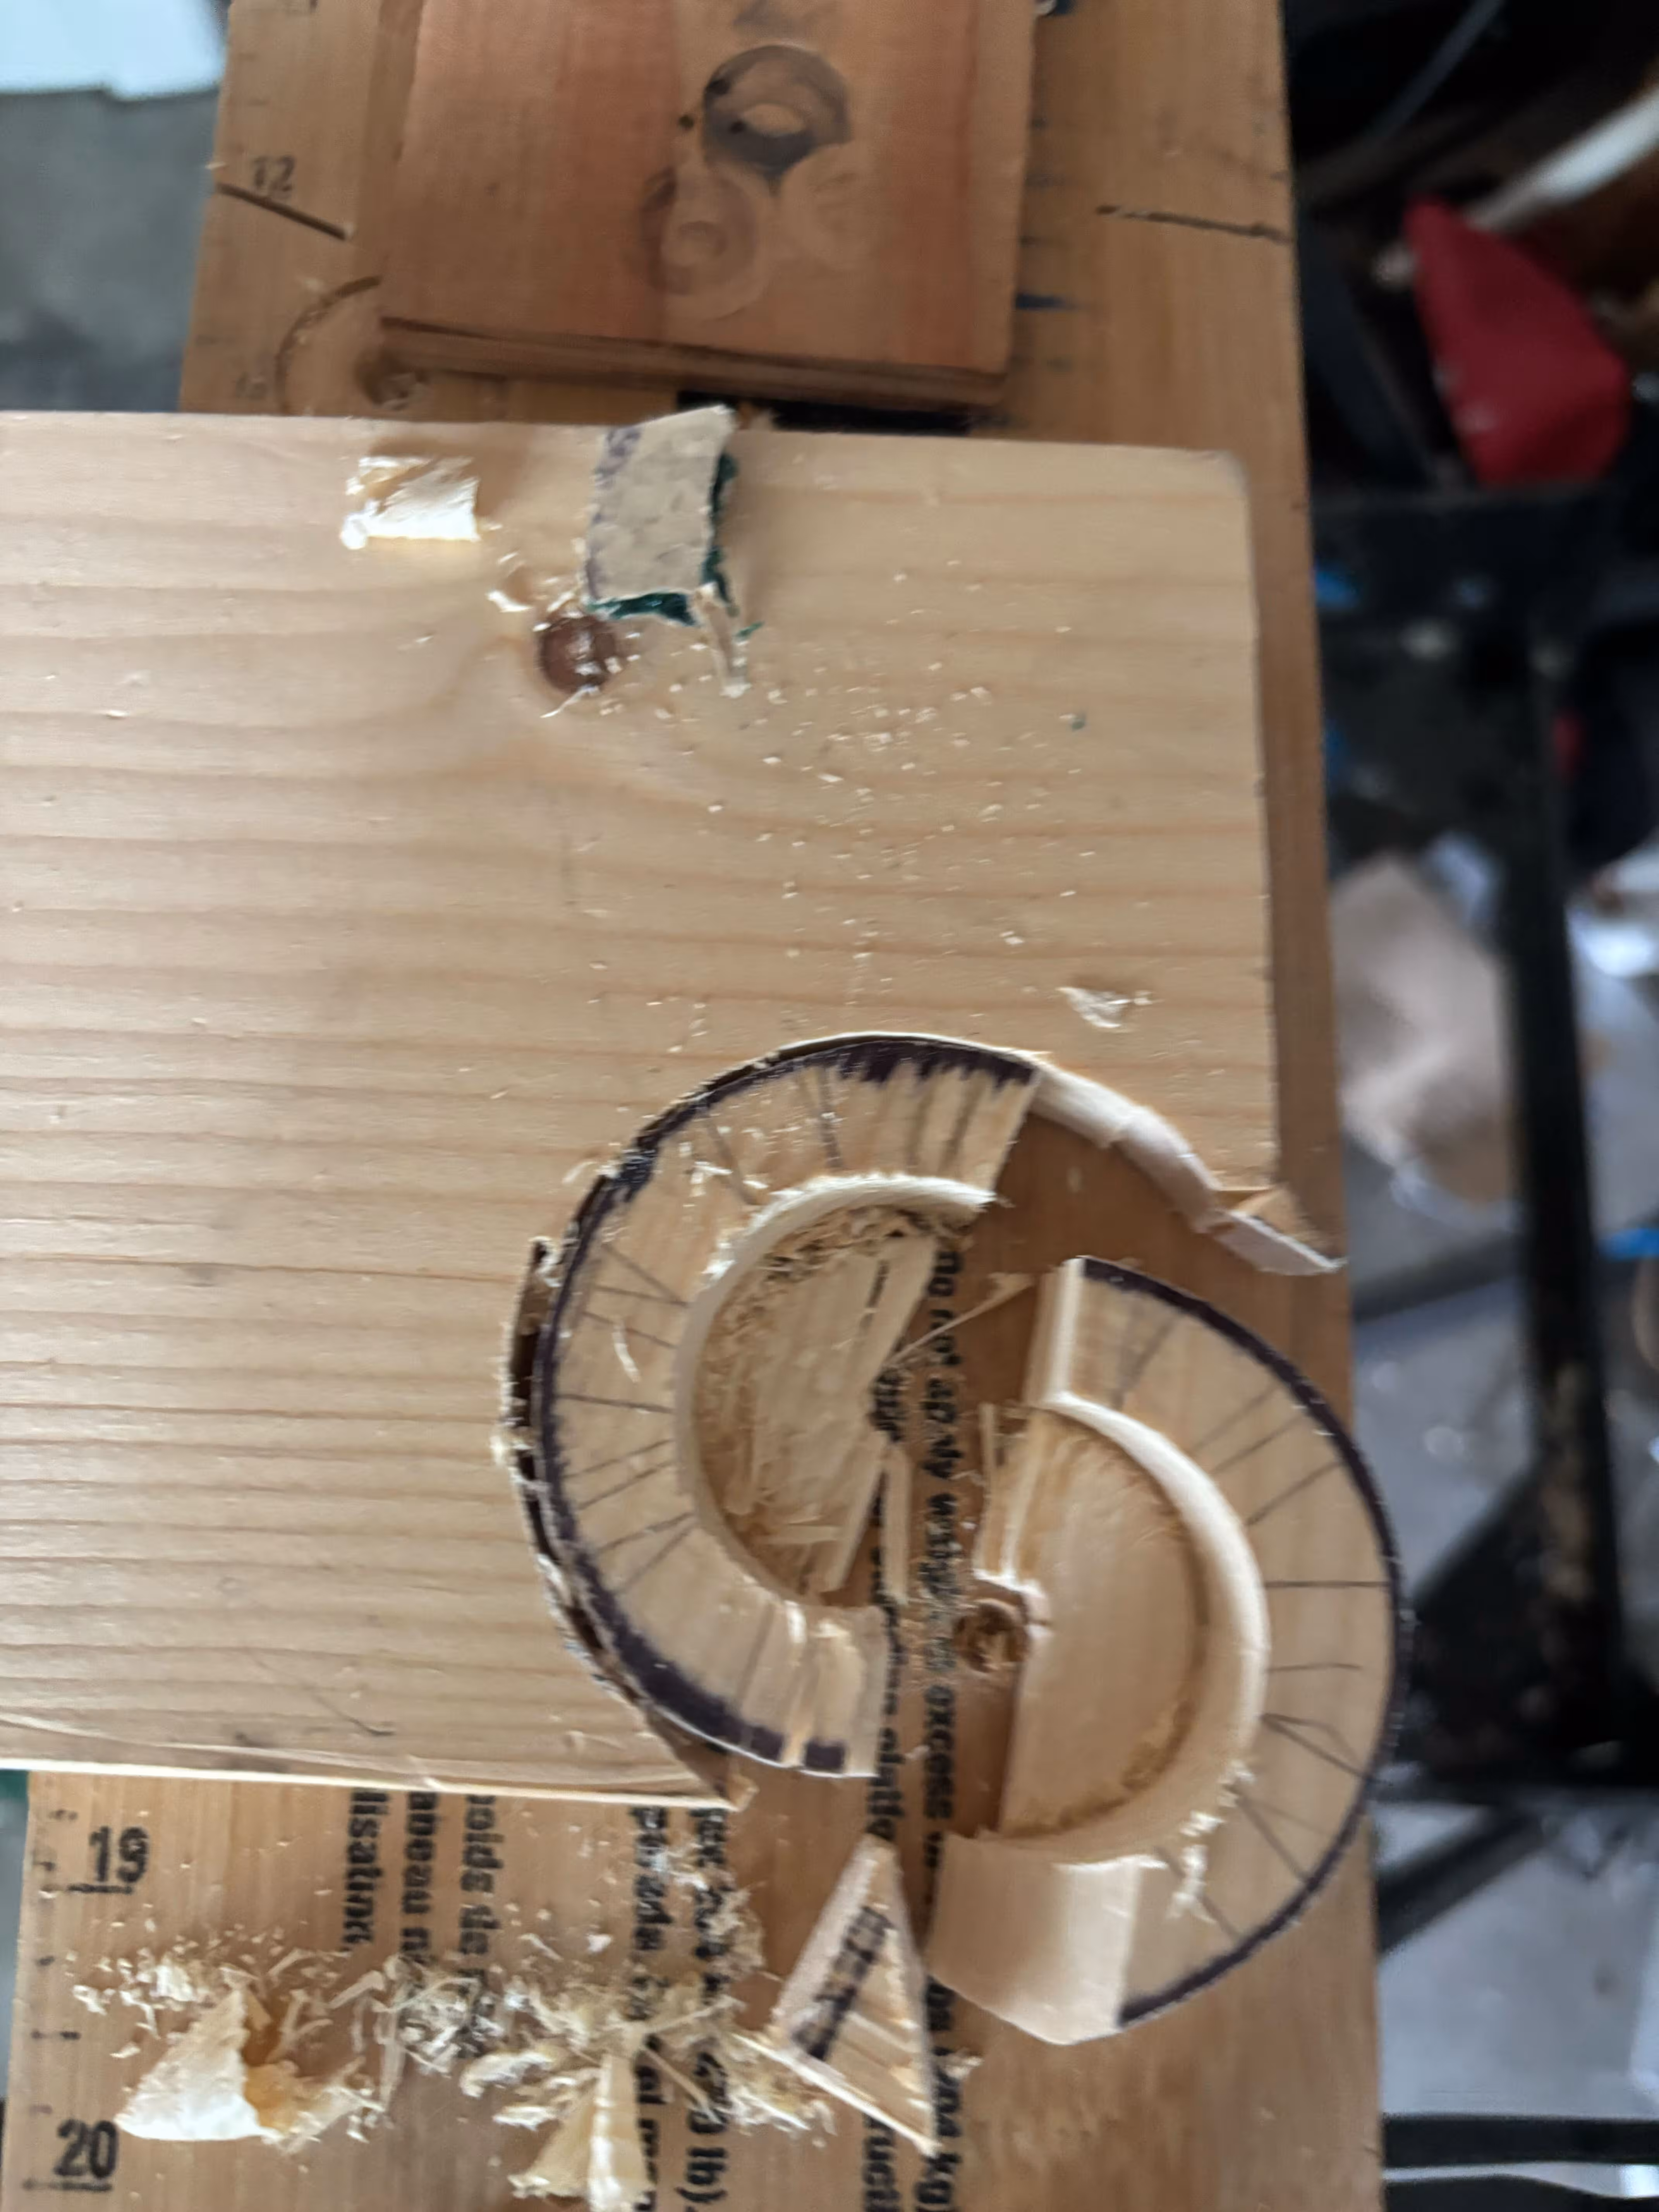
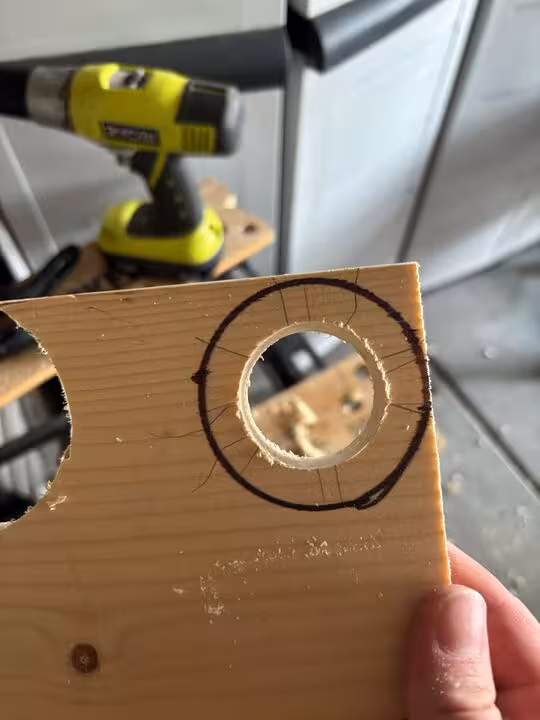
3. Drill out a hole to let light through #
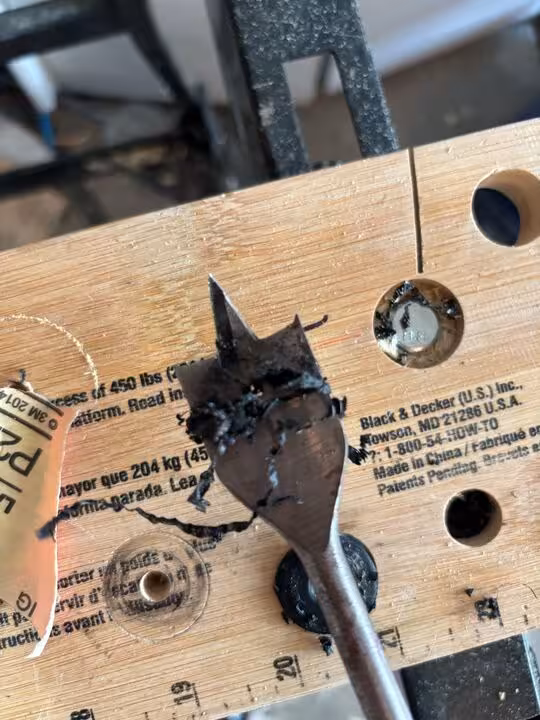
I drilled a hole in the spacer with a 1.5 inch paddle bit…
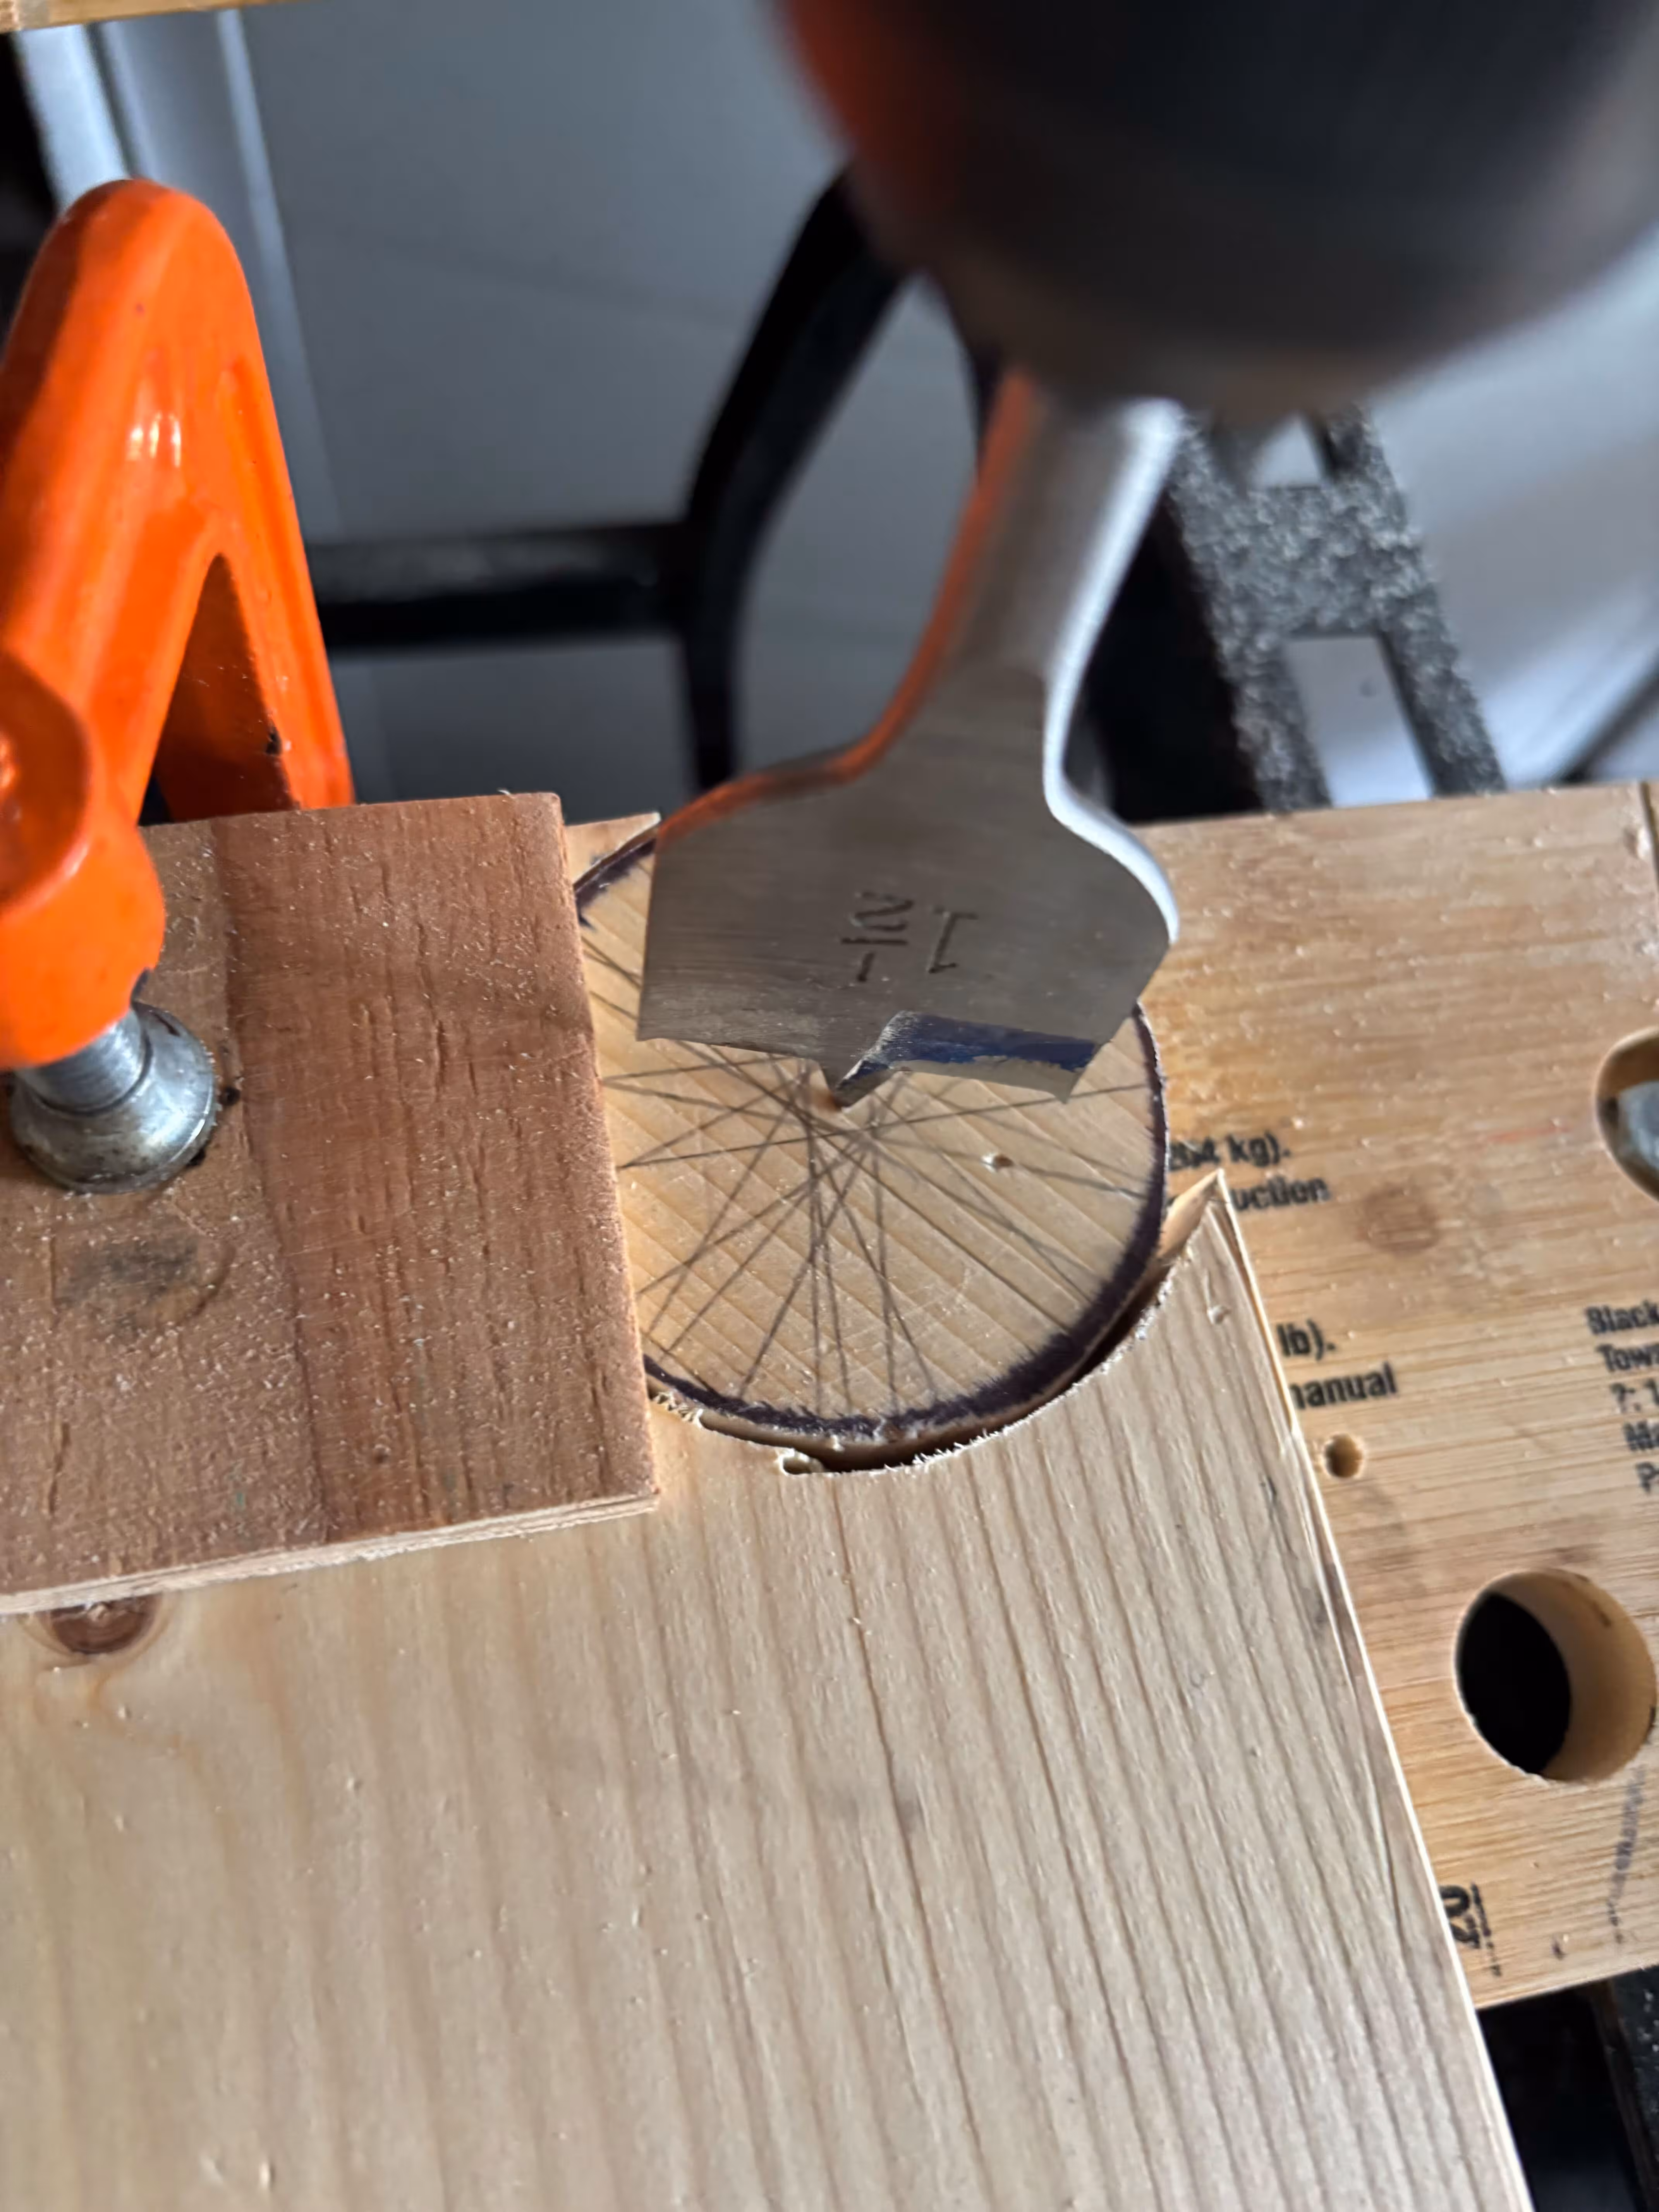
And snap! It broke.
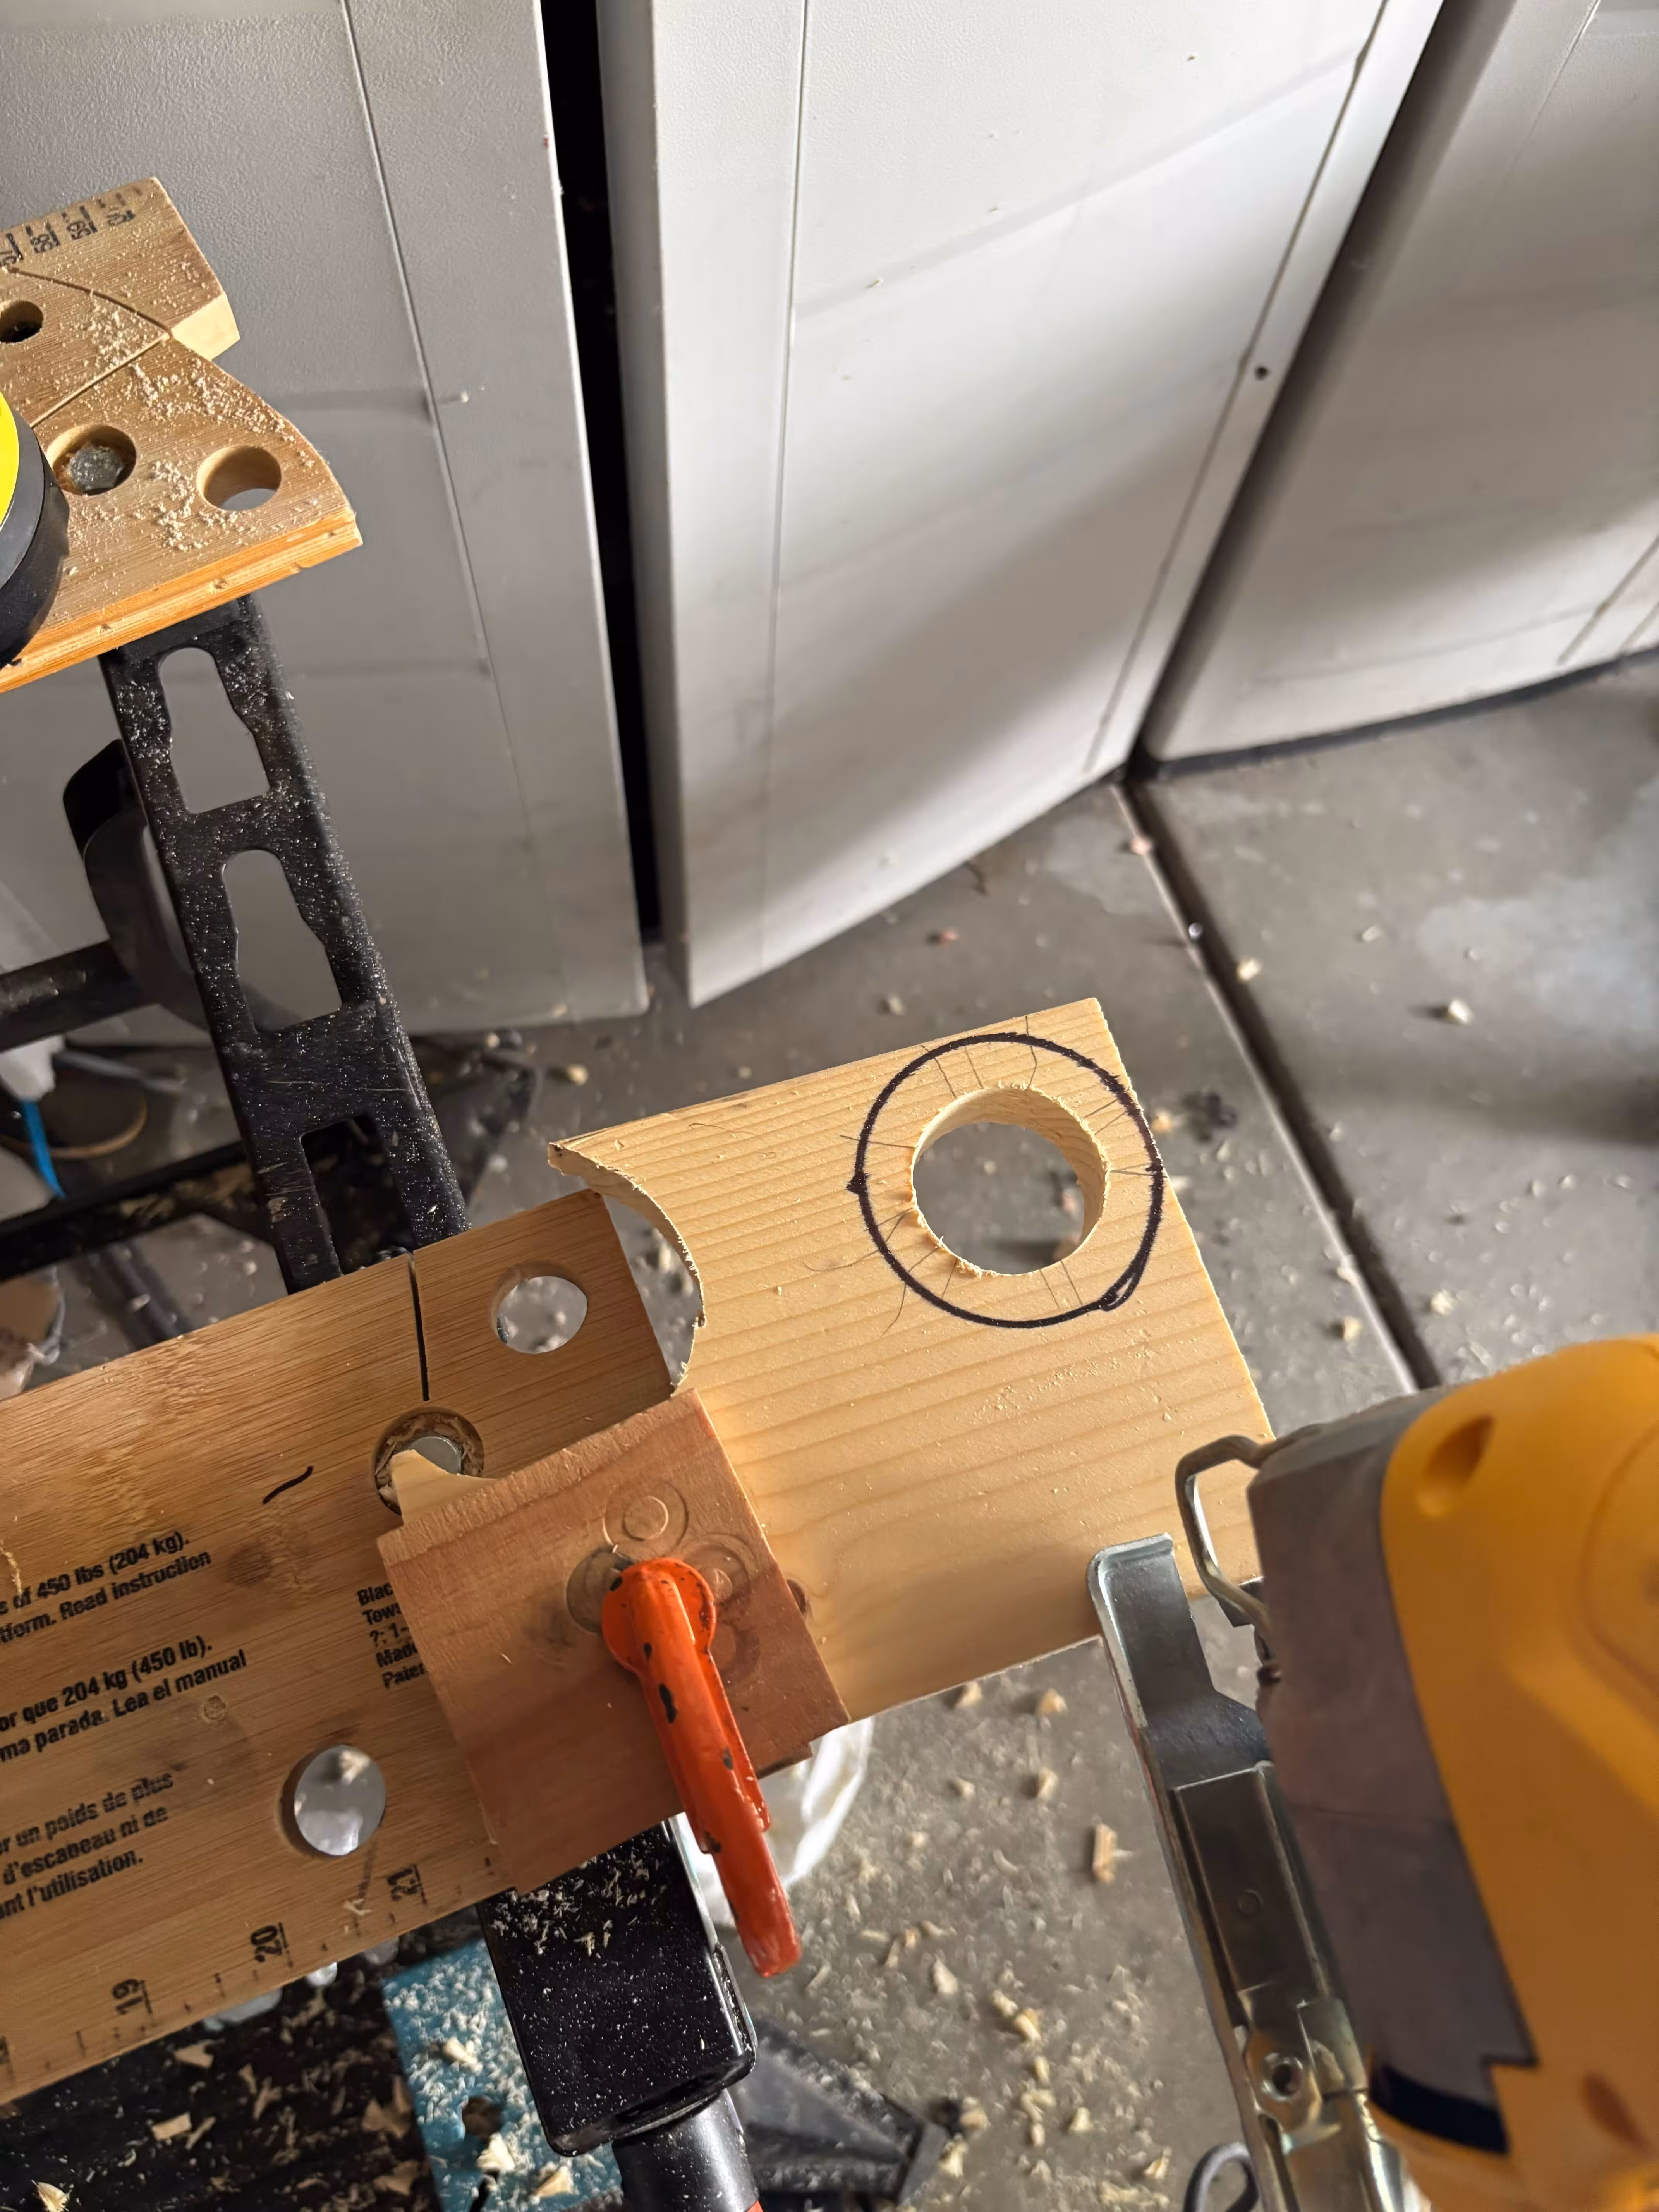
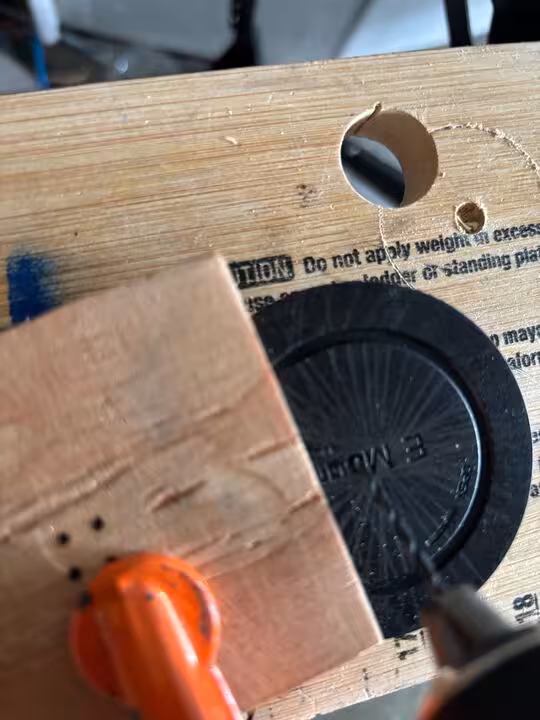
4. Drill a hole in the scrap wood first #
I learned from my mistake and started by drilling a 1.5 inch hole with the same bit in the scrap wood first.
I first found the center the same way.
And then I drilled the hole.
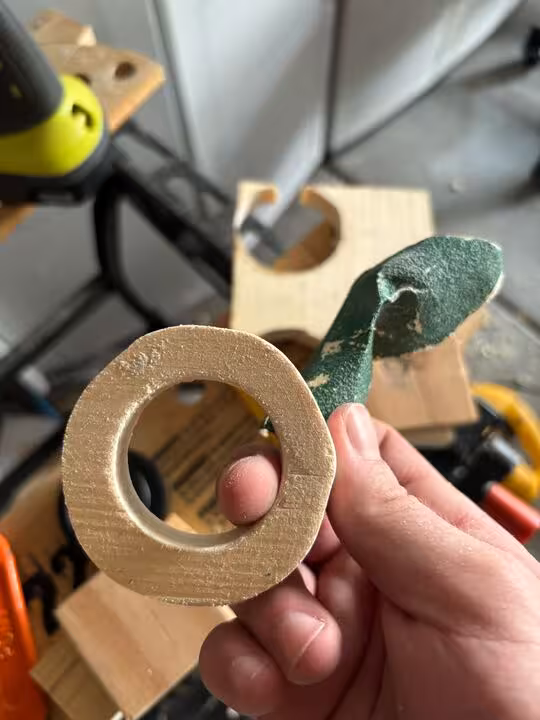
5. Cut out the spacer #
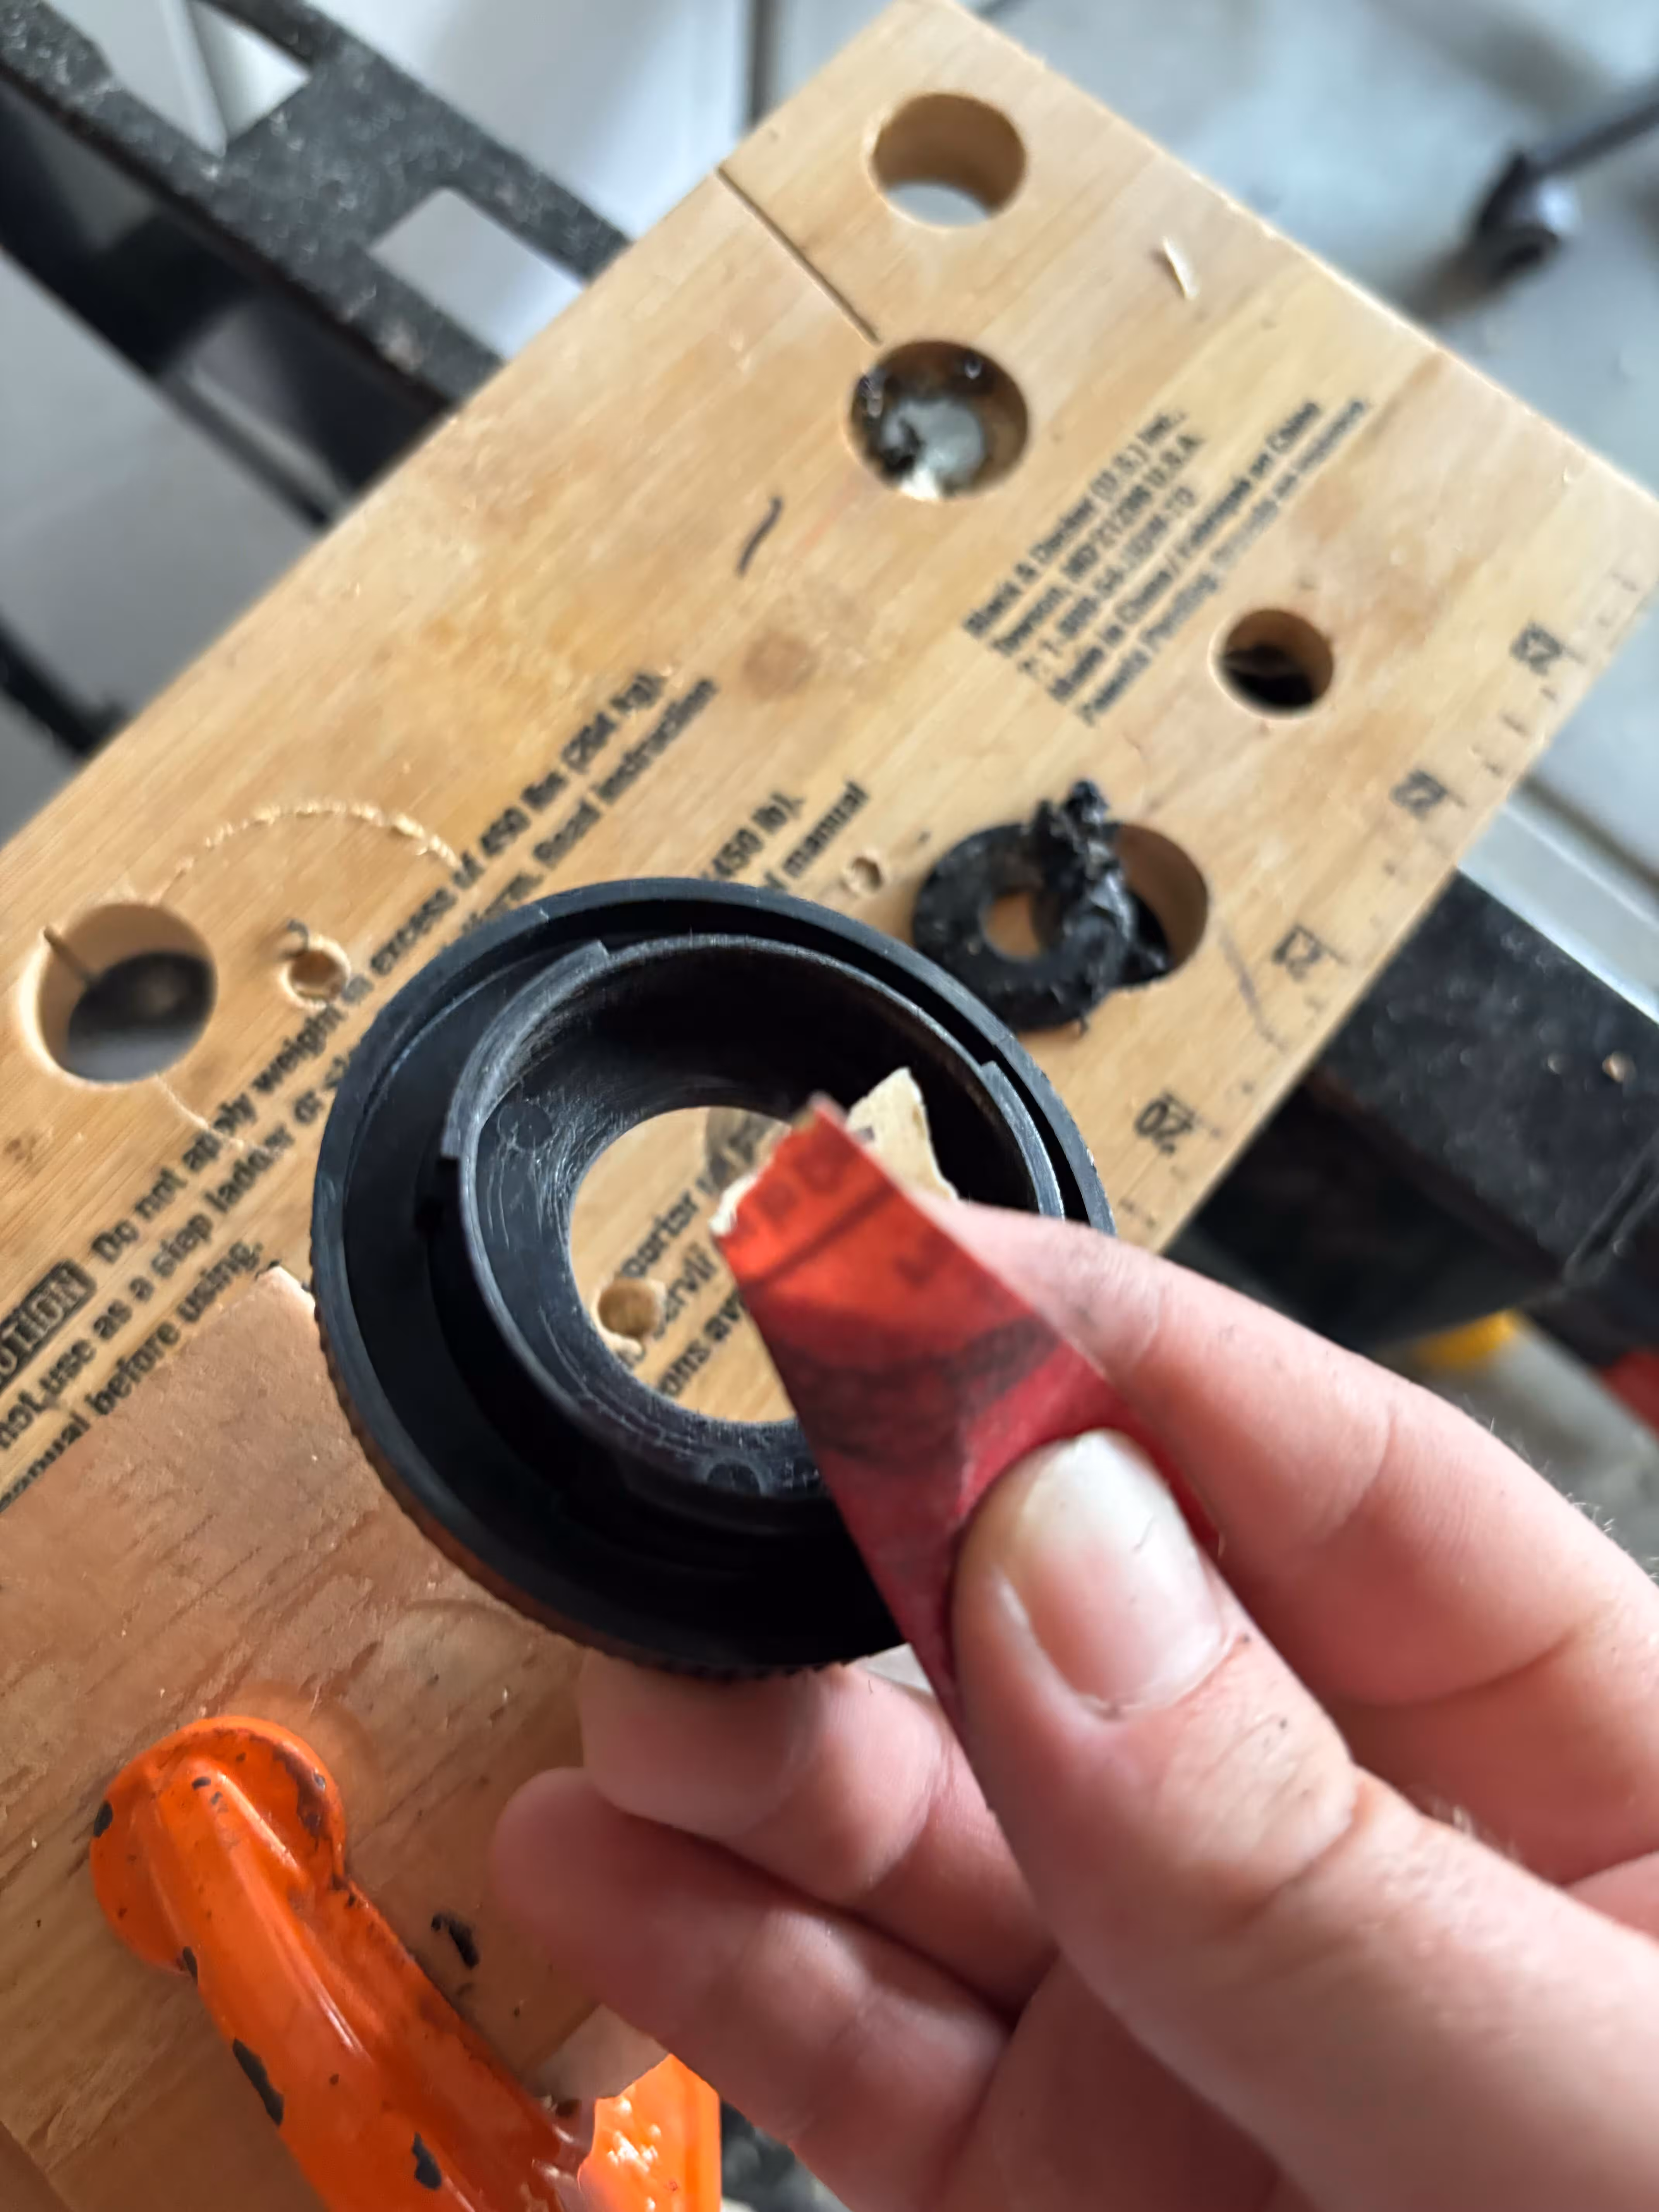
I cut out the spacer with the hole already drilled.
I also sanded down the spacer with two grits of sandpaper.
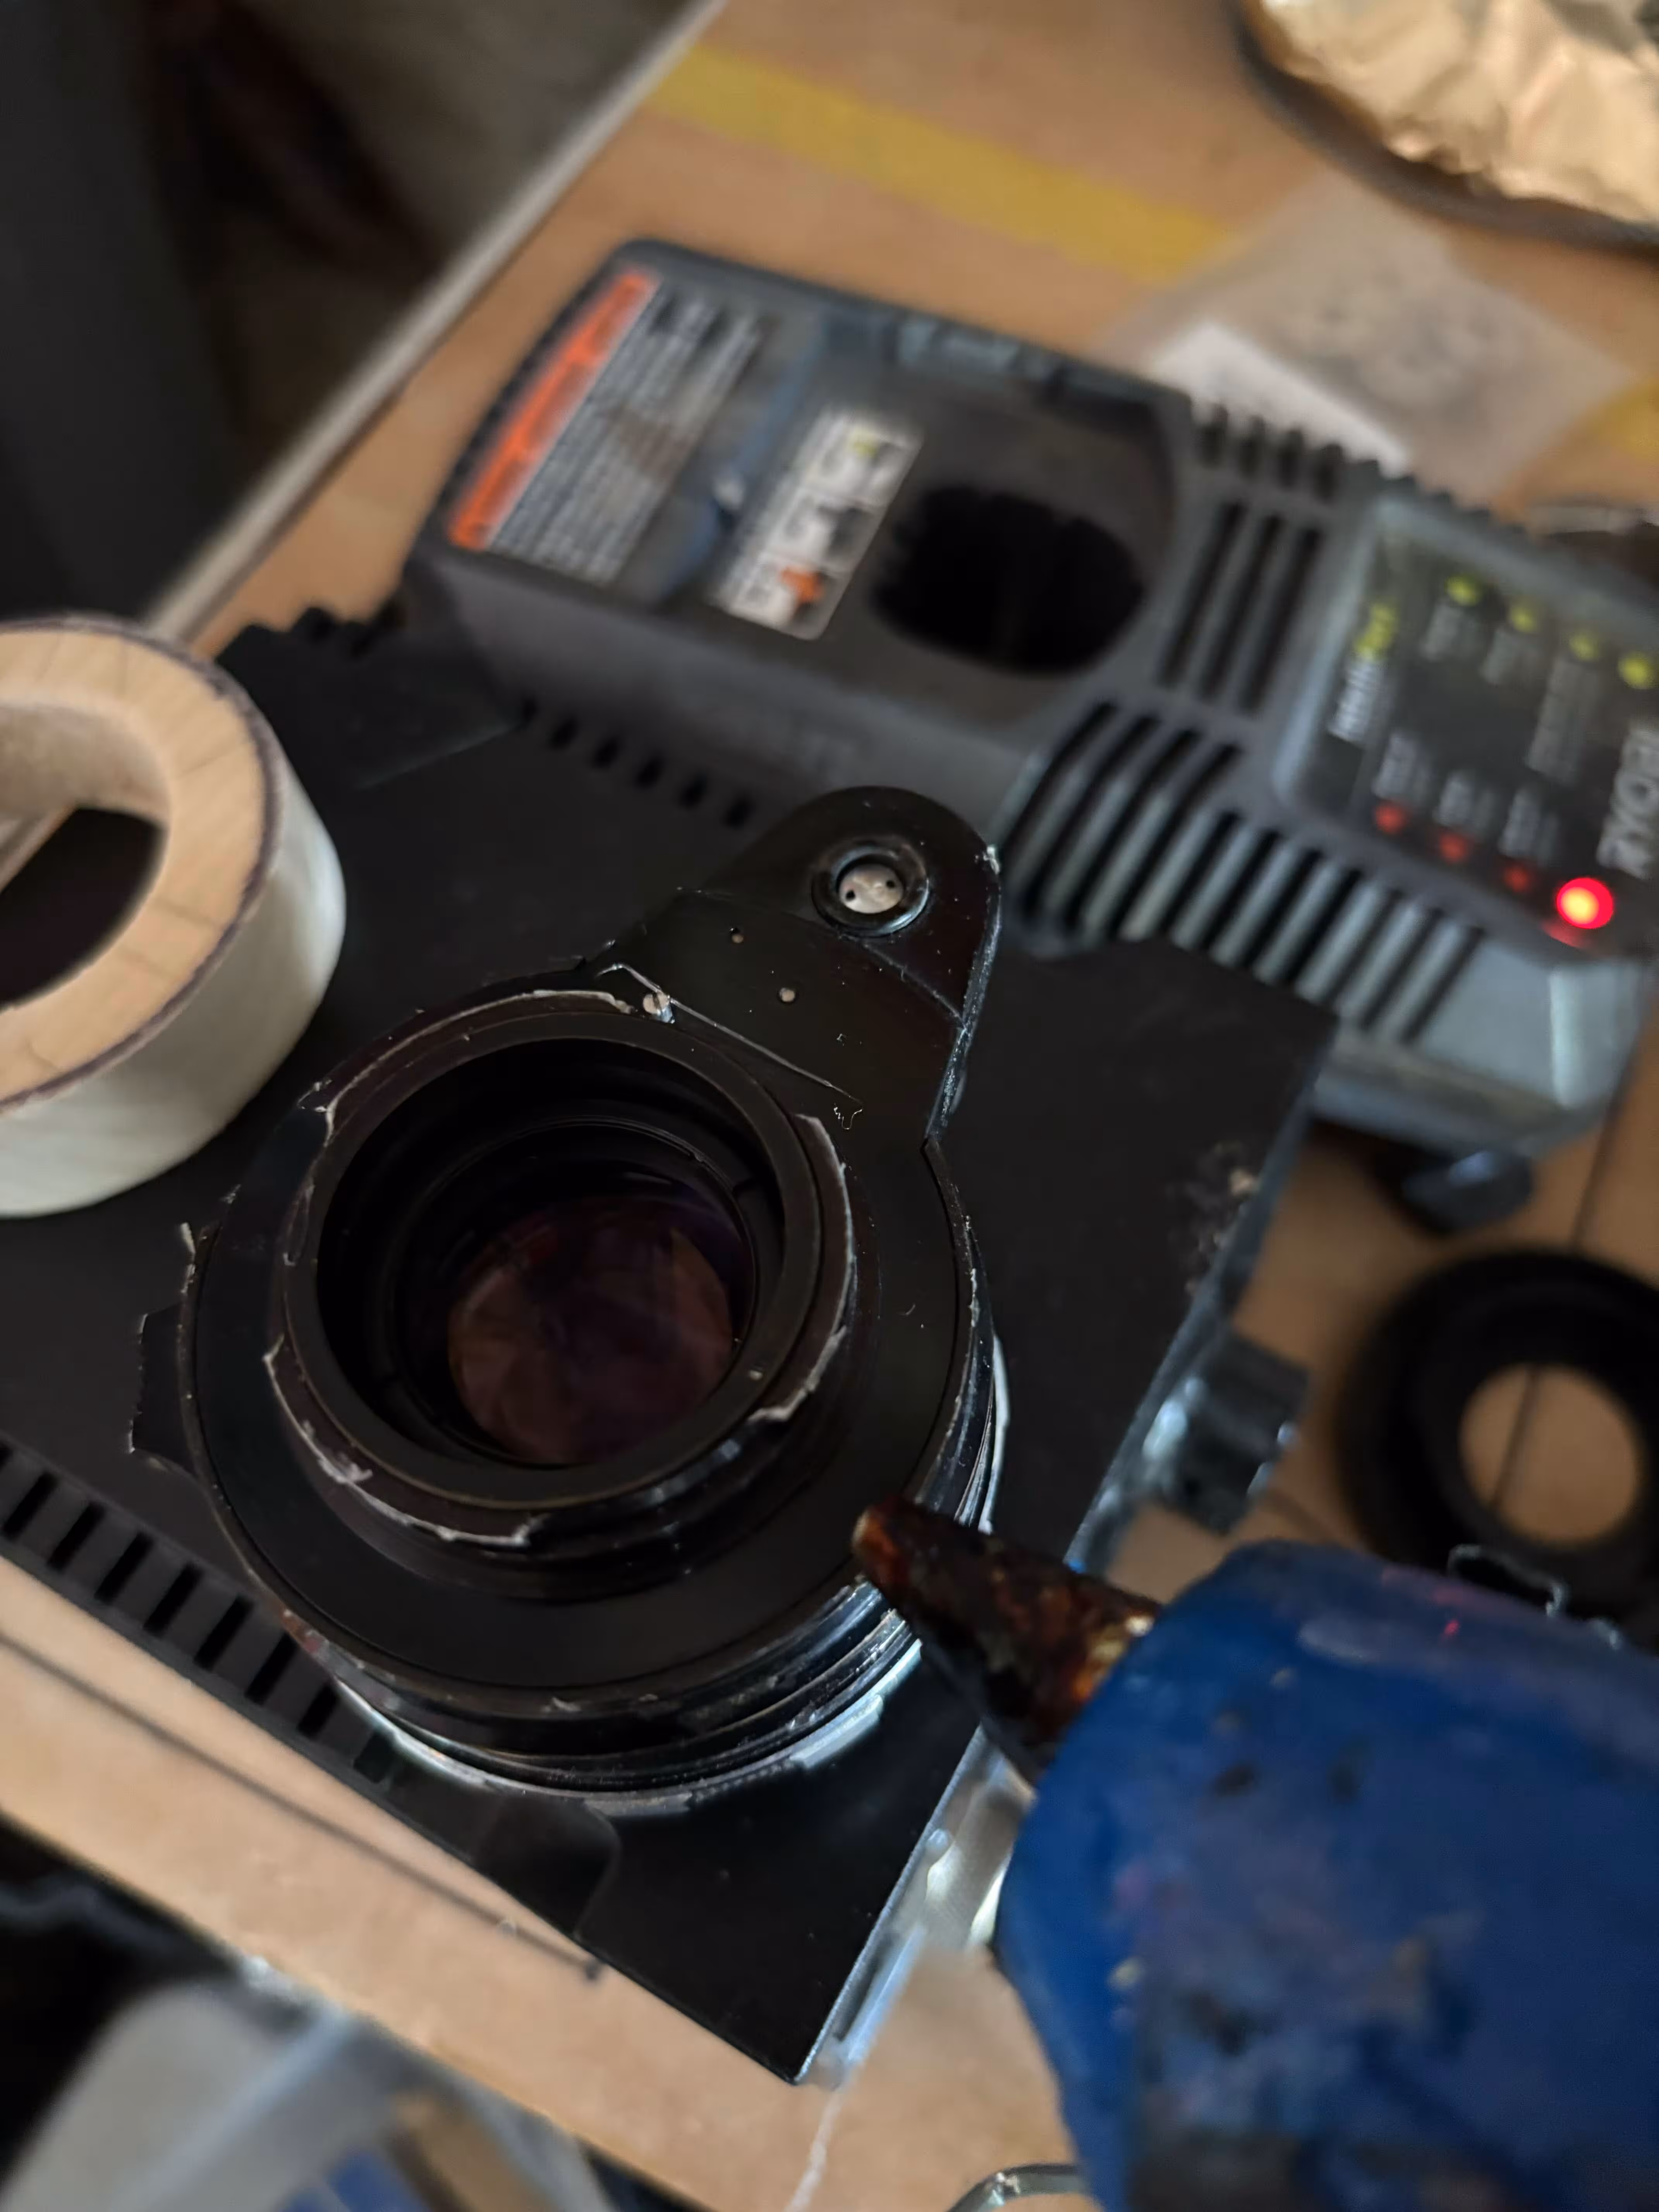
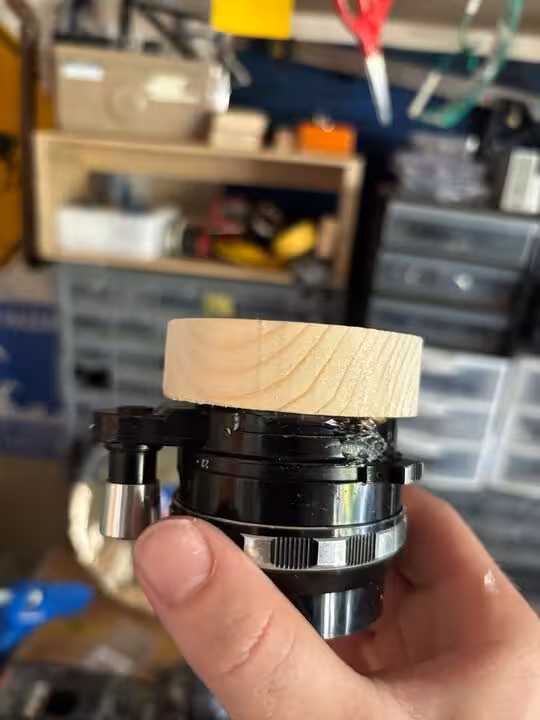
6. Glue the space to the lens #
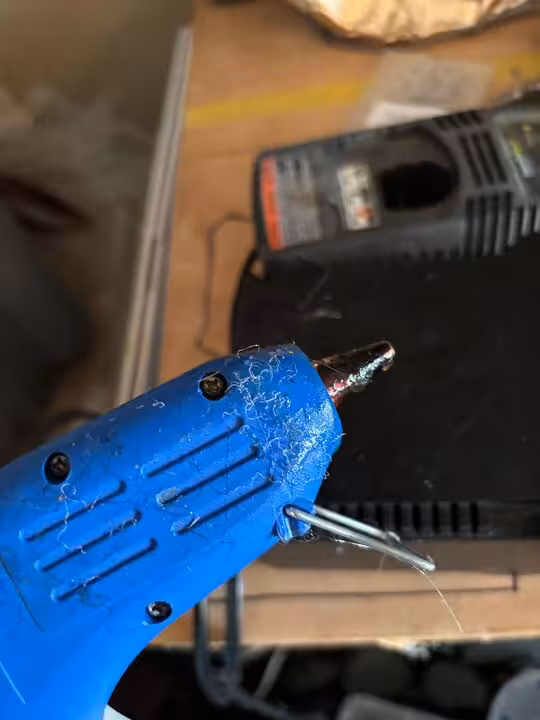
I used hot glue to glue the spacer to the lens of the Exakta.
7. Find the center of the cover #
I found the center of the camera body cover using the many lines trick.
8. Drill a pilot hole #
I drilled a pilot hole with a small bit to make the centering of the paddle bit easier.
9. Drill a hole with a 1 inch paddle bit #
I drilled a hole in the camera body cover with a 1 inch paddle bit to allow light through.
And sanded down the edges with two different grits of sandpaper.
I also washed the piece in the sink and dried it off with a towel.
10. I glued the cover to the spacer #
I used hot glue to attach the spacer to the camera body cover to complete the build.
Done Building #

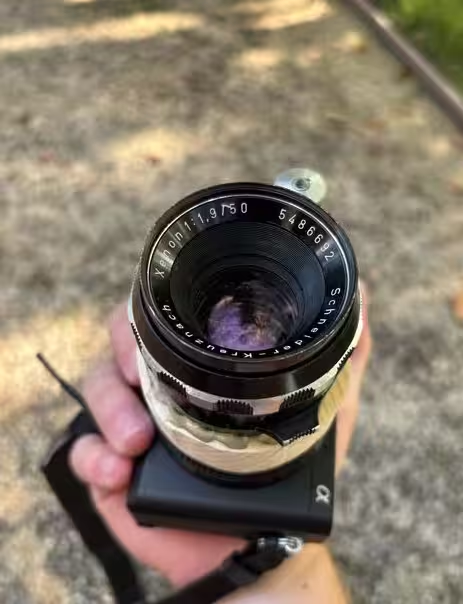
Testing #
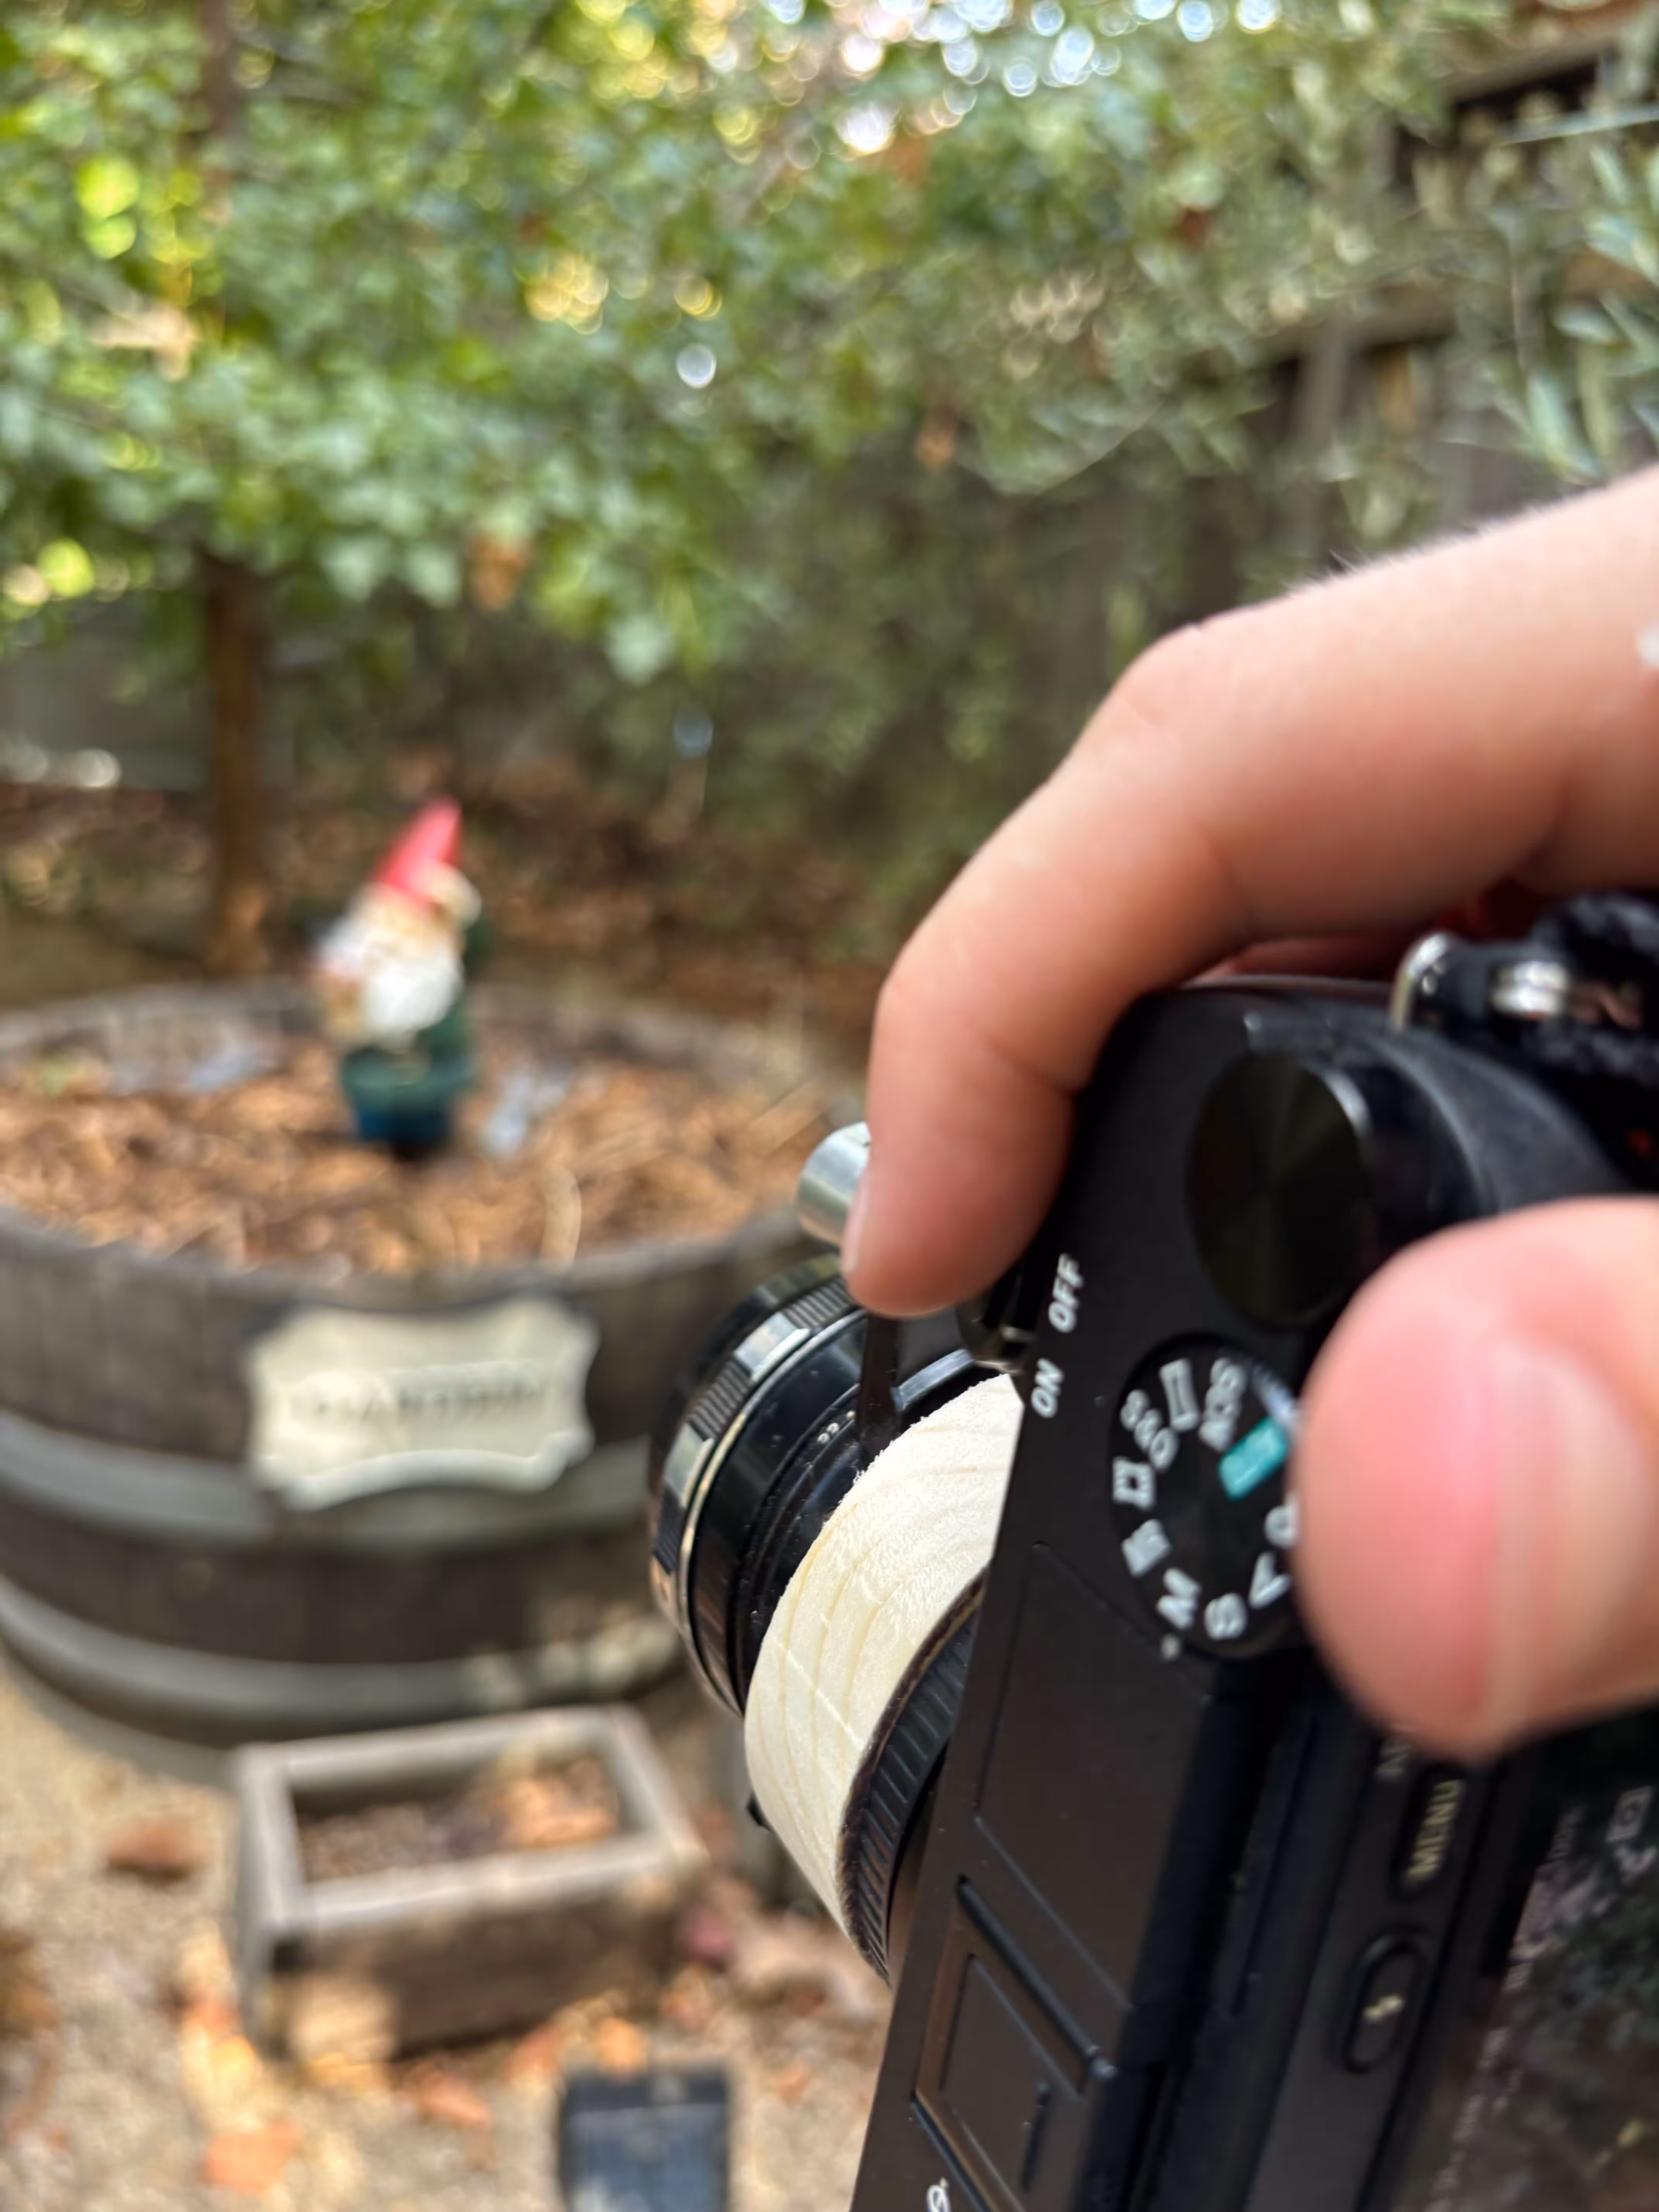
Result #
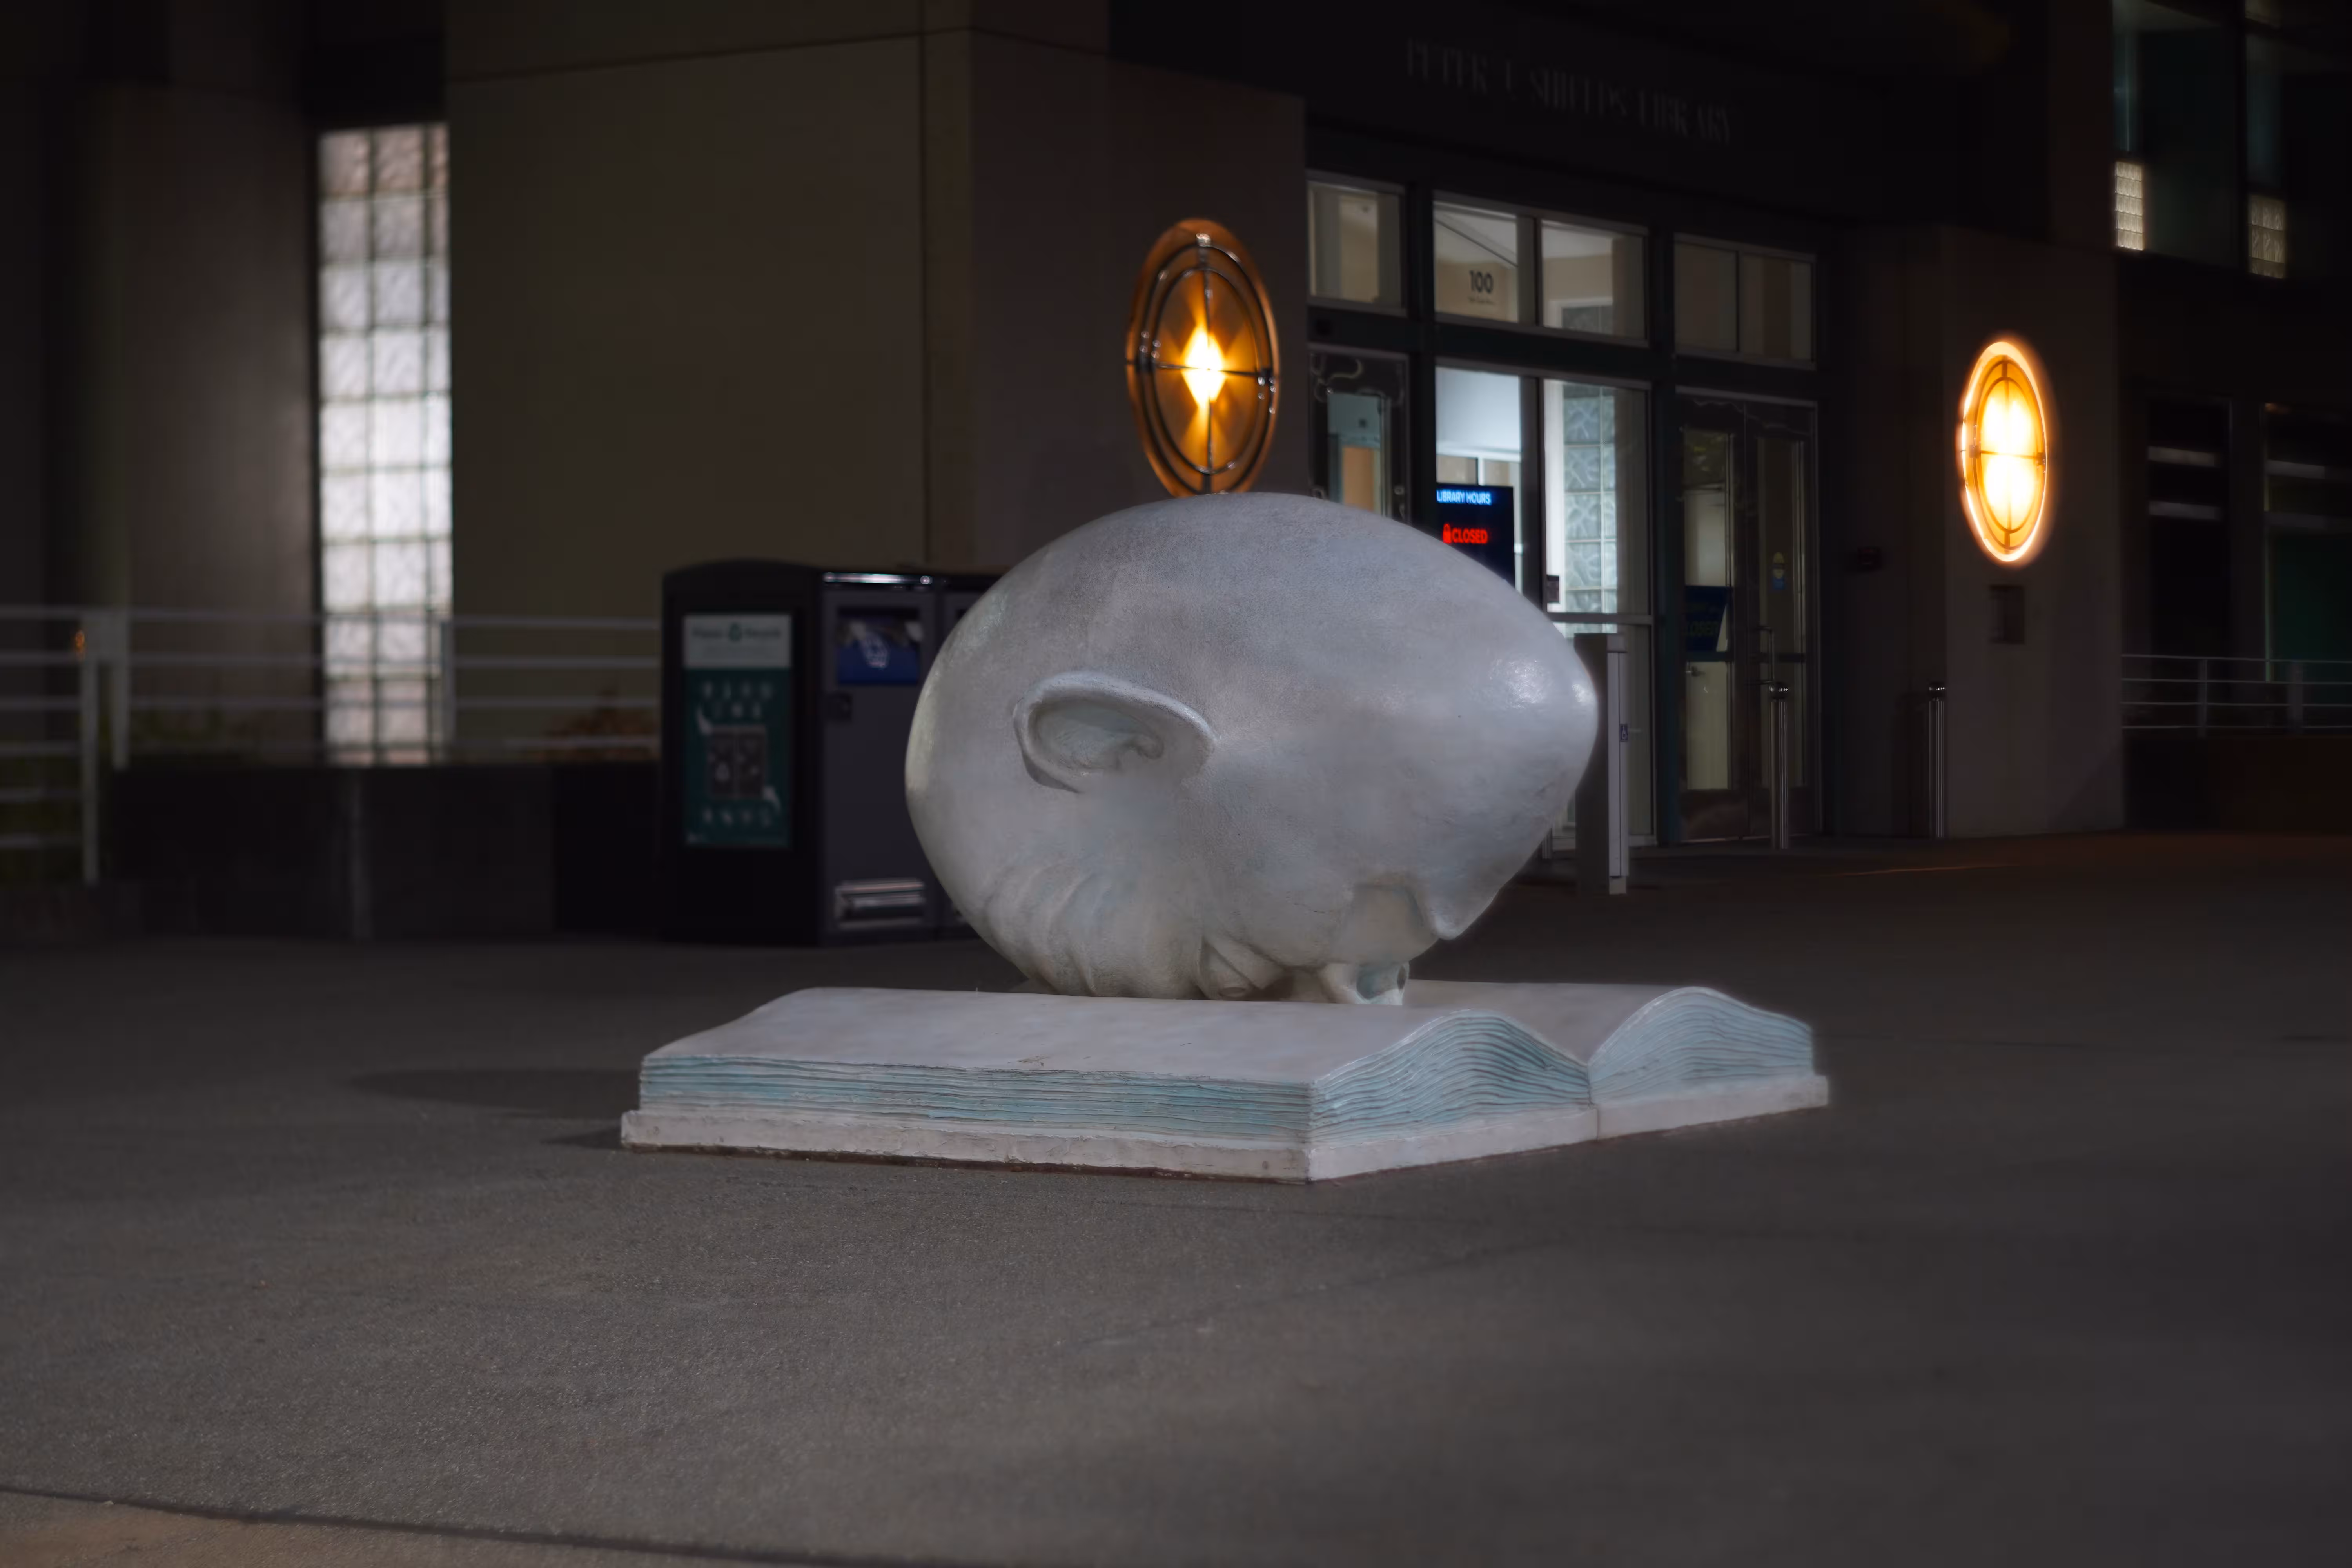
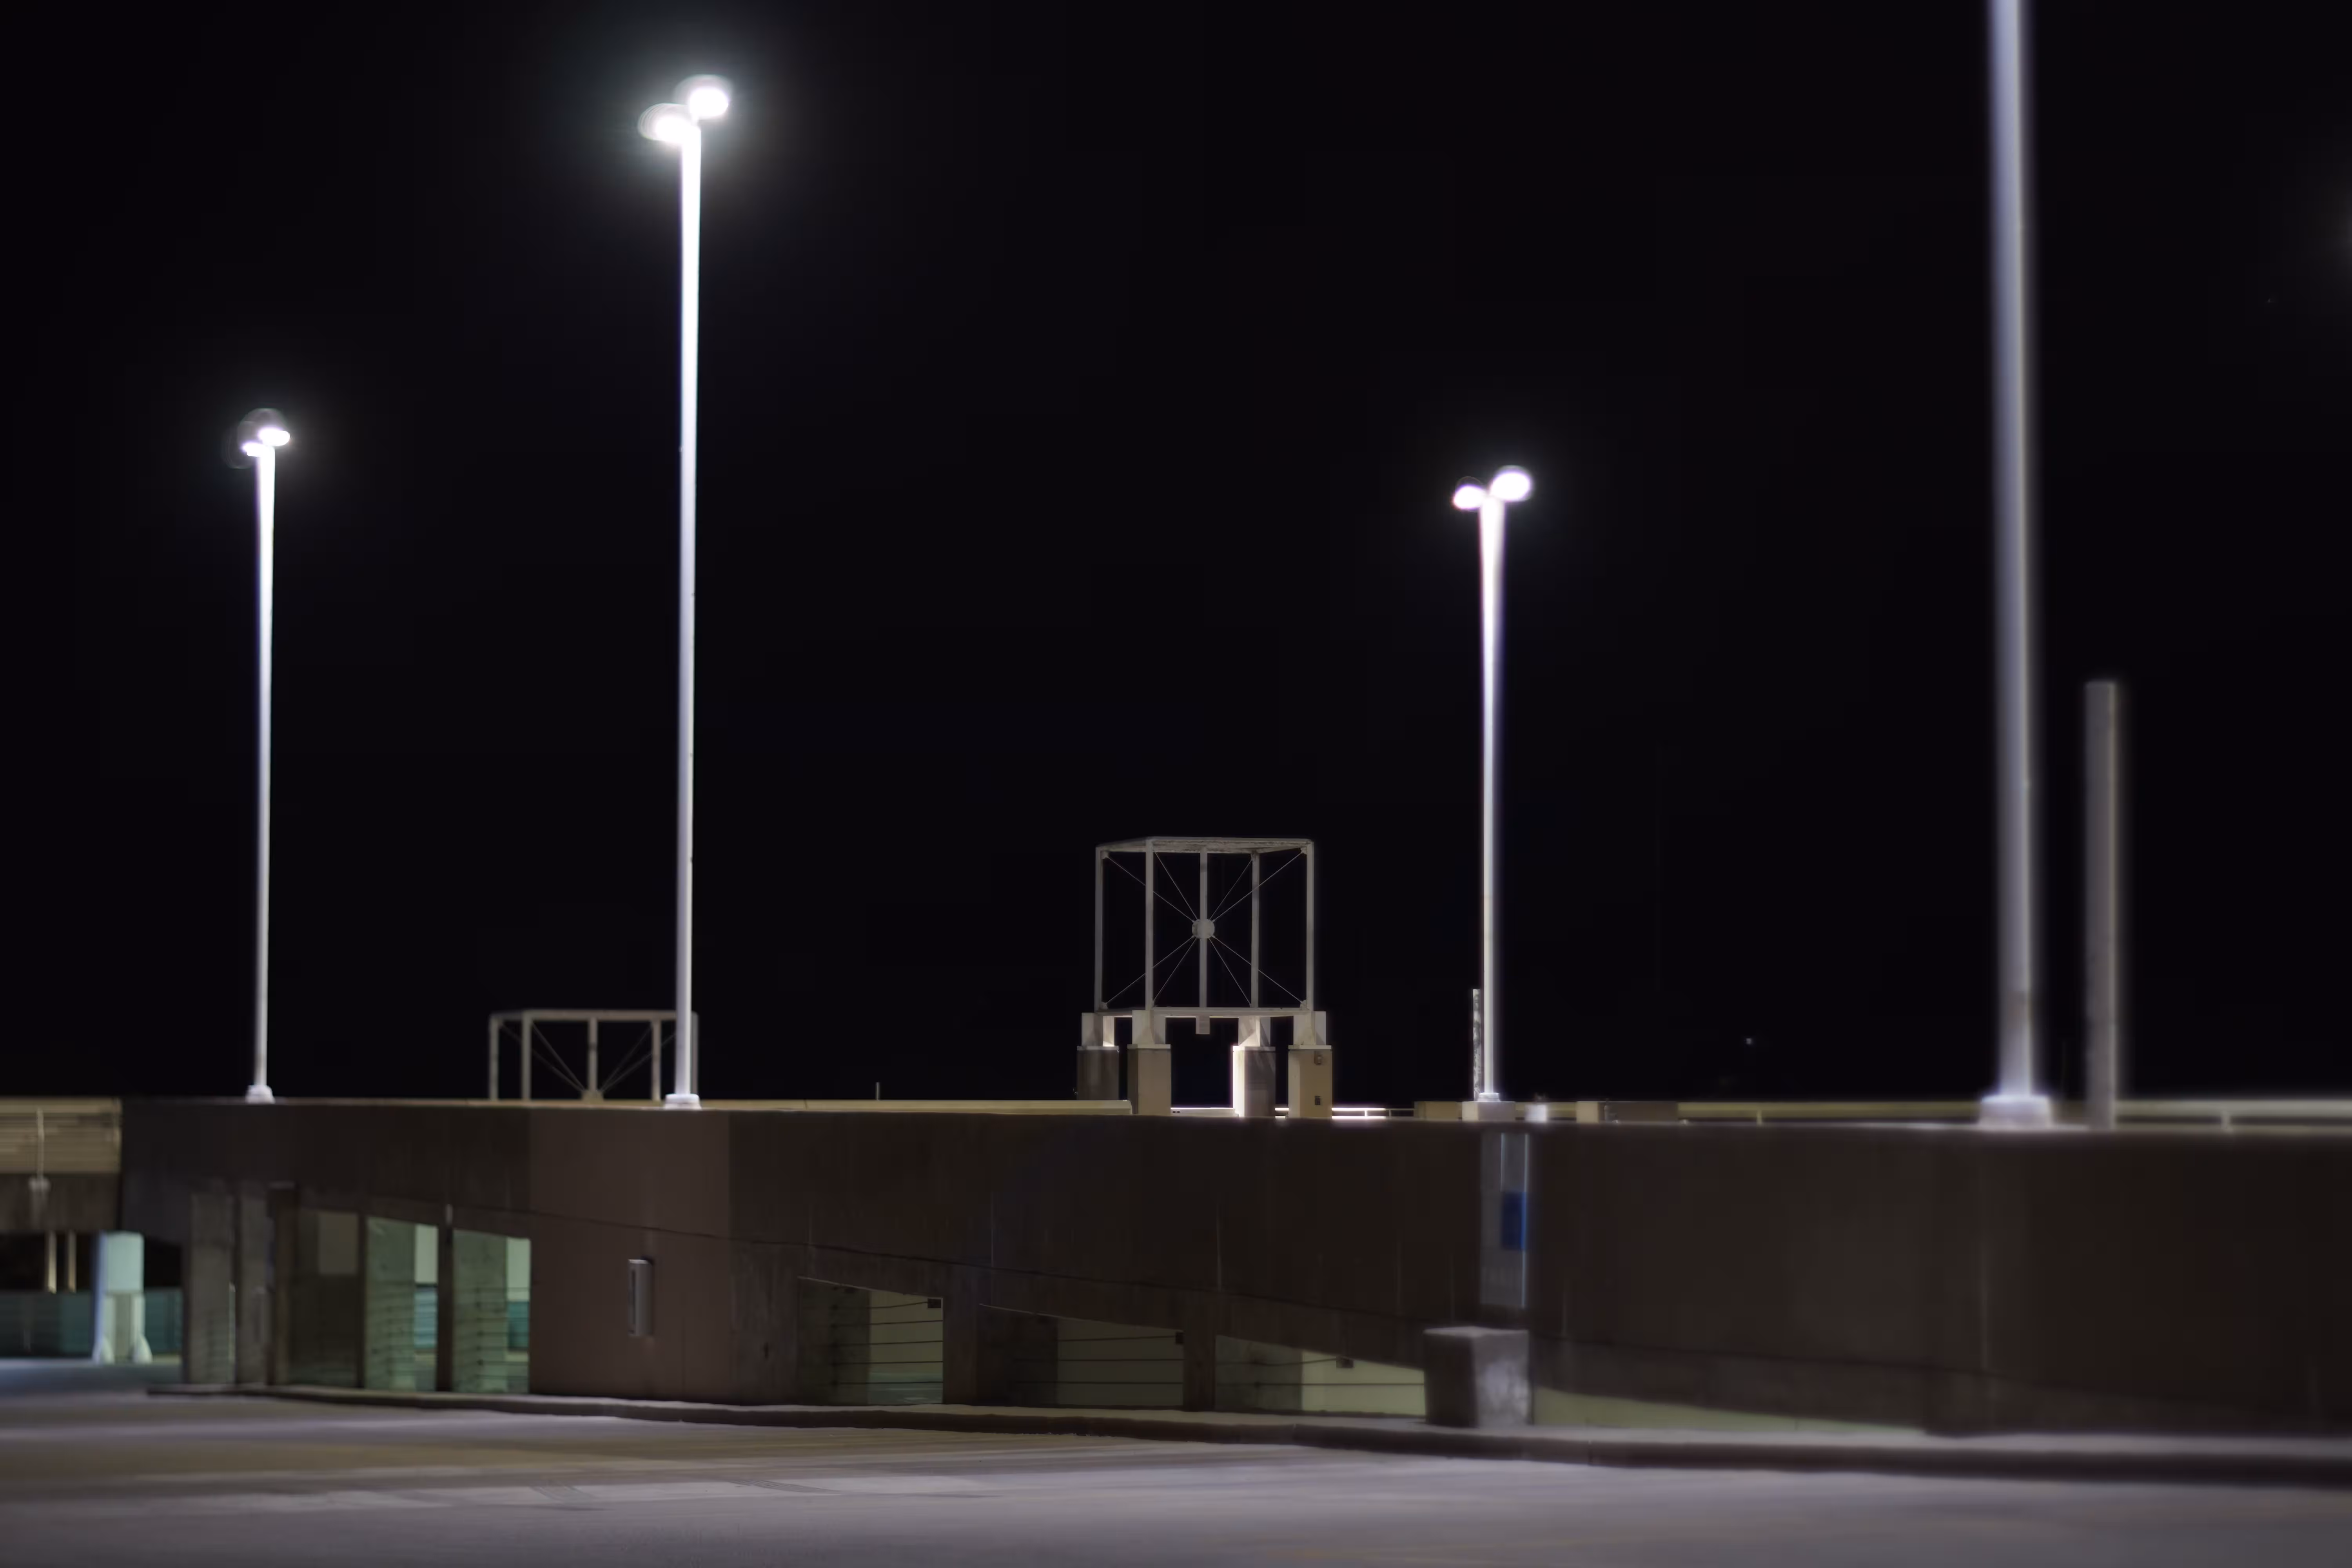
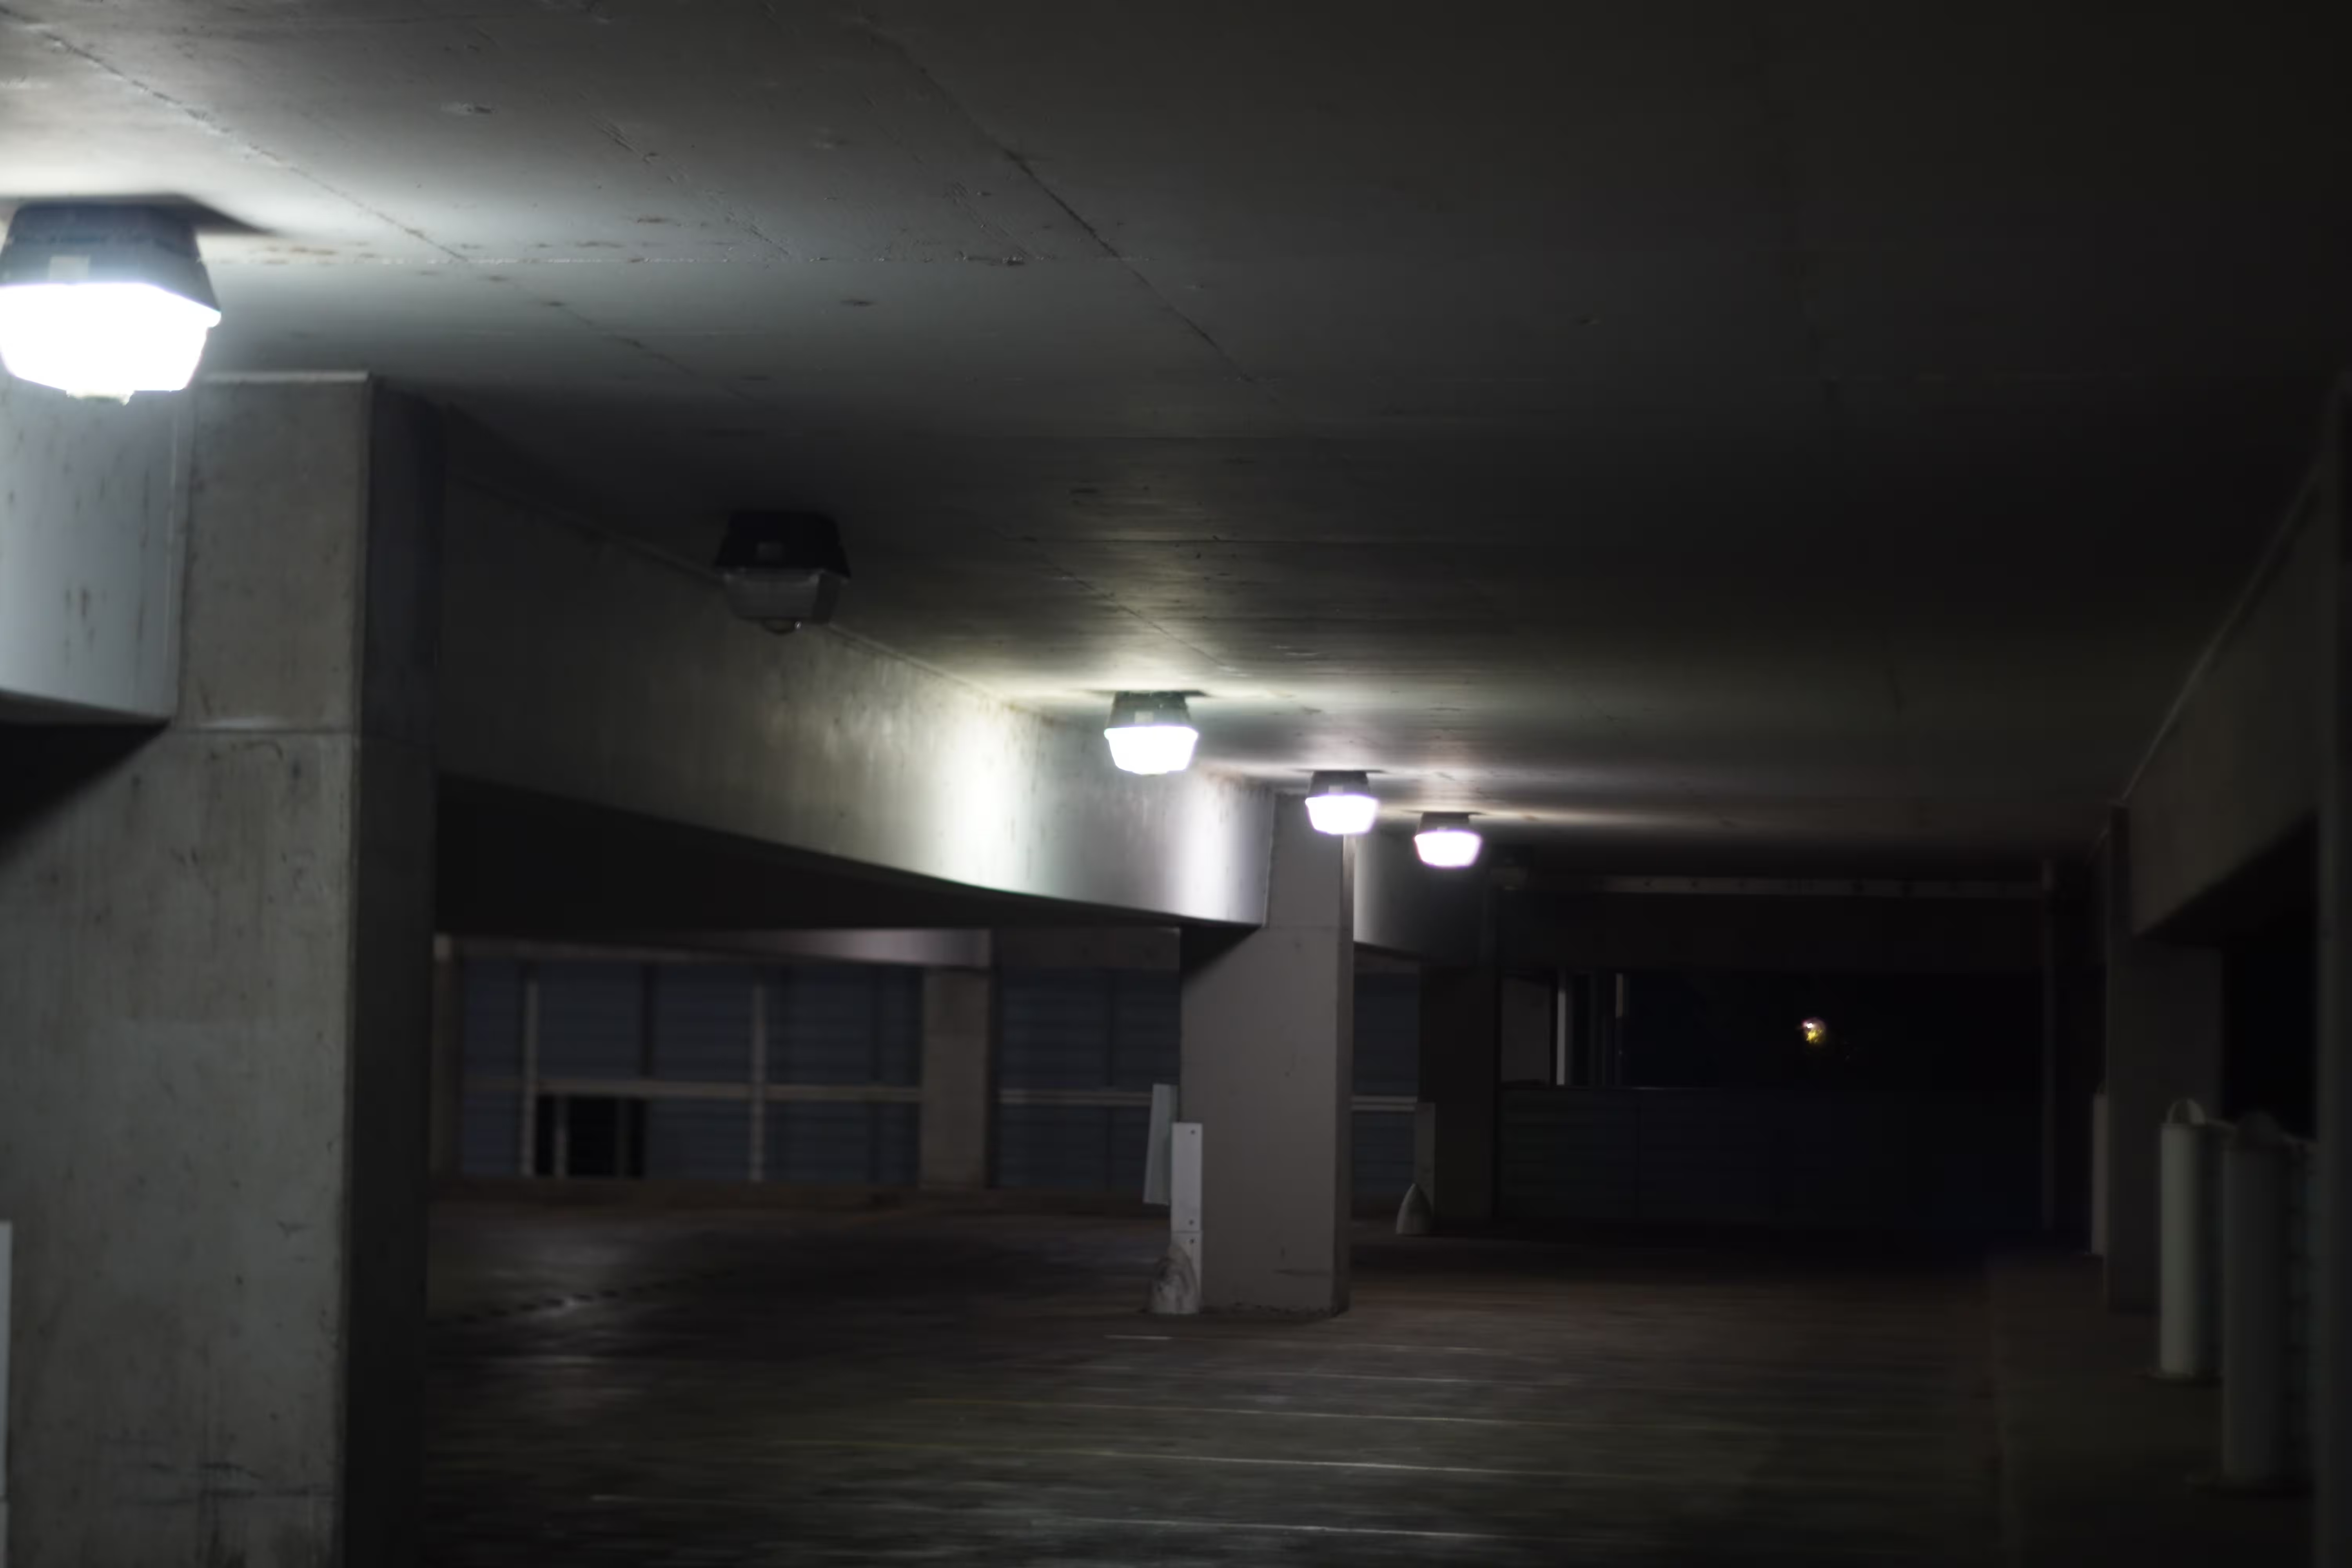
Night Photos #


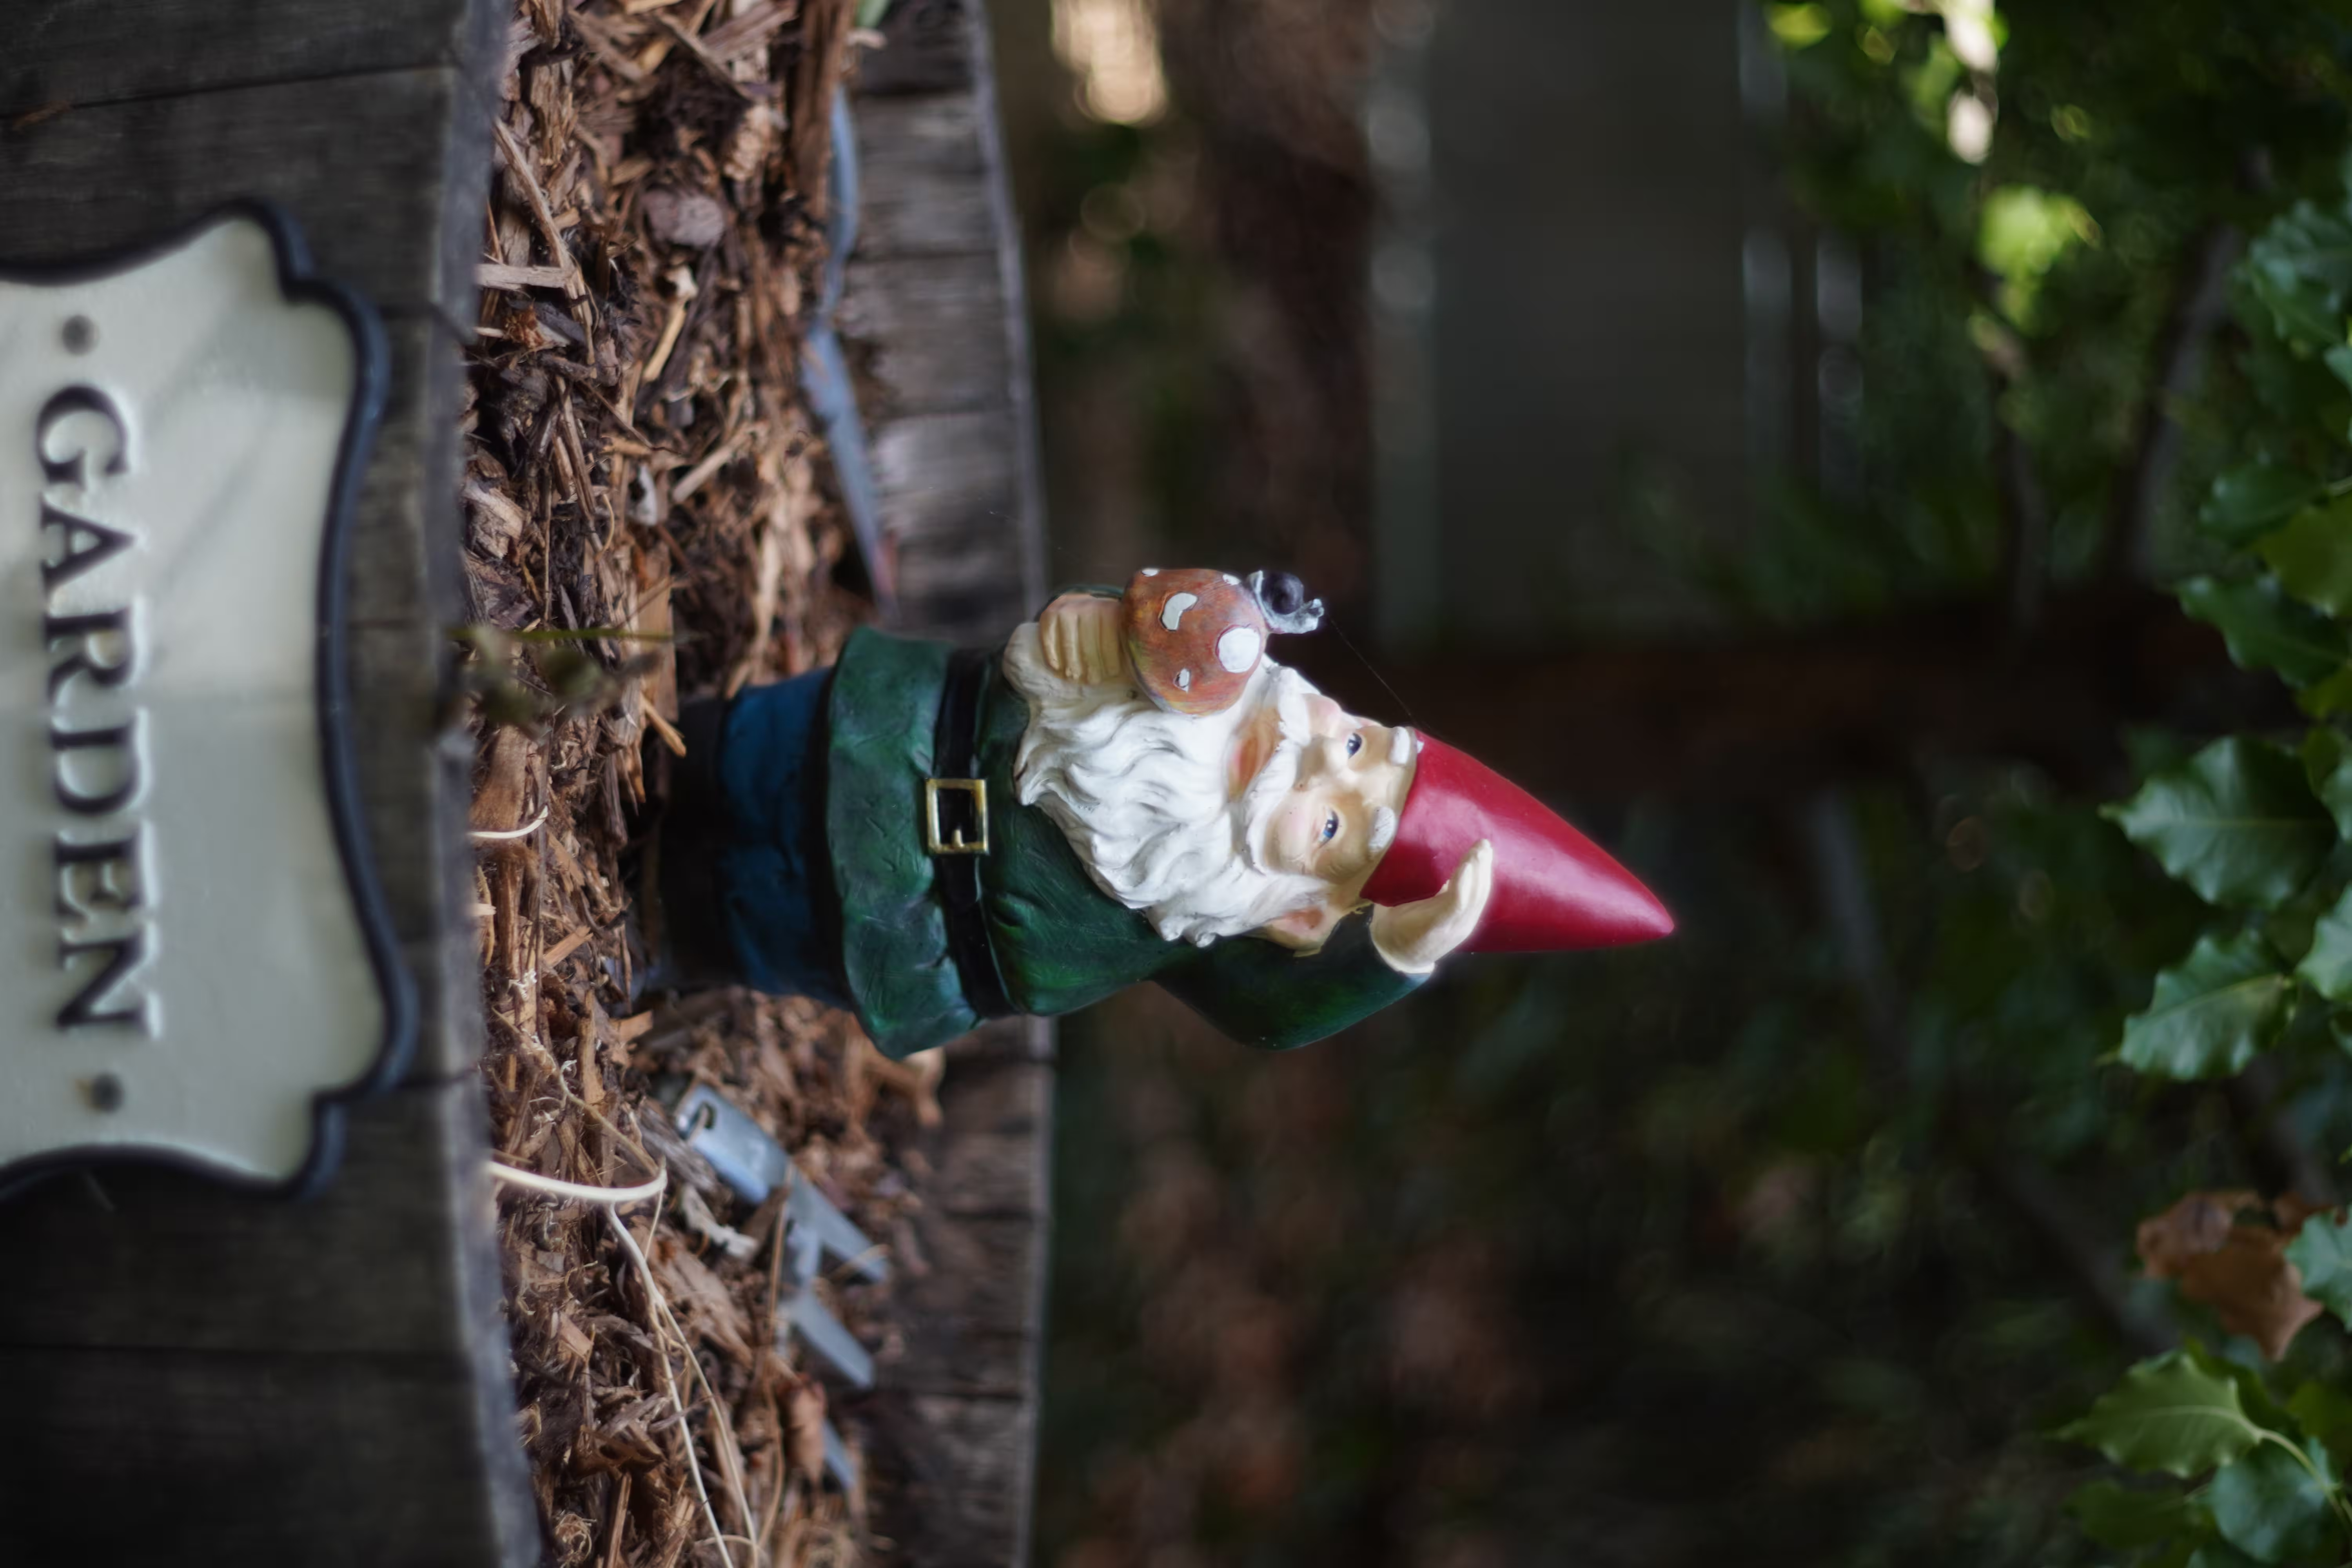
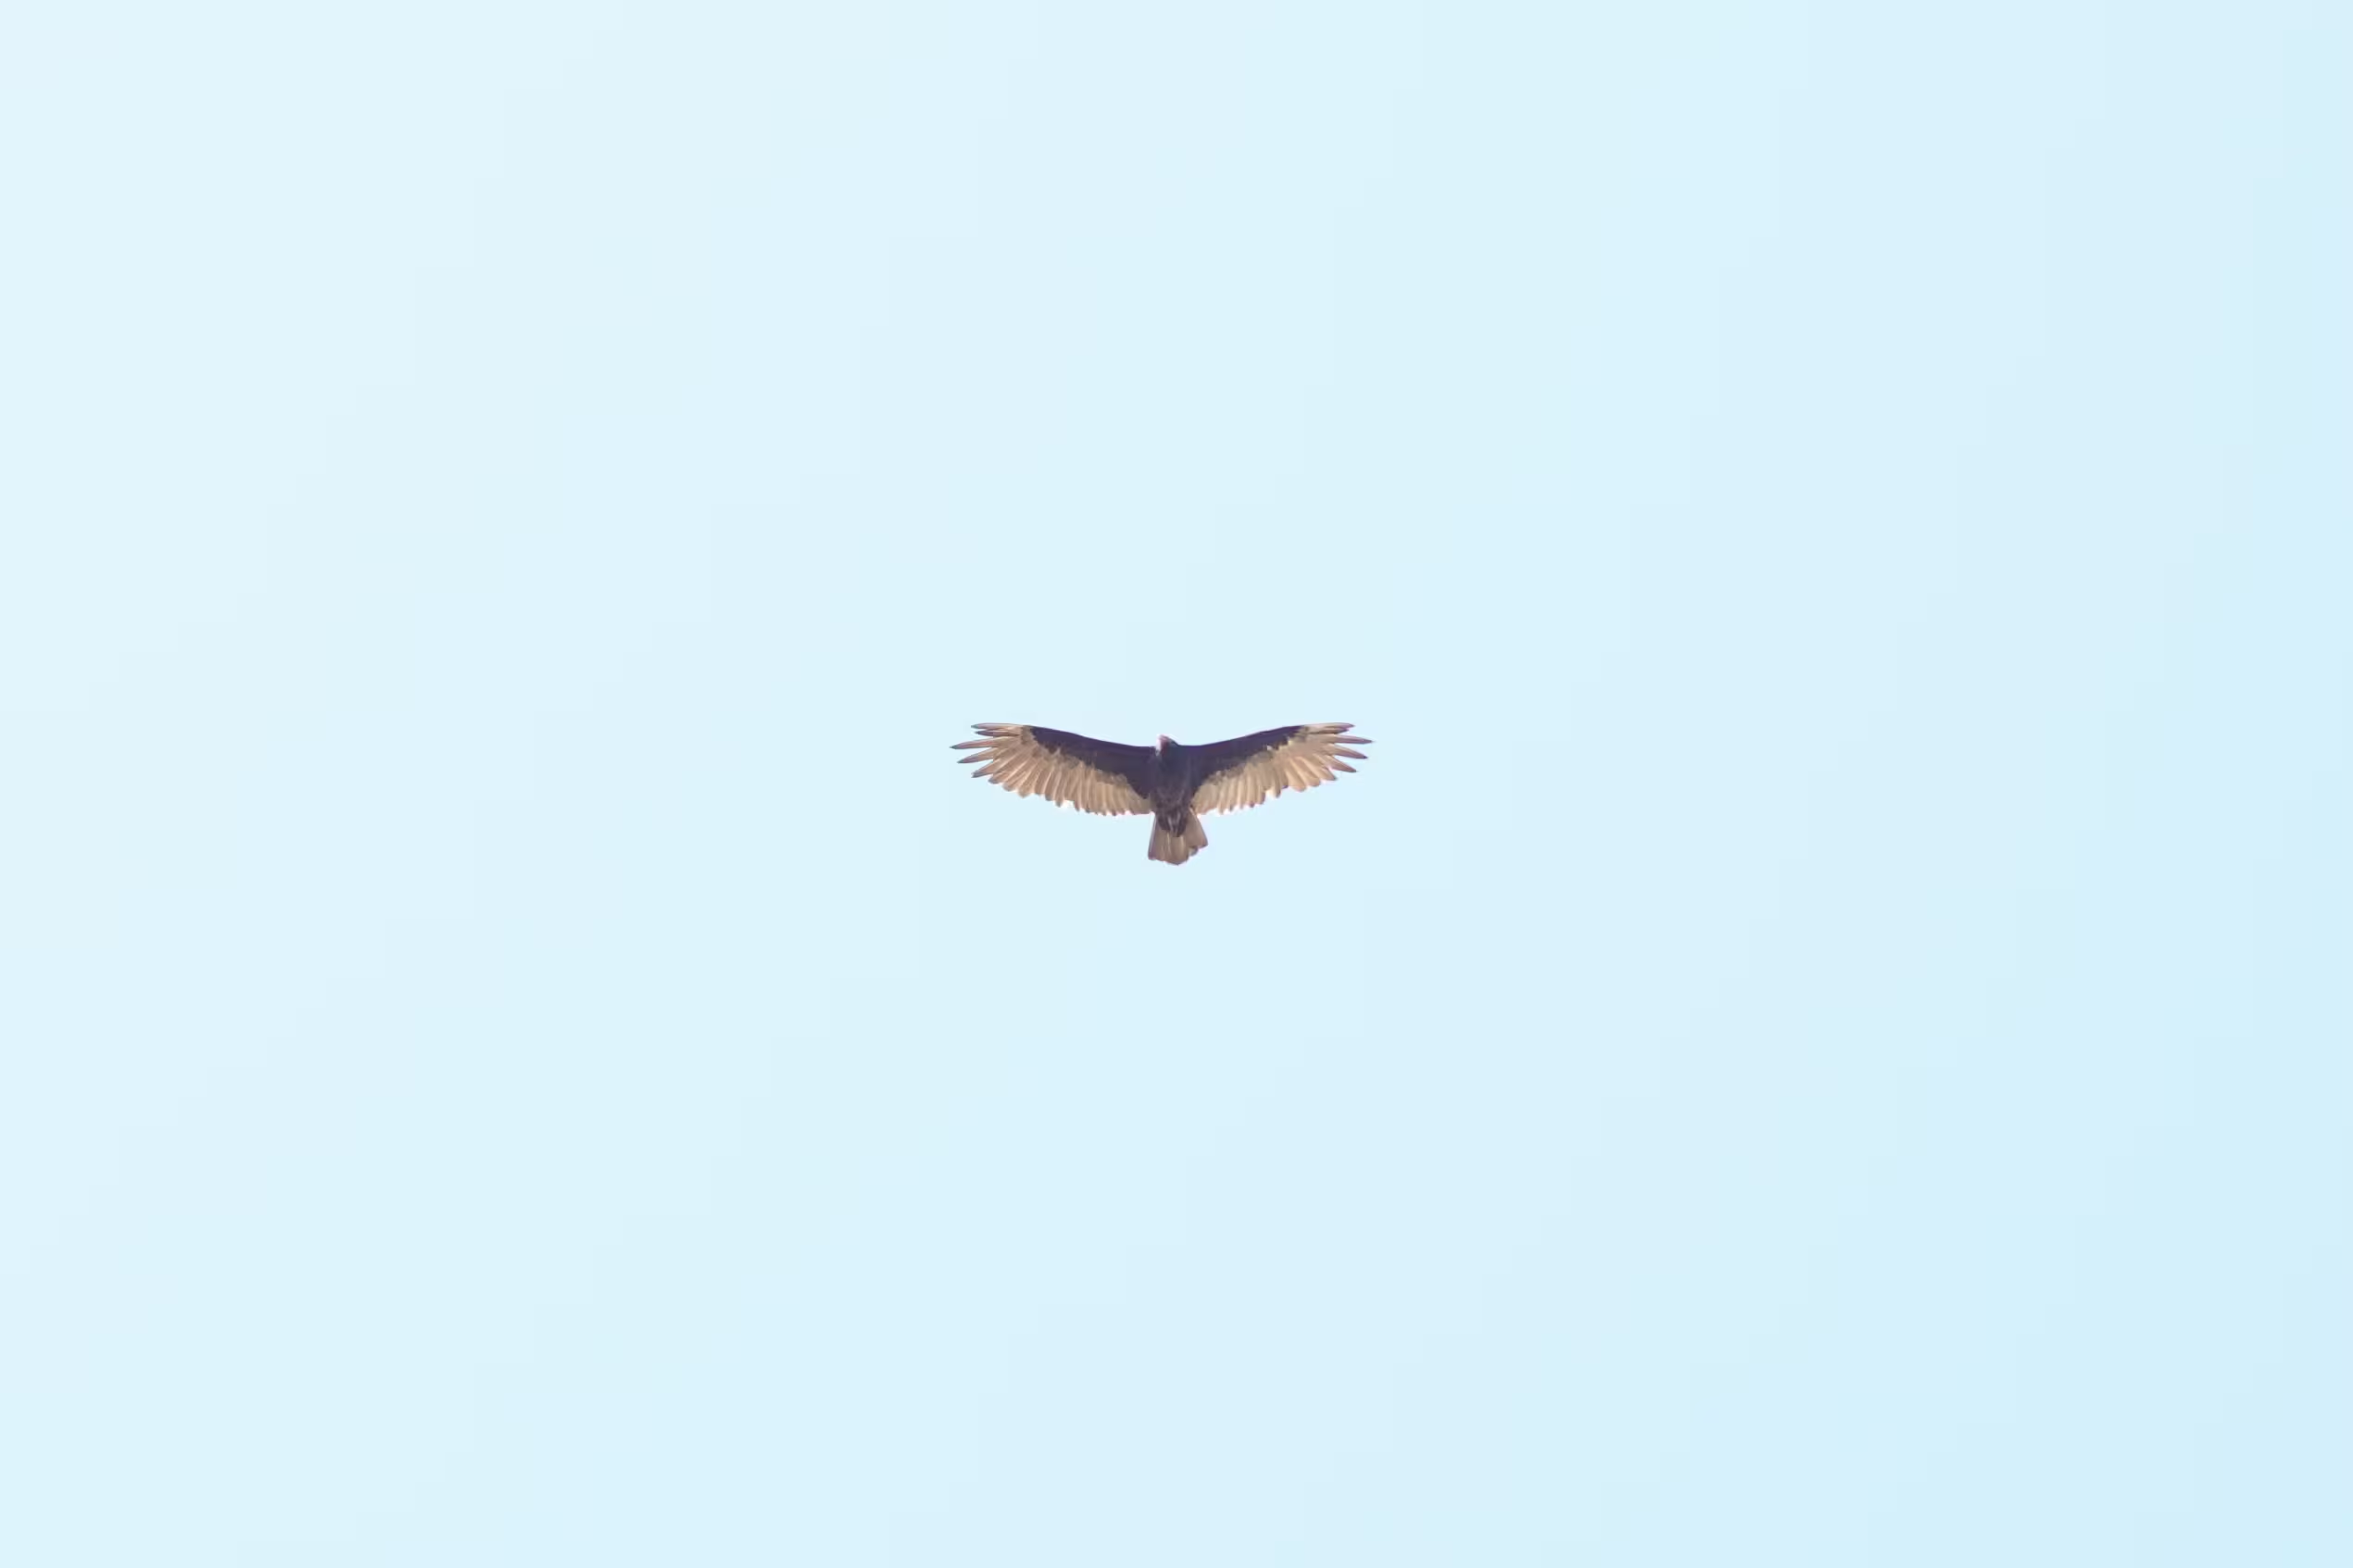
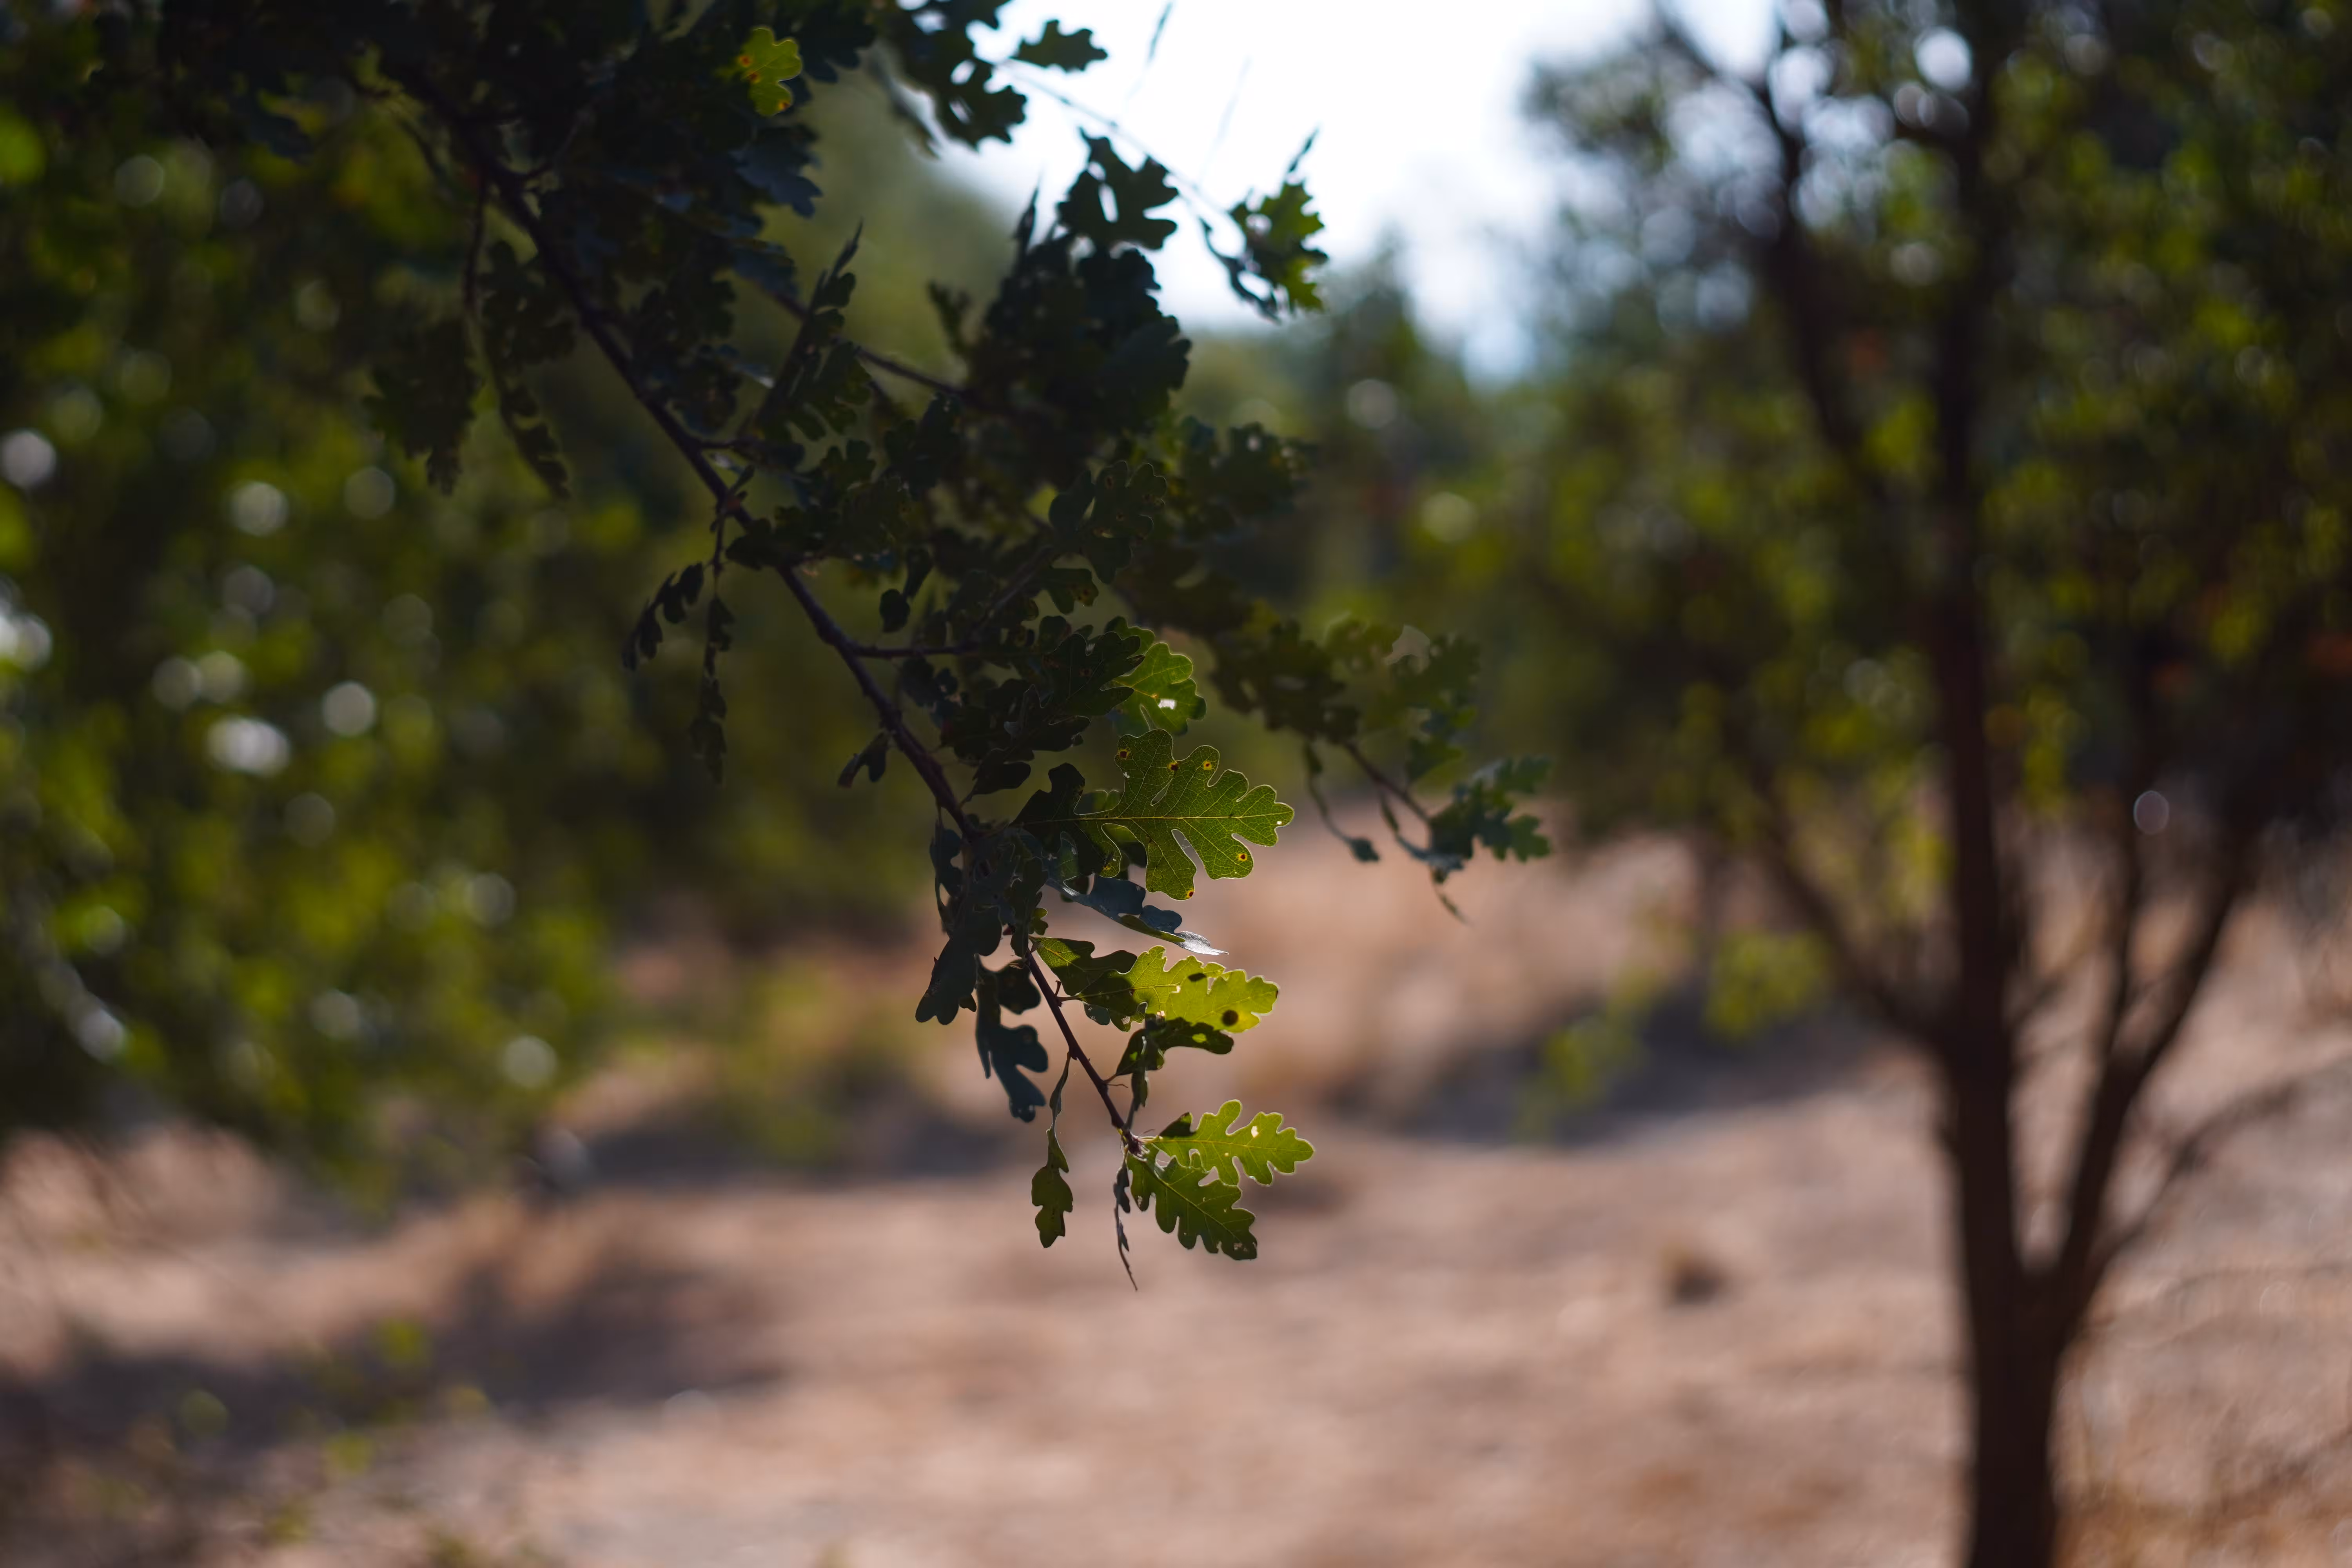
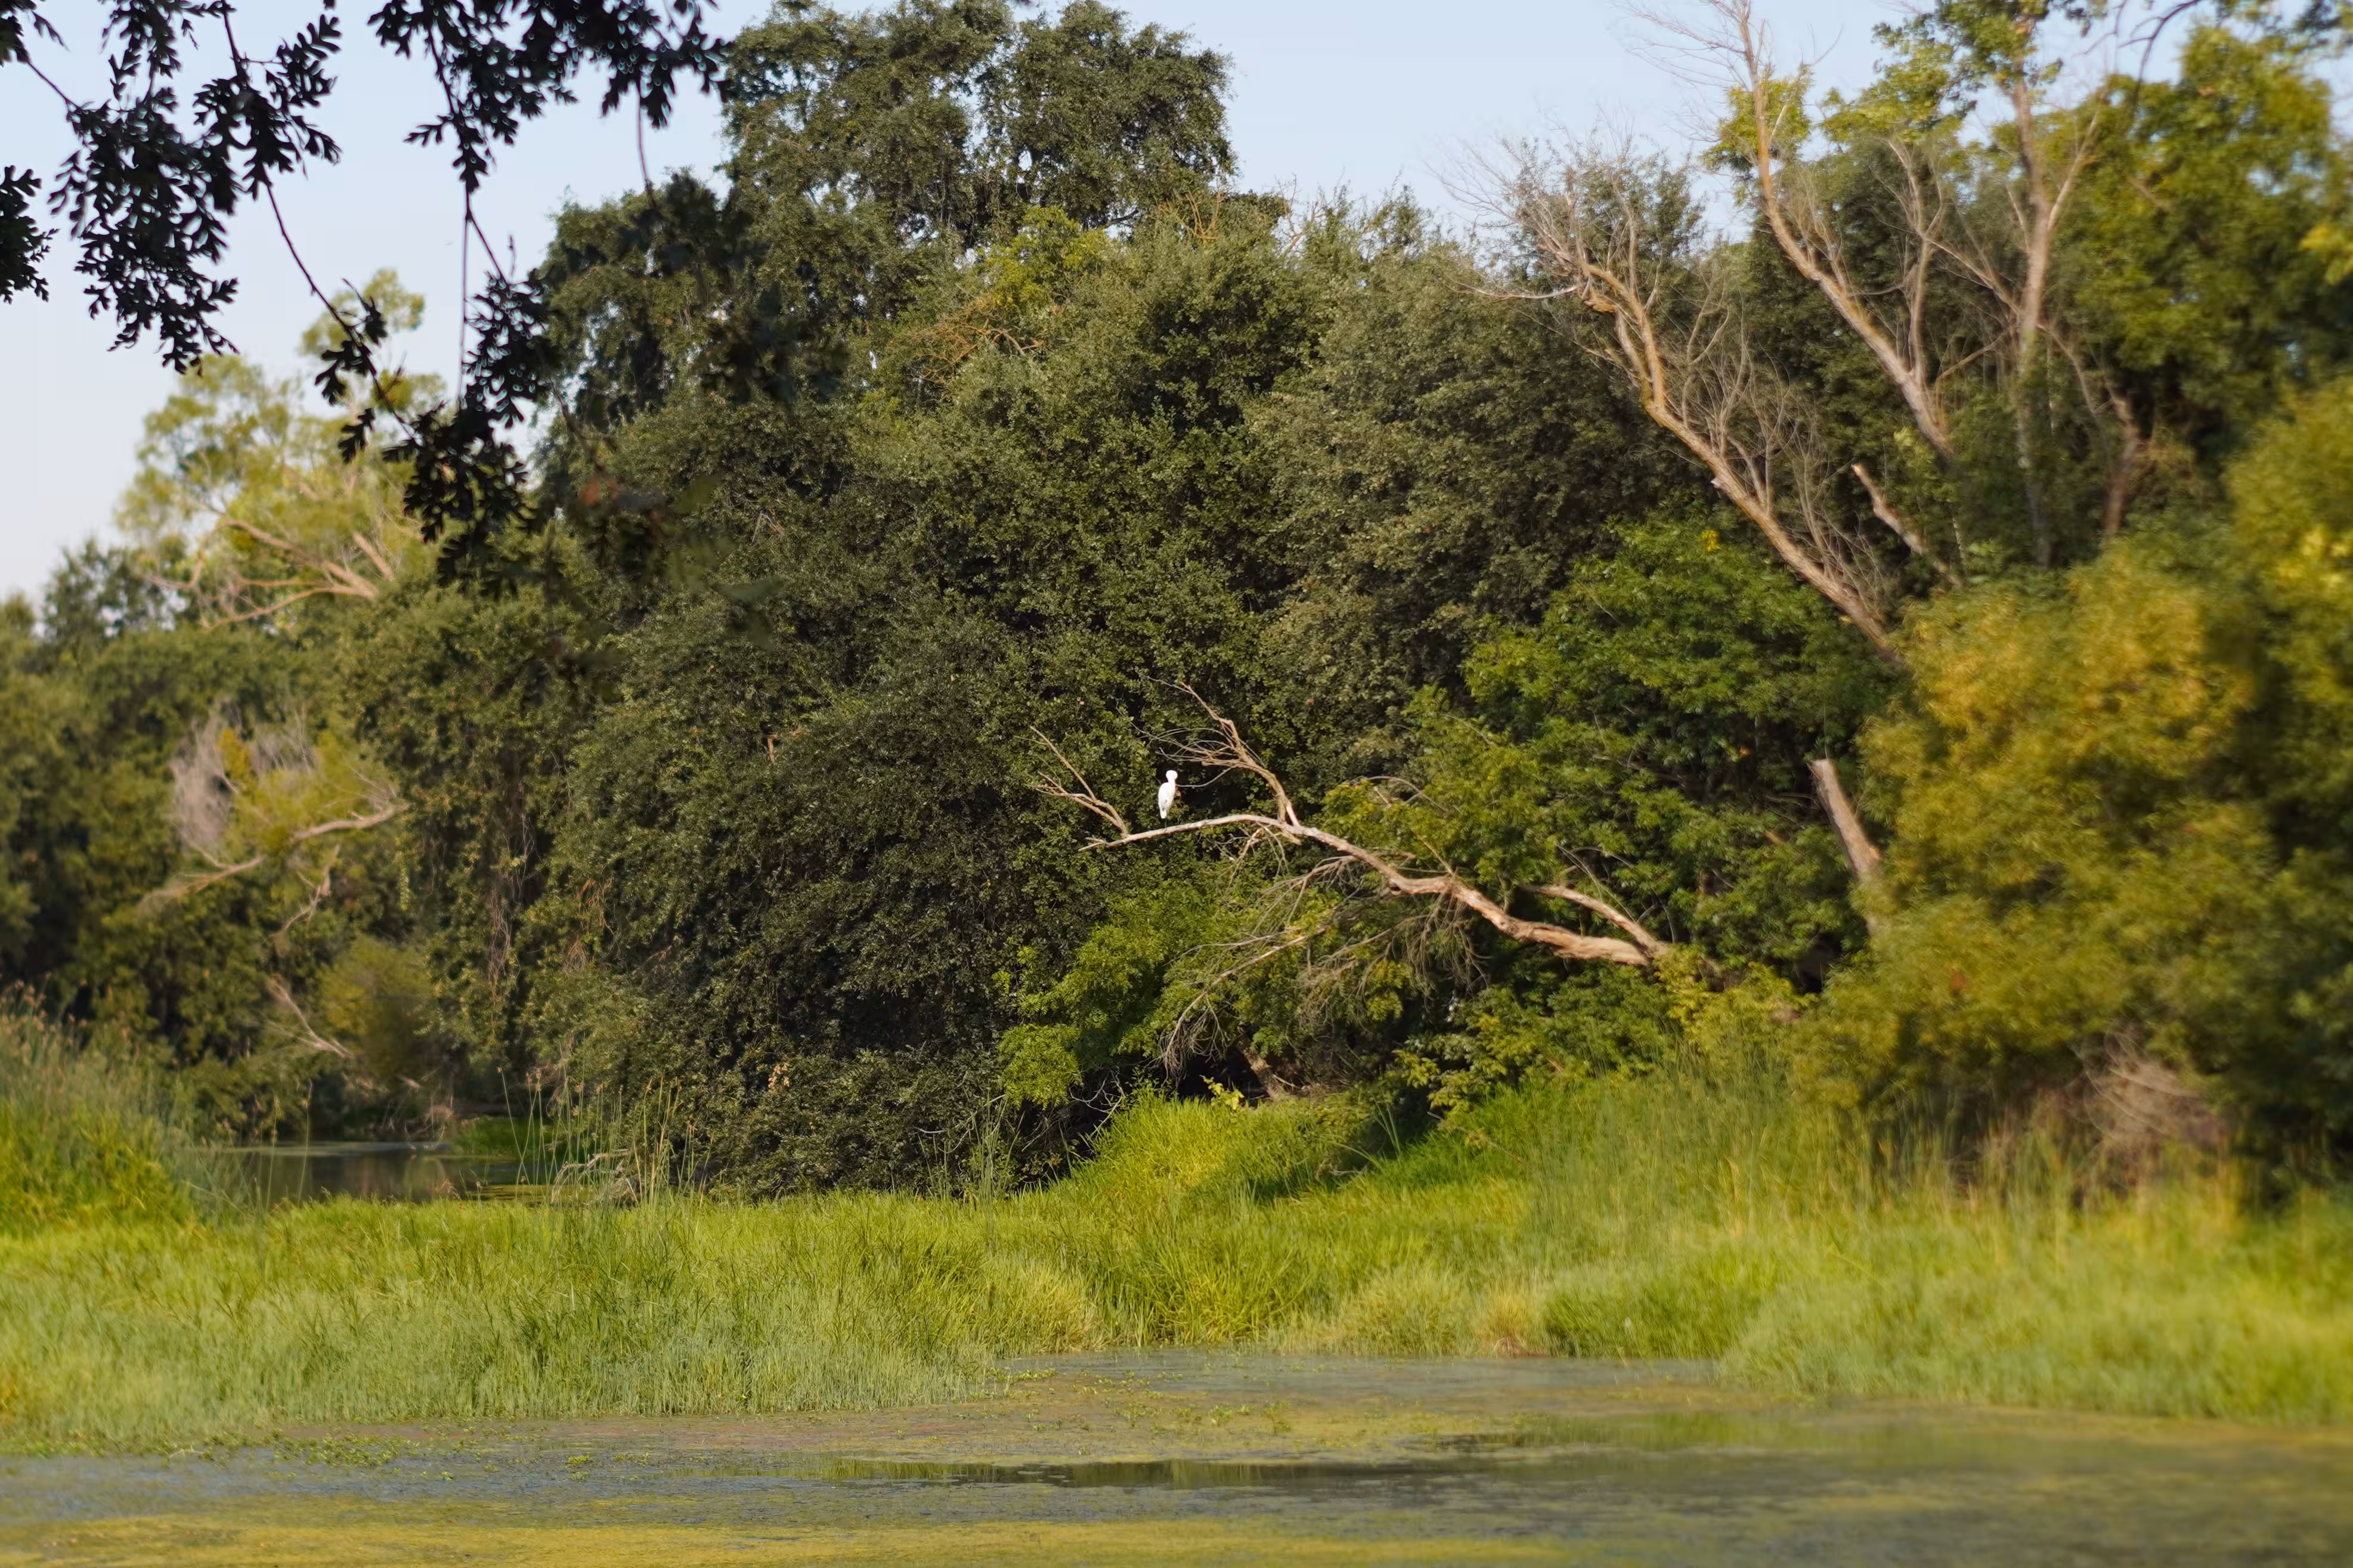
Nature Photos #
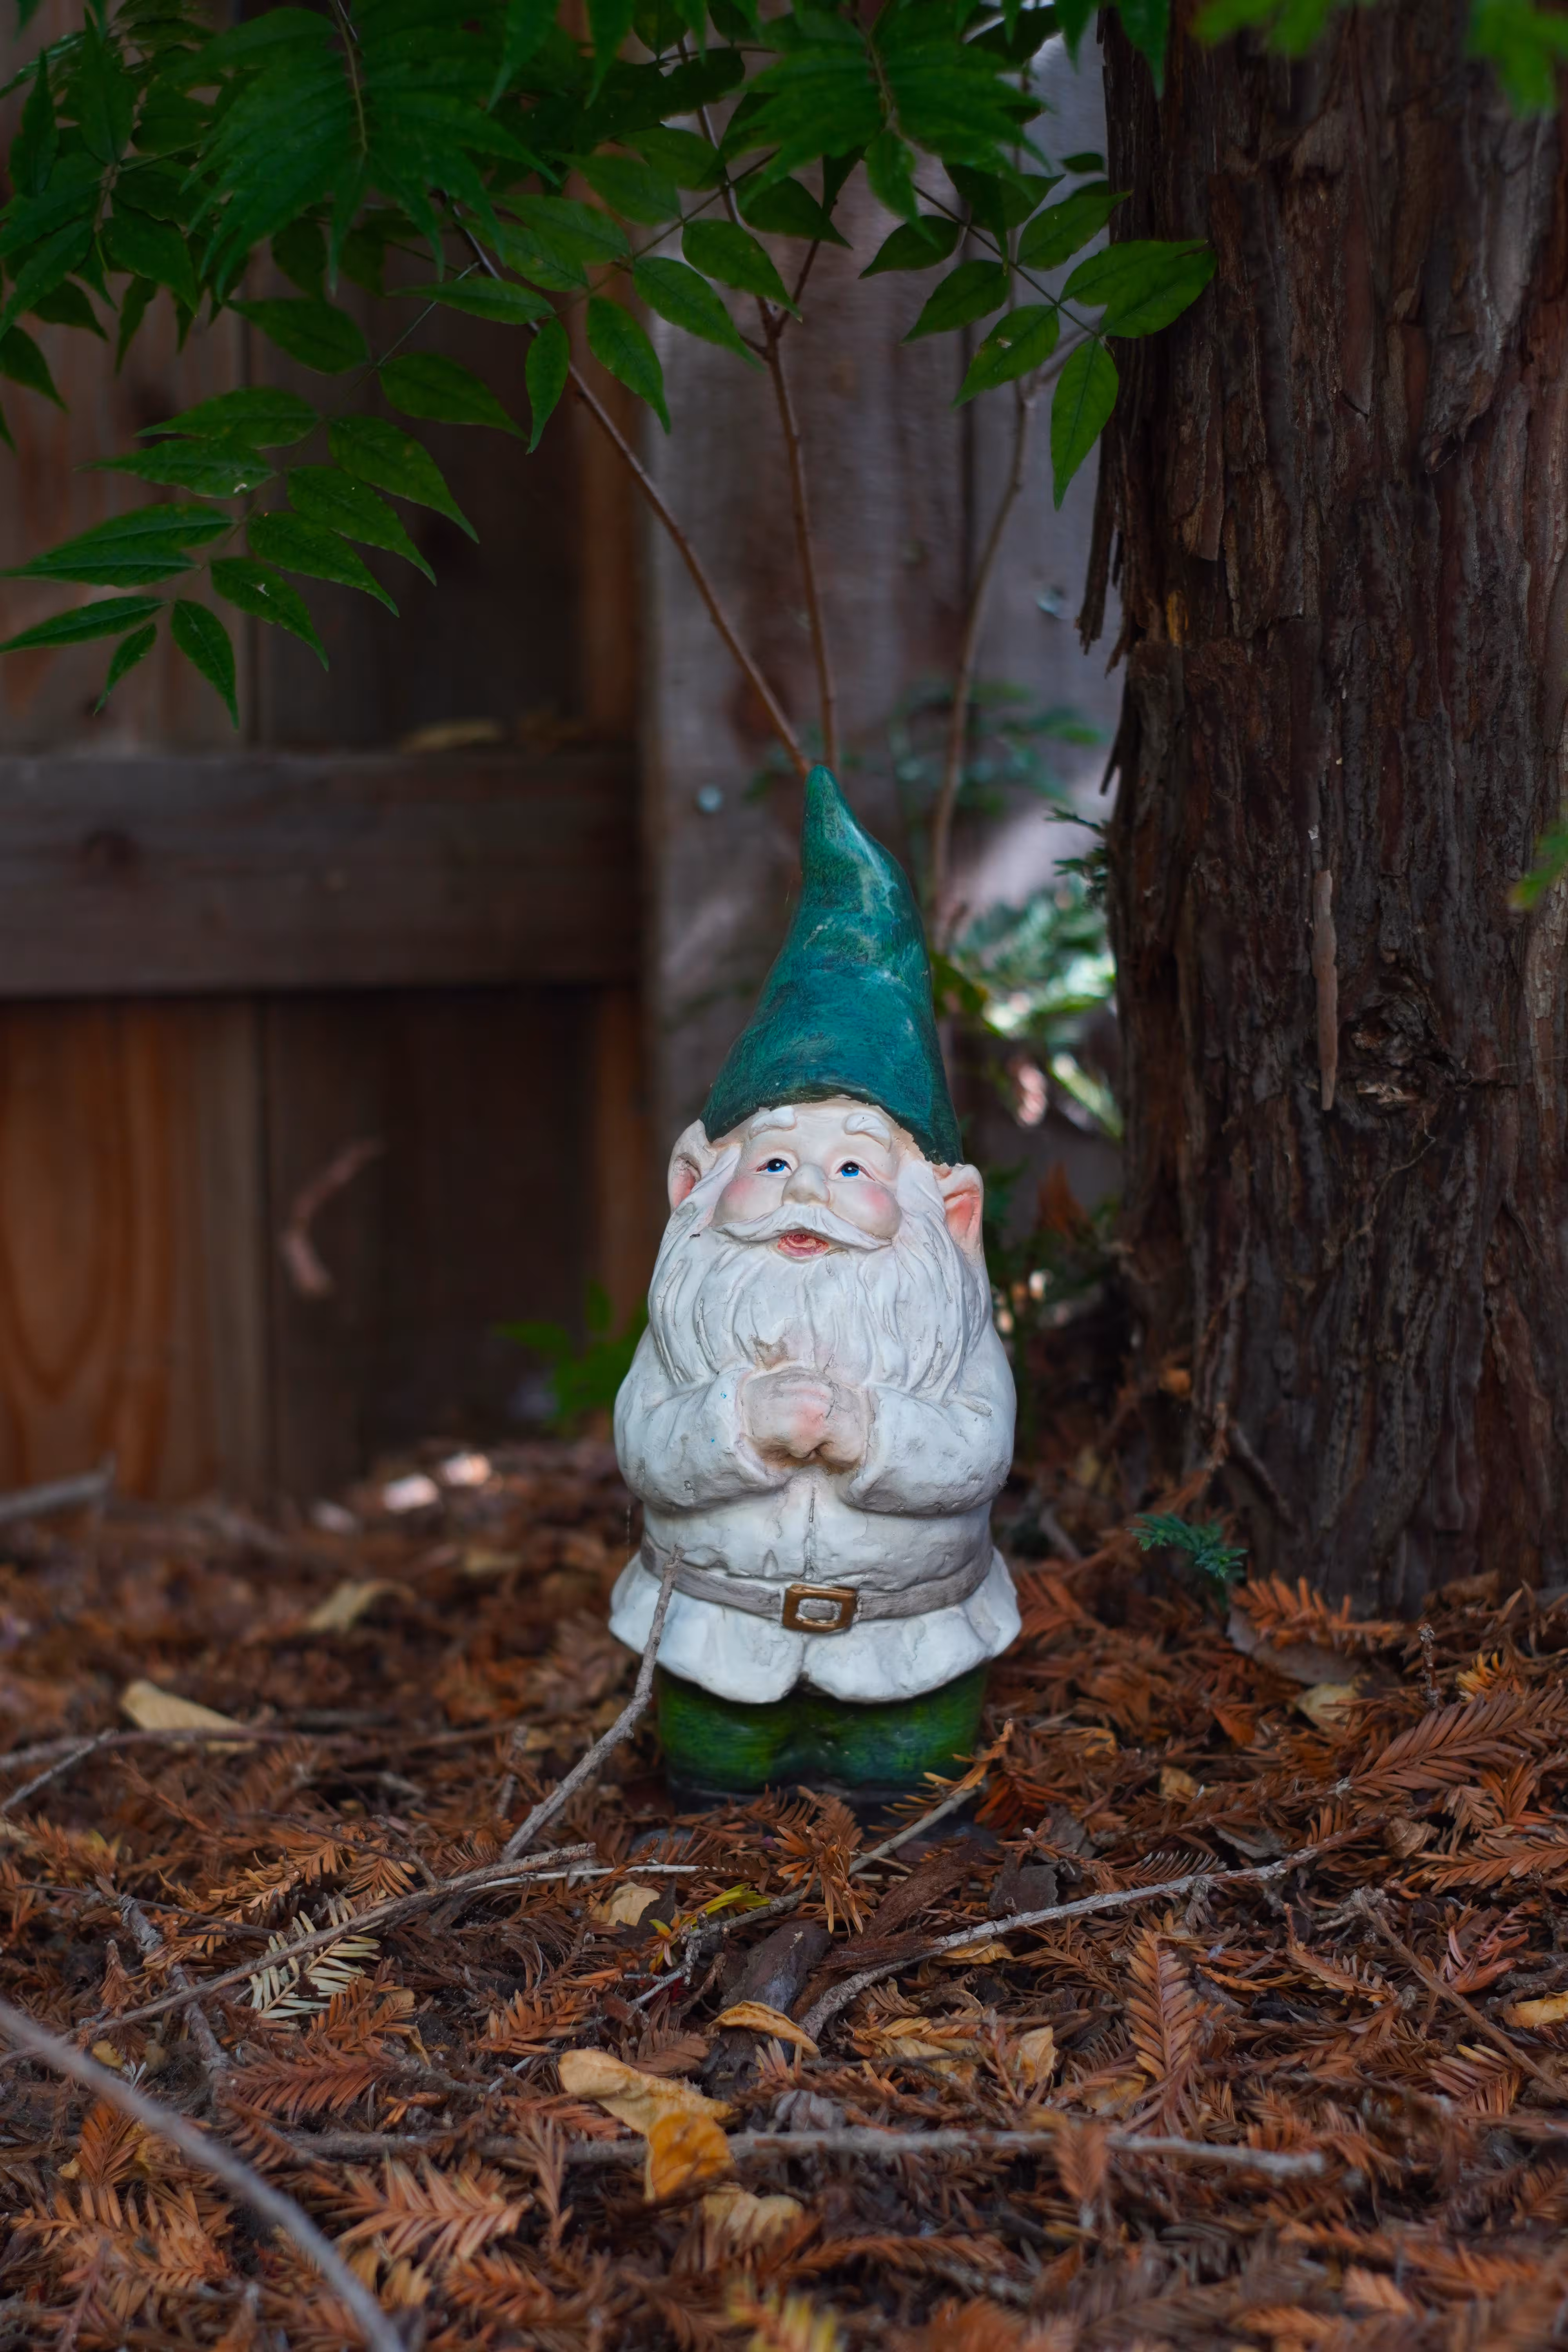
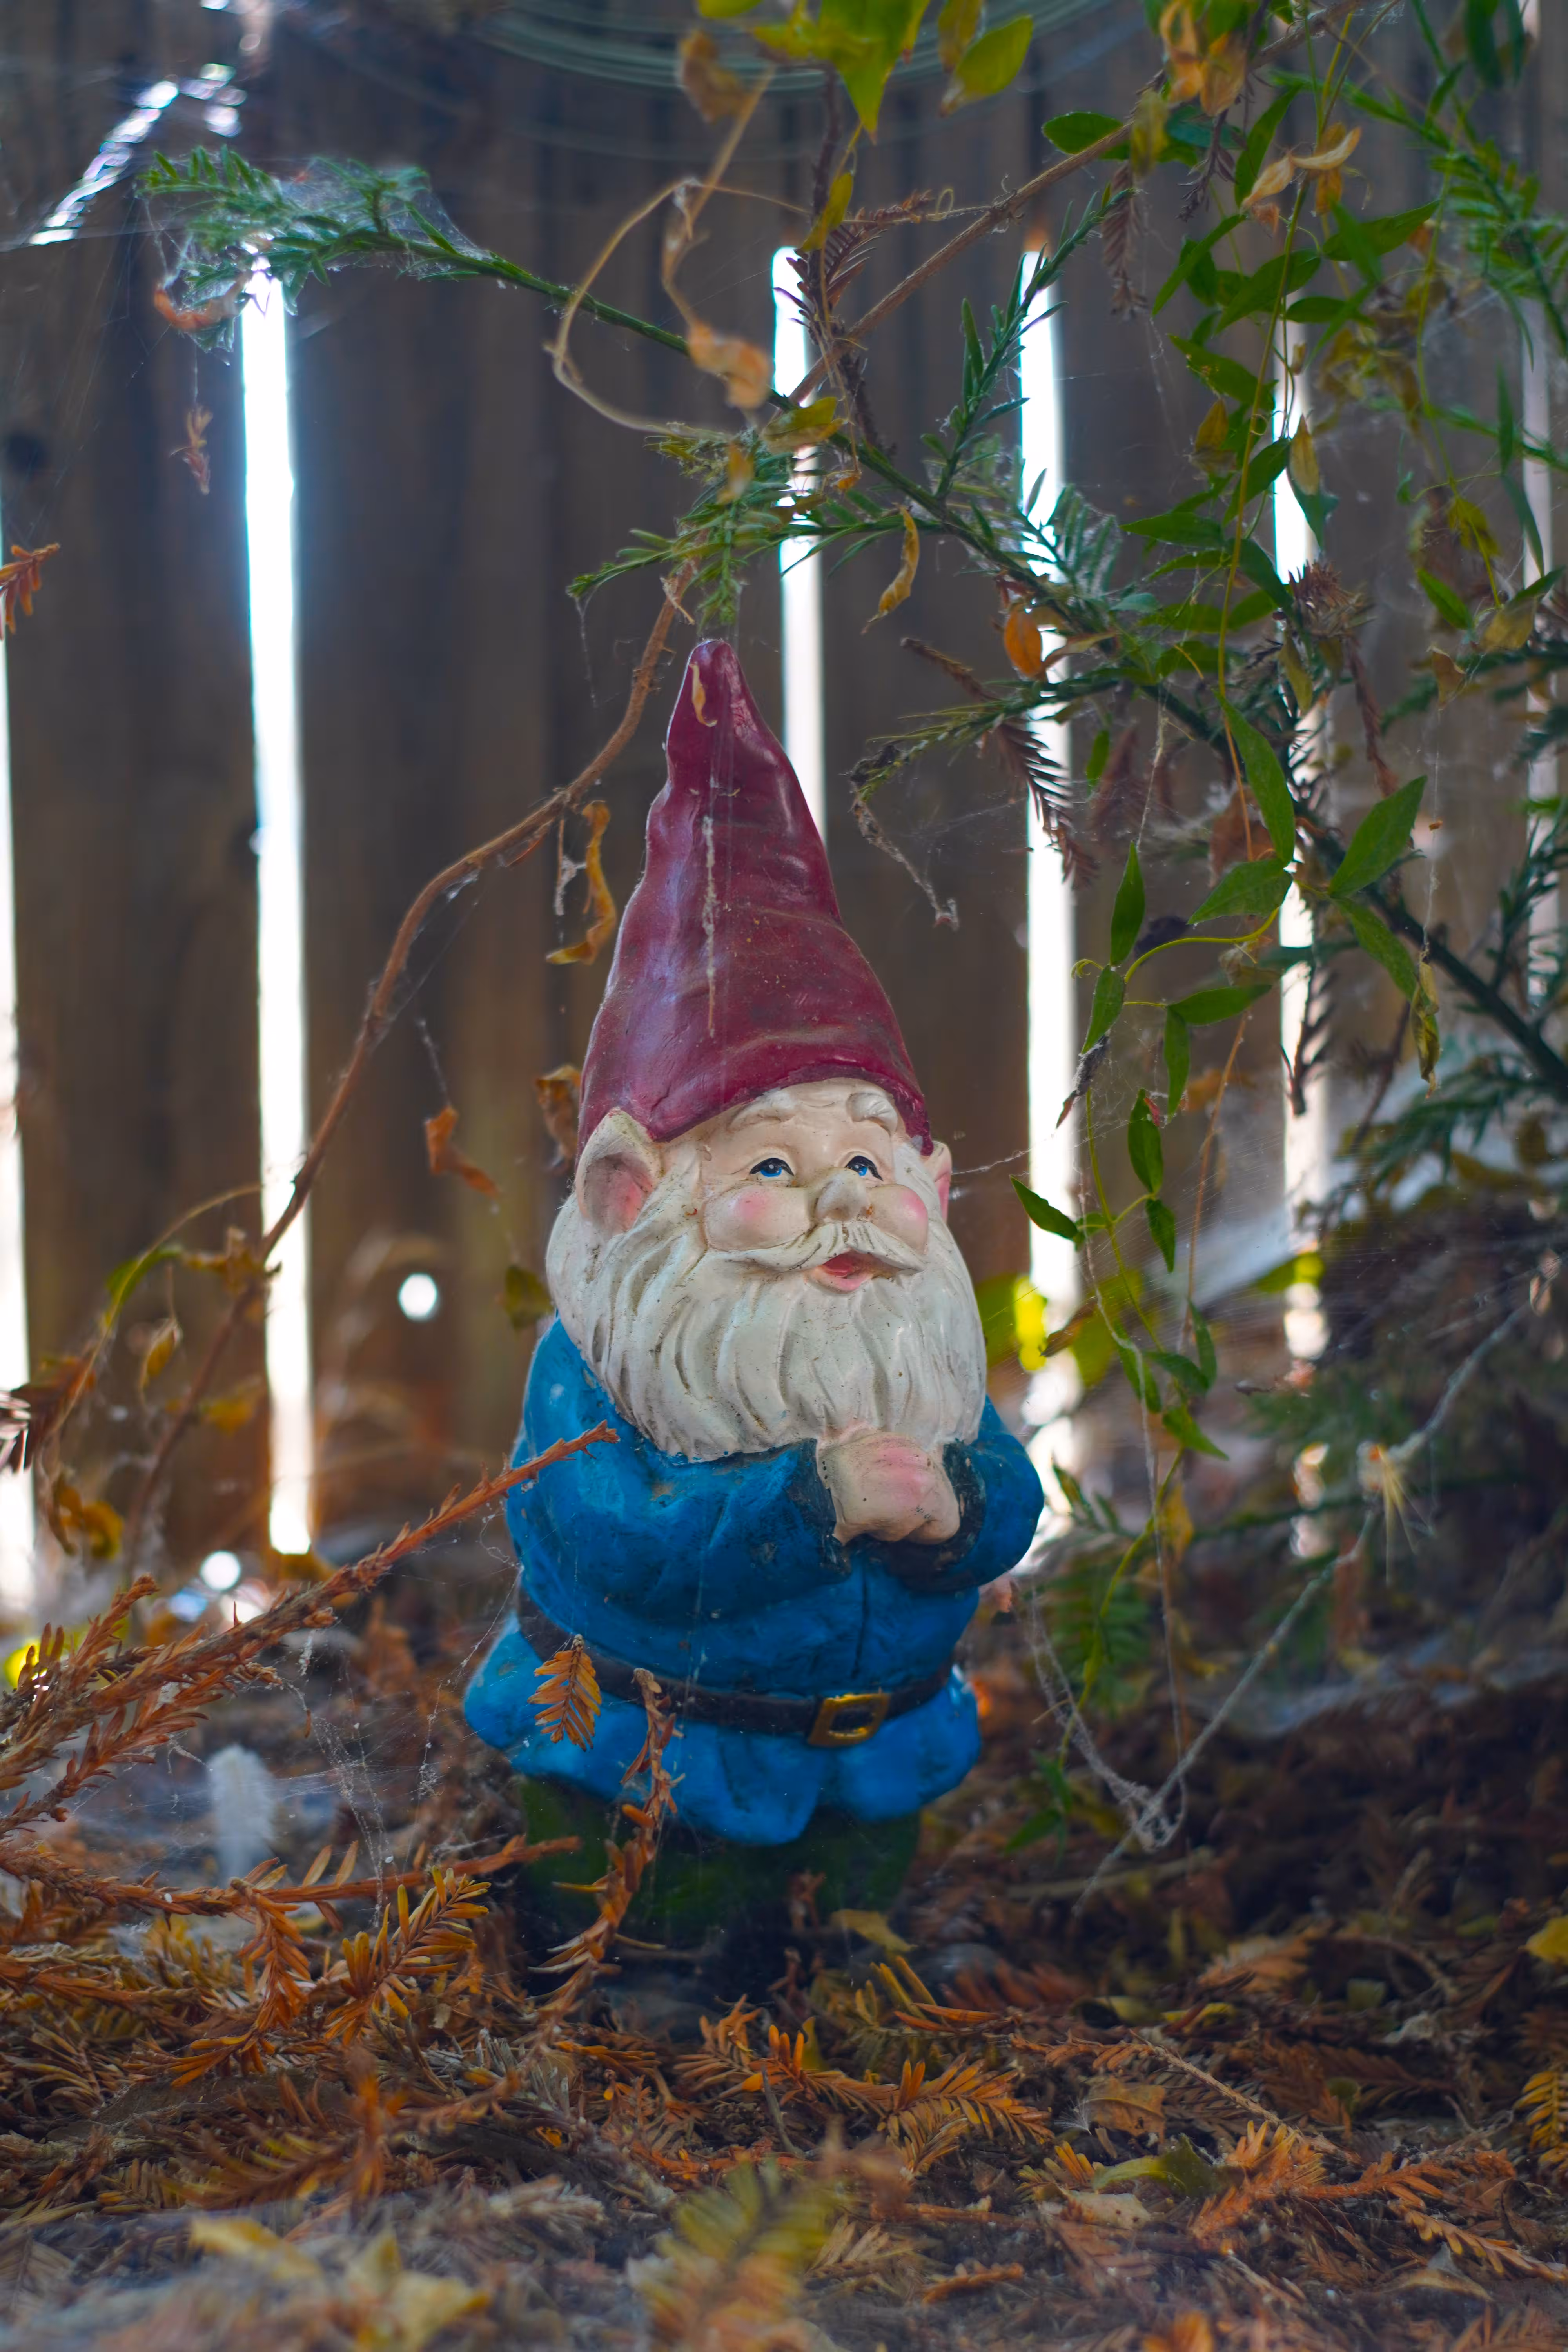
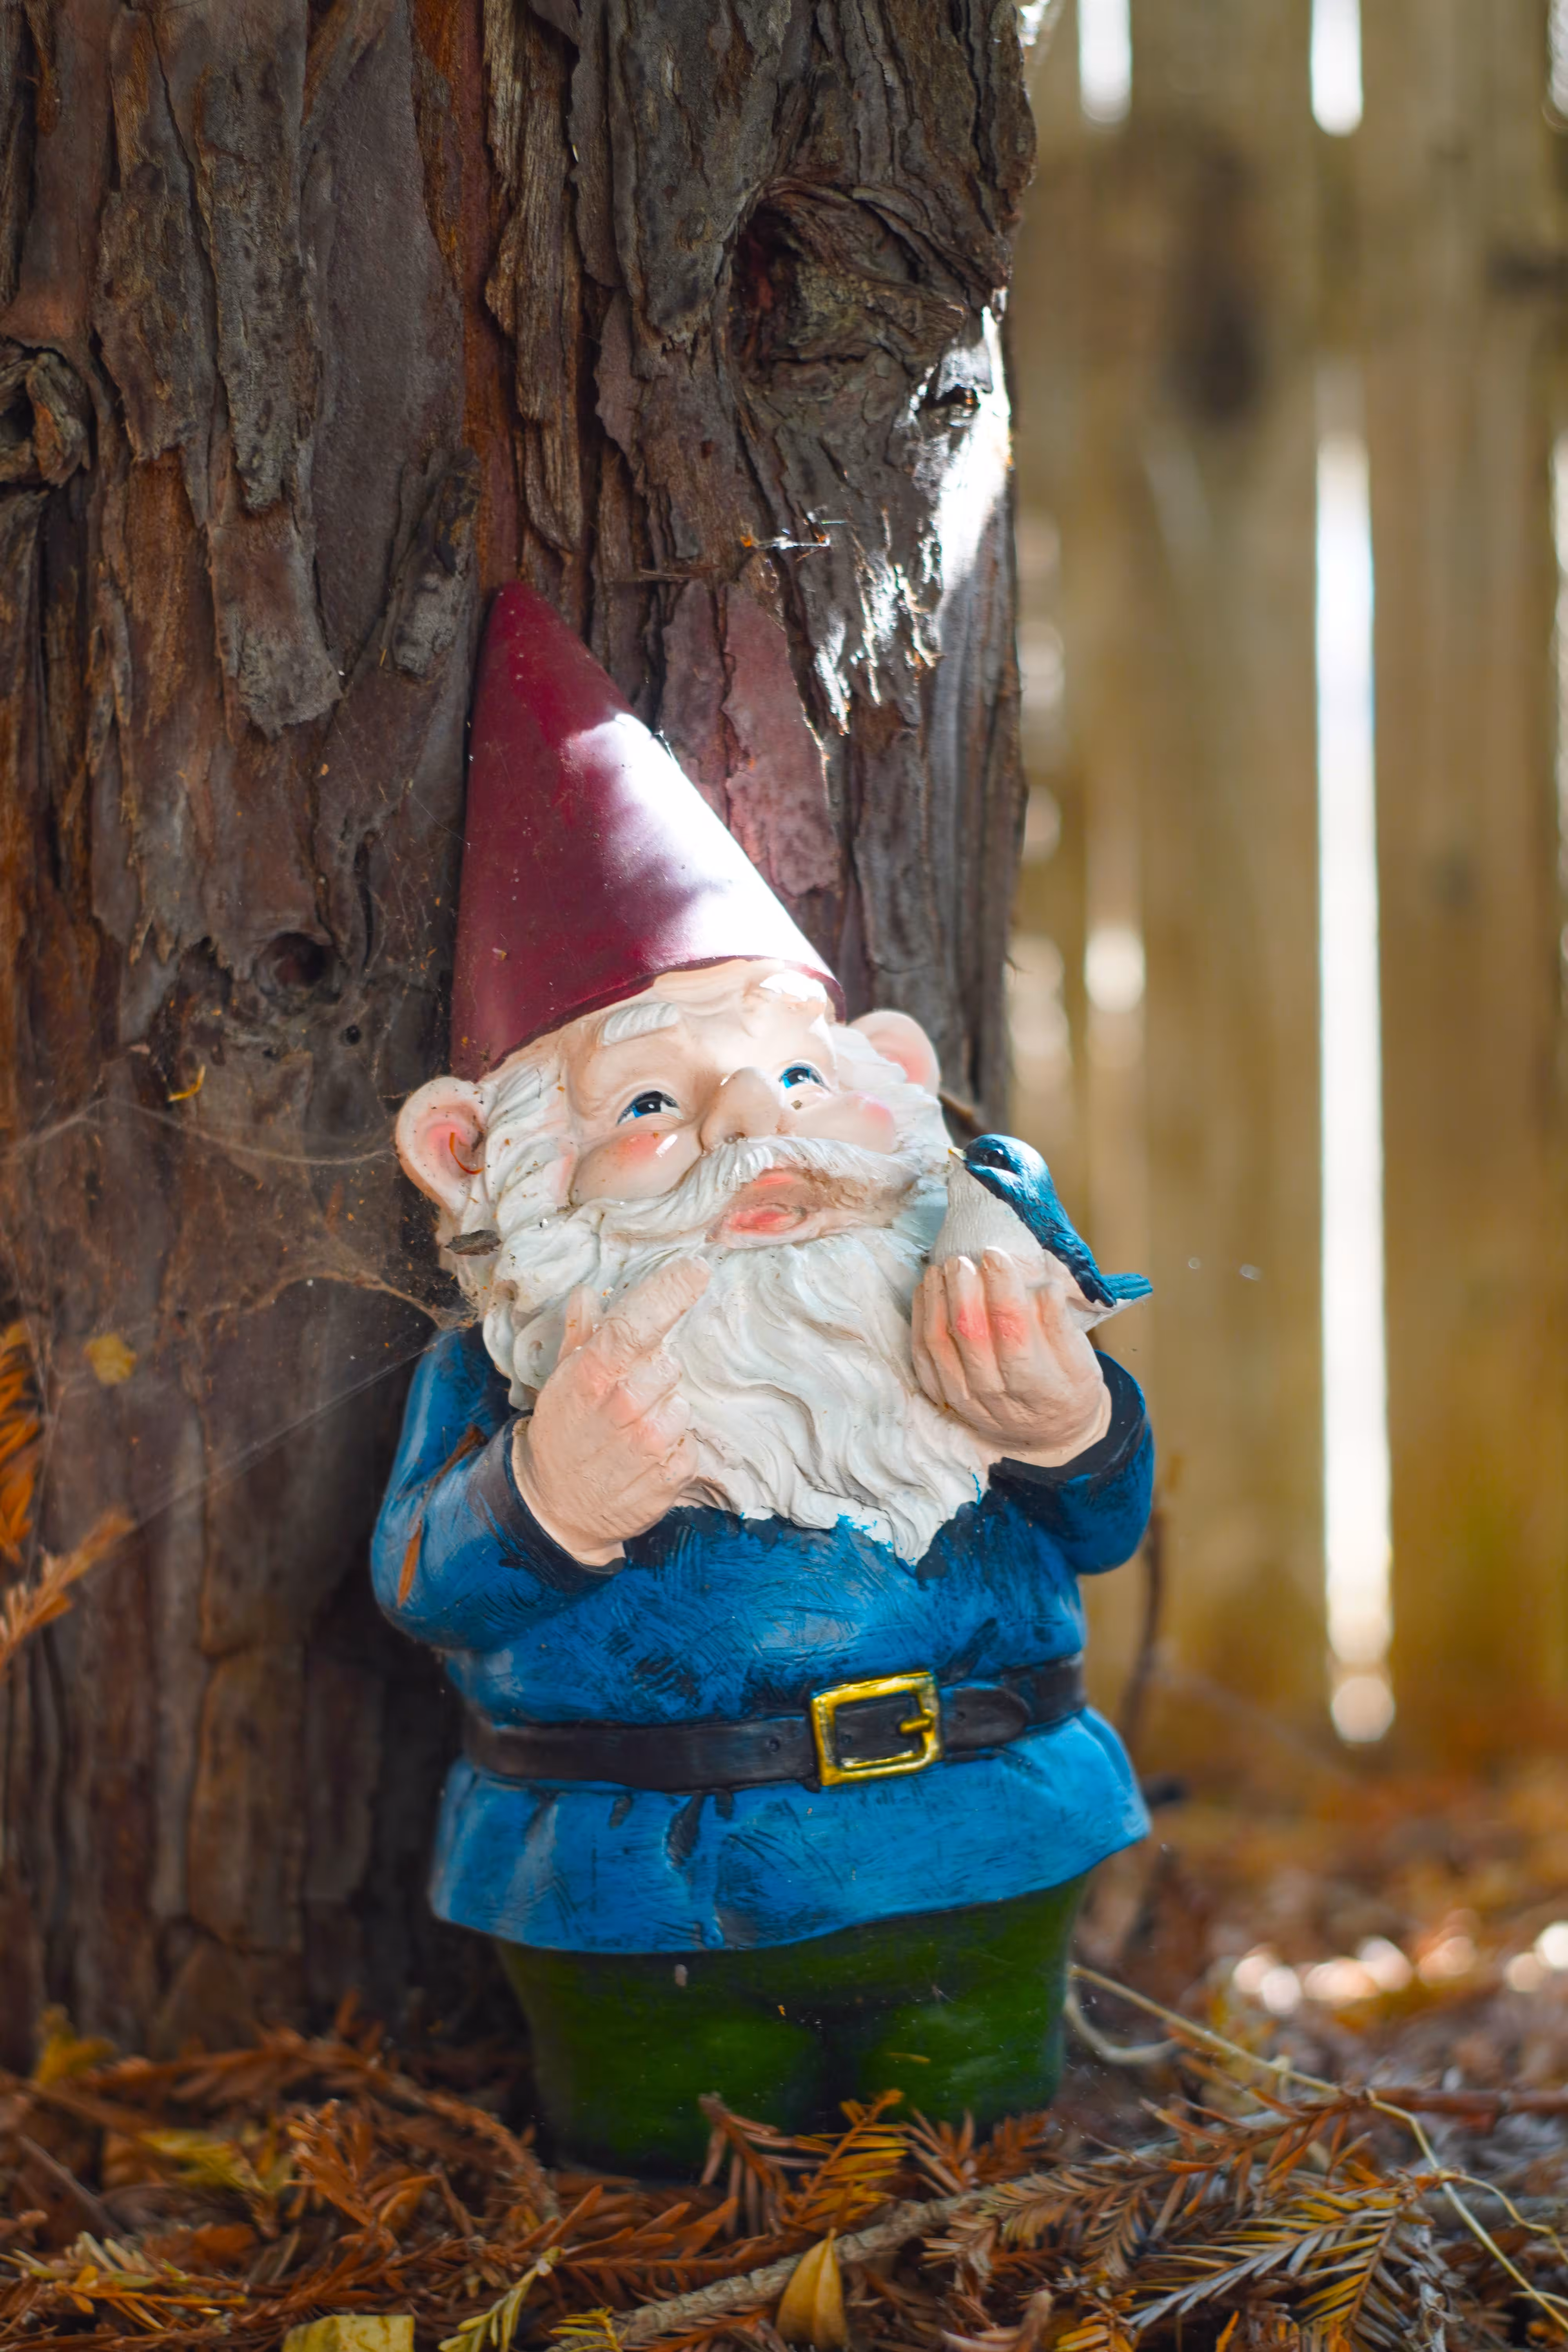
Gnome Photos #